
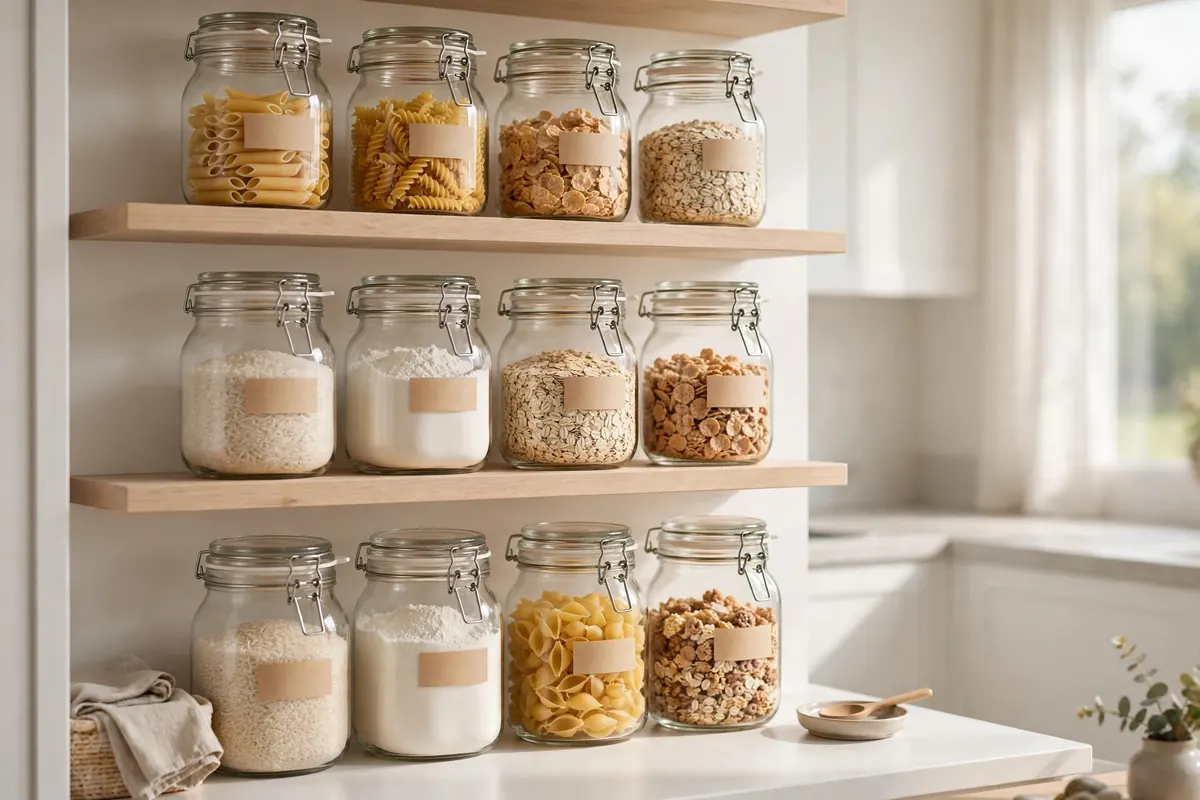

I’ll be honest with you: when I first heard about pantry decanting, I thought it was just an Instagram thing — pretty jars for people with too much time. Then I found my third half-empty bag of brown sugar, hardened into a brick behind the cereal boxes, and bought flour when I already had two bags. That’s when I tried decanting for real. The jars look nice, sure. But the actual payoff is functional: you can see what you own, food stays fresher, and you stop buying duplicates.
This is a beginner’s guide, not a makeover show. No matching-everything overhaul required. Just a practical system: what’s worth decanting, which containers to buy (without overspending), how to label so the system survives real life, and a simple routine to keep it running.
Pantry Decanting: What’s Actually Worth It (and What Isn’t)
The biggest beginner mistake is decanting everything. You do not need to pour every single item into a jar. Some things are perfectly fine in their original packaging, and decanting them just creates work. Here’s the honest breakdown:
Yes, decant these:
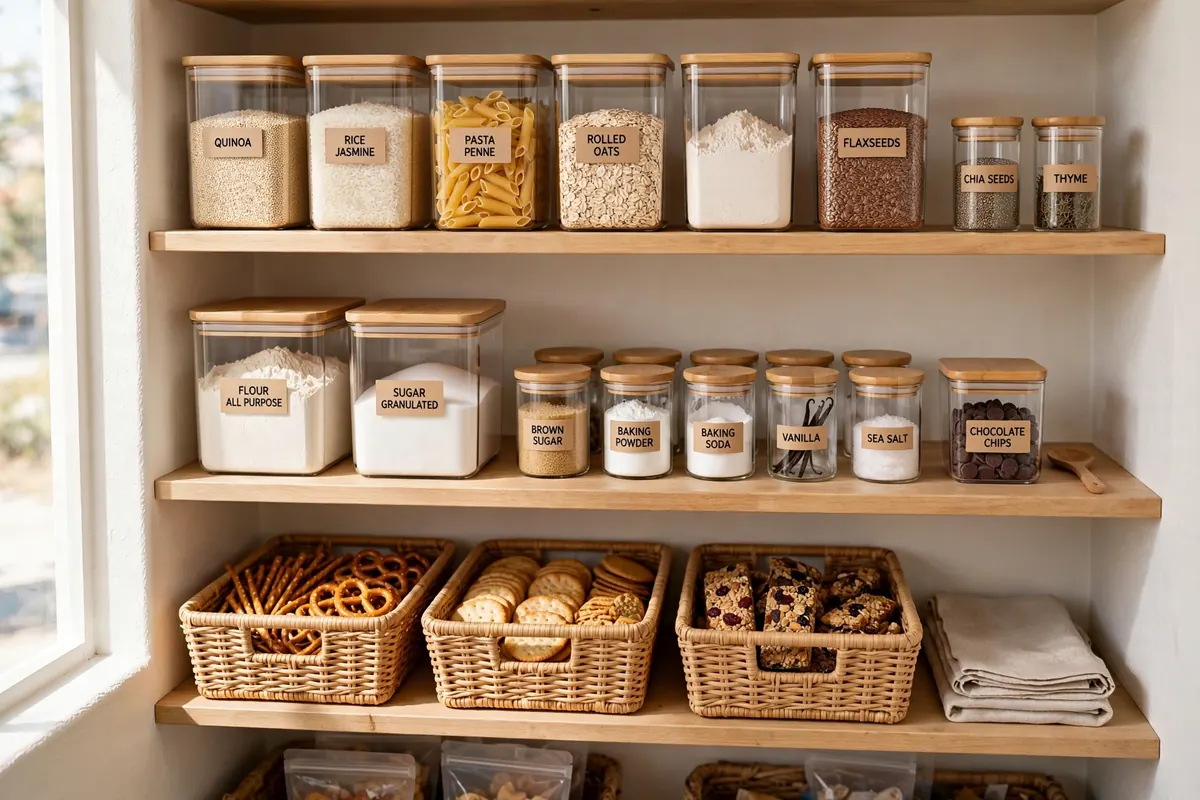
- Baking staples — flour, sugar, brown sugar, baking soda, baking powder, chocolate chips, cocoa. These stay fresh for months in airtight containers, and they’re the items most likely to spill, harden, or get buggy in flimsy bags.
- Things that go stale fast once opened — nuts, dried fruit, crackers, pretzels, granola, cereal. An airtight jar genuinely extends their life.
- Bulk dry goods — rice, beans, lentils, oats, quinoa. If you buy the big bags, decanting what you’ll use soon keeps the rest sealed and fresh.
- Coffee and tea — ground coffee goes stale quickly in its bag; an airtight canister keeps it tasting right noticeably longer.
Don’t bother decanting these:
- Canned goods — tomato sauce, beans, soup, tuna. They’re already in perfect containers. Line up the cans and move on with your life.
- Condiments, oils, and sauces — they’re fine in their bottles.
- One-and-done mixes — pancake mix, boxed mac and cheese, cake mix. You’ll use the whole box; just stand it on the shelf or pop it in a basket.
- Individually wrapped snacks — granola bars, fruit snacks, chip bags. Decanting a bag of chips into a jar is a losing battle. Corral them into a bin or basket instead.
- Pasta and grains you burn through — if your family demolishes a whole box of pasta in one dinner, decanting it is theater. Just keep the boxes lined up, or use a simple “pasta” bin.
Notice the principle: decant what benefits from an airtight container — things that spill, stale, harden, or get lost in bags. Everything else stays as-is. That’s how the system stays maintainable instead of becoming a second job.
Choose Containers Without Blowing Your Budget
Here’s the rule that saves people hundreds of dollars: take inventory before you buy a single container. Empty the pantry, list what you actually plan to decant, and measure your shelf depth. Then buy containers to match the list — not the other way around. Nothing kills a decanting system faster than a cabinet full of beautiful jars that don’t fit your shelves. And measure shelf height too — tall cereal canisters and bulk grain jars are useless if they don’t clear the shelf above. Leave an inch of clearance so you can actually lift the lid. I learned this the expensive way with a beautiful tall canister that lived on its side for a month. Tight on space overall? Our small kitchen organization ideas squeeze more storage out of small kitchens without a remodel.
What actually matters in a container:
- Airtight seal. This is the whole point. A pretty jar with a loose lid is just decoration. Look for silicone gaskets or locking lids.
- Right size for the item. Big canisters for flour, rice, and pasta you buy in bulk; smaller ones for seeds, chocolate chips, and specialty grains. Oversized jars for small quantities just waste shelf space.
- Easy to open one-handed. You’ll be cooking with these. If the lid is a wrestling match, you’ll stop using it.
- Glass or good plastic — your call. Glass looks great, doesn’t stain, and doesn’t hold odors. Sturdy BPA-free plastic is lighter, cheaper, and won’t shatter if a kid grabs it. Both work; pick what fits your household.
And here’s the budget secret the makeover accounts won’t tell you: repurposed jars work beautifully. Washed pasta sauce jars, jam jars, and peanut butter tubs are free, airtight enough for most dry goods, and look charmingly uniform with matching labels. Start there. You can always upgrade to the fancy matching set later — or discover you never needed it. If you’re organizing on a tight budget in general, our pantry organization ideas on a budget are full of low-cost wins like this one.
Label Everything Like Your Sanity Depends on It
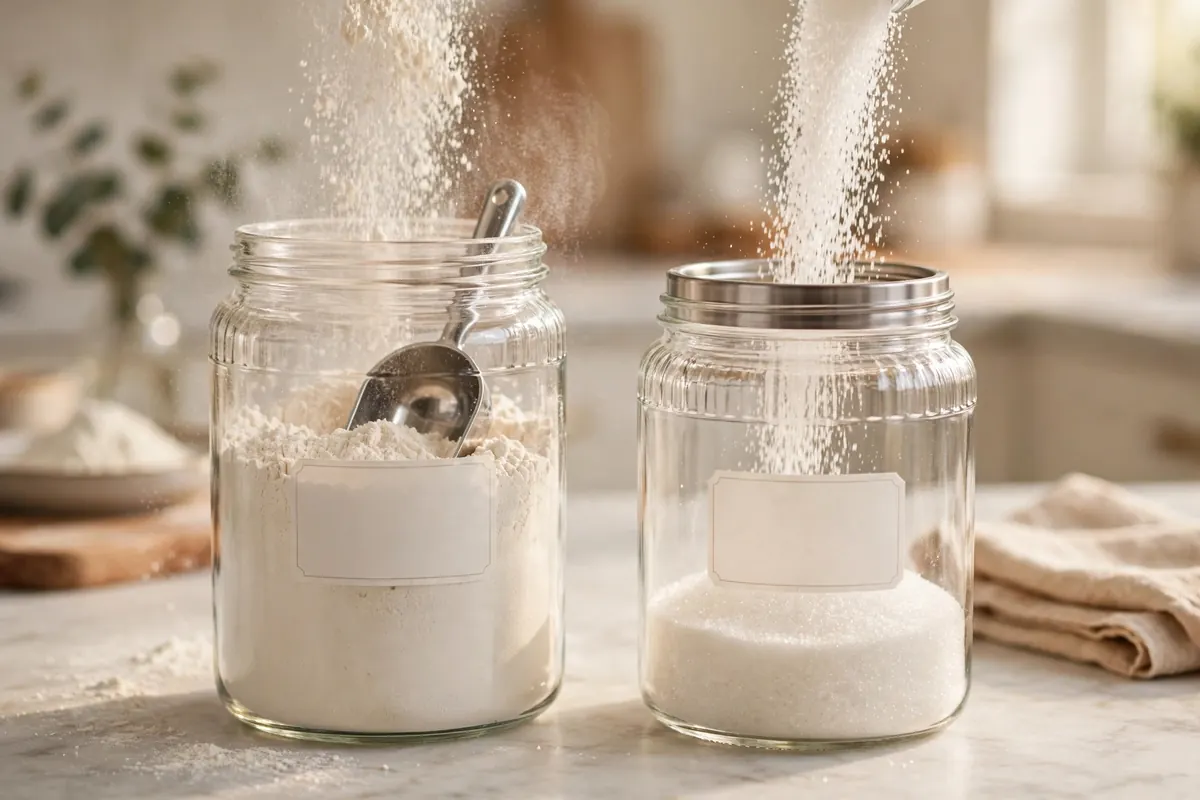
A jar without a label is a mystery you’ll solve at the worst possible moment. I once made a batch of “sugar” cookies with salt — well, nearly. And a friend of mine ruined a birthday cake by grabbing baking powder instead of powdered sugar. They look identical in a clear jar. Label every single container. No exceptions, no “I’ll remember.”
Here’s the labeling system that actually sticks:
- Name + expiration date on every label. The name is obvious; the date is the part everyone forgets. When you decant, cut the expiration or “best by” panel off the original package and tape it to the bottom or back of the jar. Future you will be grateful.
- Add cooking notes for tricky items. A strip of tape on the bottom with “rice — 1:2, 18 min” or “quinoa — rinse first” turns the jar into a cheat sheet.
- Use reusable labels. Chalkboard stickers, dry-erase labels, or a chalk marker written directly on glass let you change contents without buying new labels. A damp cloth wipes them clean.
- Keep labels consistent and legible. Same style, same spot on every jar (front and center), big enough to read from two feet away. This is what makes the pantry feel calm instead of cluttered.
- Label the bins too. The snack bin, the baking bin, the backstock — if a bin doesn’t have a label, it becomes a junk drawer within a month.
It sounds fussy, but labeling takes about twenty minutes for a whole pantry, and it’s the difference between a system that lasts and one that quietly collapses. If your containers have their own chaos going on — mismatched lids, avalanche-prone stacks — our guide to food storage container organization will sort that out too.
What About Spices?
Spices are the one category where decanting is almost always worth it, and the rules are a little different. Those tiny mismatched jars from five different brands waste an absurd amount of shelf space, and half of them are probably expired.
The move: small uniform jars — four-ounce jars are the sweet spot — with labels on the side, not the lid. Lids get separated from jars; sides don’t. The one exception is drawer storage: if your spices live in a drawer, label the lids instead so you can read them from above. I also use a cheap tiered riser inside the cabinet so the back row sits higher than the front — suddenly I can see all thirty spices instead of the front six.
And decanting forces the freshness check nobody does otherwise. Ground spices go stale after about six months, whole spices after about a year. Open the jar and sniff: if it doesn’t smell like anything, it’s sawdust with nostalgia. Toss it.
Decant Day: The Step-by-Step
Set aside two to three hours, put on a podcast, and work the process:
- 1. Clear it out. Take everything off the shelves — yes, all of it. Wipe the shelves down and let them dry fully.
- 2. Toss the expired. Check dates as you go. Stale spices, ancient baking powder (test it: fizz in hot water means it’s alive), mystery bags from 2023 — out.
- 3. Inventory what you’ll decant. Group the keepers: baking, grains and pasta, snacks, breakfast, backstock. This is your shopping list for containers if you still need any.
- 4. Decant and label. Fill each container, label it with name and expiration date immediately — don’t tell yourself you’ll label later. You won’t.
- 5. Put it back with intention. Heavy, bulky items low; everyday items at eye level; backstock up high or in a separate basket. Group like with like — all baking together, all breakfast together — so everyone in the house knows where things live and where they go back.
That last point is the real secret. Decanting gets the glory, but zones do the work. When the flour, sugar, and baking powder live together in one baking zone, you stop hunting. If your cabinets need the same treatment, our kitchen cabinet organization guide applies the same zone logic there.
Keep the System Running
A decanted pantry maintains itself if you build in two tiny routines. First, a refill rhythm: keep backstock (the unopened bulk bags) in one basket, ideally on a high shelf or in another closet. When a jar runs low, refill from backstock — oldest bags first, the classic first-in, first-out rule, so nothing sits at the bottom of a bin for two years — and add the item to the grocery list. One in, one out — the jars never multiply.
Second, a seasonal check. Twice a year, spend fifteen minutes scanning expiration dates, wiping jar lids, and retiring anything that’s gone stale. I fold it into my regular routine alongside our weekly cleaning schedule reset — small maintenance beats big overhauls every time.
And give yourself permission to quit the parts you hate. If you despise decanting pasta, don’t decant pasta. A system you half-follow beats a perfect system you abandon by February.
The Bottom Line
Pantry decanting isn’t about having the prettiest jars on the block. Decant what benefits from airtight storage, skip the rest, label everything with a name and a date, and give every category a zone. Do that, and your pantry stops being a place where food goes to be forgotten — and starts being a place that makes cooking easier.
[…] neater look, small clip-on shelf labels work beautifully. This is the same principle behind a good pantry decanting and labels system — a little labeling goes a long way toward keeping the system intact after you’re […]
[…] few sizes) stacks neatly and looks calm. If you’re building the system from scratch, our guide to decanting and labeling your pantry walks through container choices in detail, and our food storage container organization guide covers […]