
Let’s address the elephant in the pantry: those gorgeous, color-coordinated pantries all over social media with thirty matching glass canisters. They’re beautiful. They’re also completely unnecessary — and expensive. I organized my entire pantry for less than the cost of one of those fancy container sets, and it works just as well.
A pantry doesn’t need to be photogenic. It needs to answer three questions instantly: What do I have? What do I need? What’s about to expire? This walkthrough gets you there, step by step, without spending a fortune.
Step 1: Empty Everything (Yes, Everything)
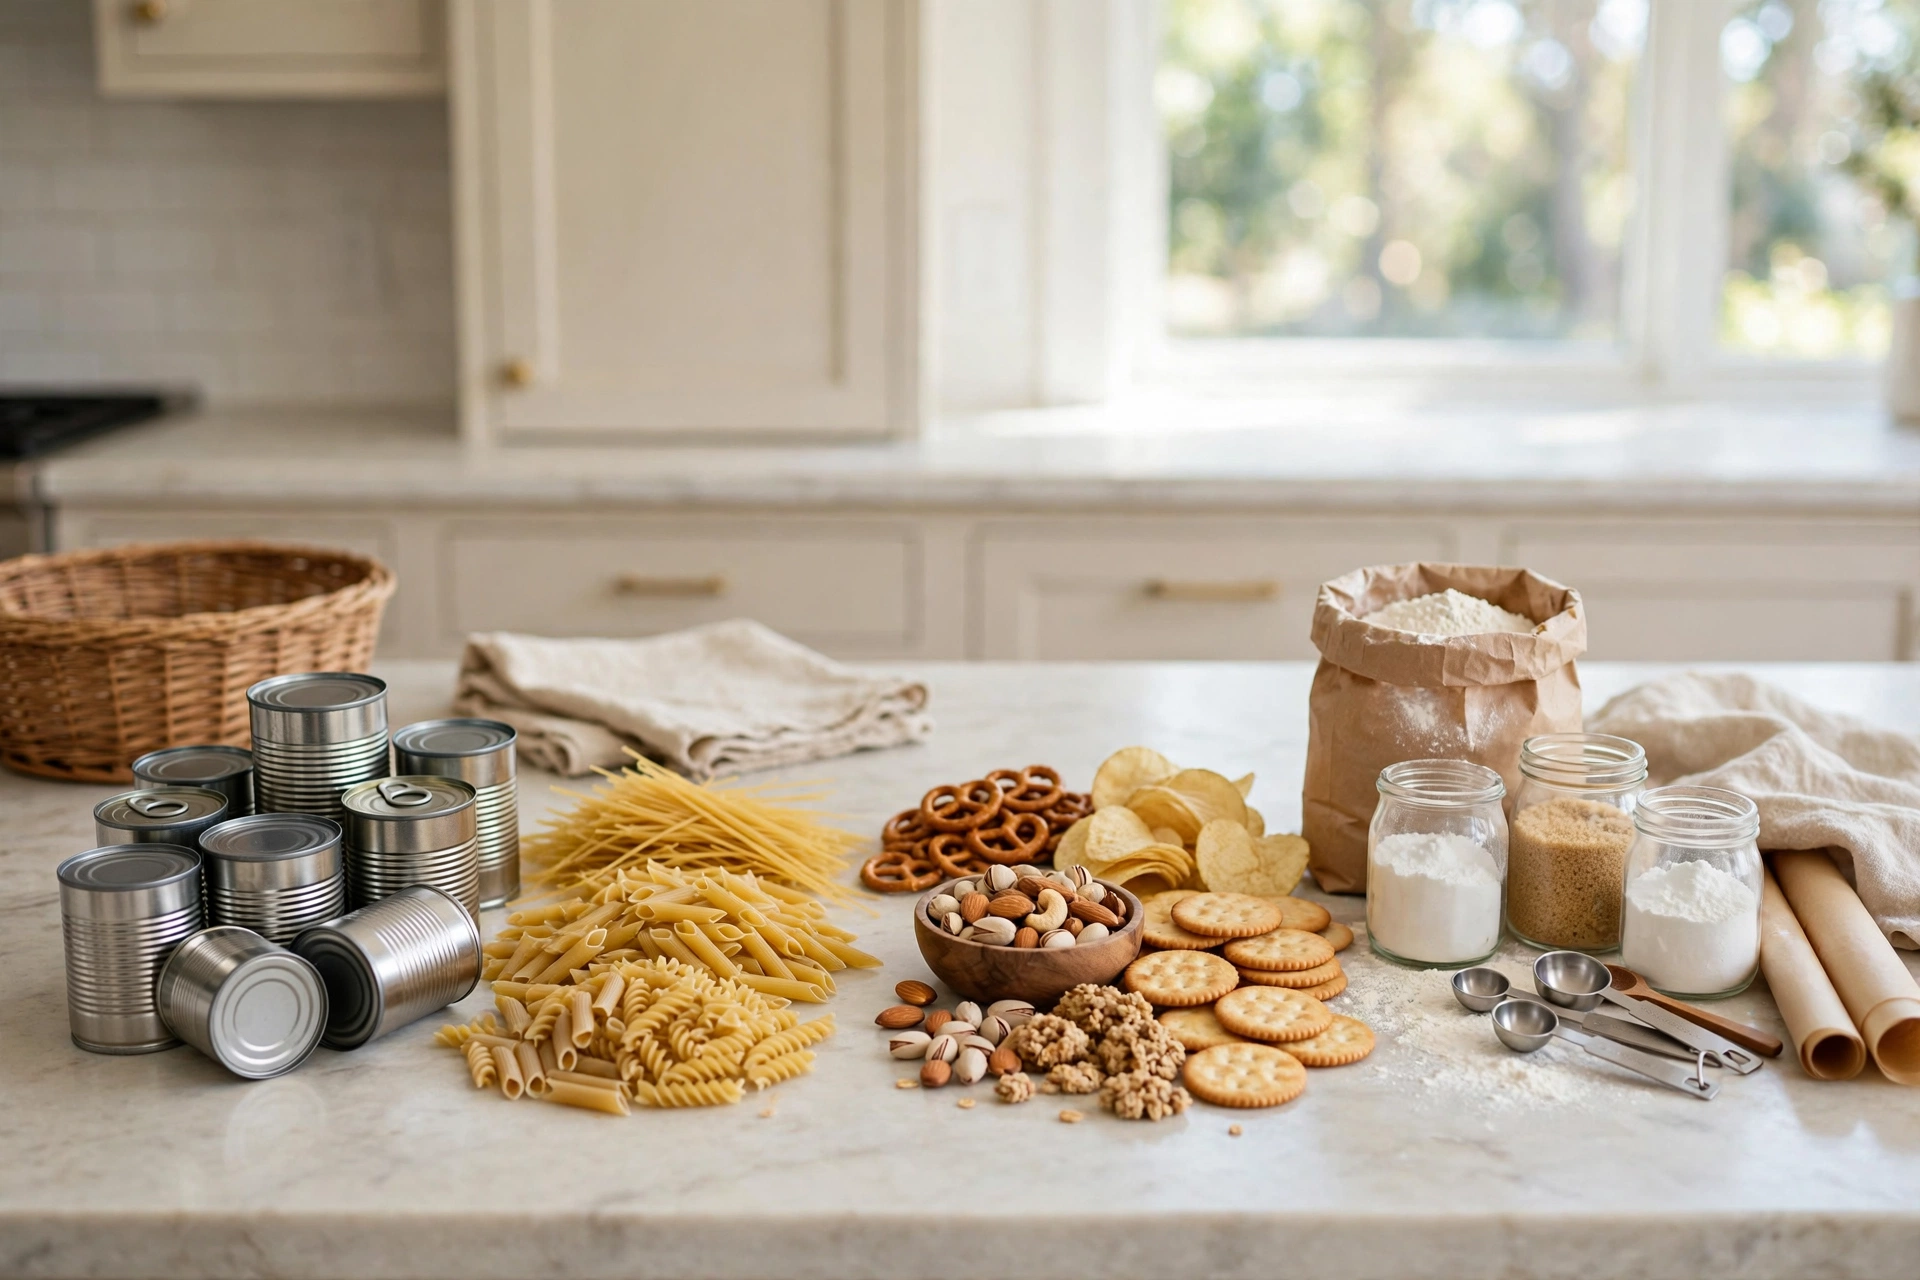
Pull every single item out of the pantry and put it on the counter or table. Every can, every box, every sad packet of taco seasoning from 2021.
This is non-negotiable. You cannot organize what you can’t see, and pantries are masters of hiding things — the second row behind the front row, the stuff shoved in the back corners, the things that fell behind the shelf. Emptying it all is the only way to see the true inventory.
While it’s empty, wipe down the shelves. Crumbs, sticky rings, mysterious dust — this is your one chance to start truly clean. If you have shelf liner that’s seen better days, replace it now (a roll costs very little and makes everything look fresh).
Step 2: Sort and Ruthlessly Declutter
Now sort everything into groups on your counter: canned goods, grains and pasta, baking supplies, snacks, oils and vinegars, spices, breakfast items, and so on. Don’t organize yet — just group.
Then check every item. Toss anything expired — and check dates honestly, not hopefully. That “best by” date on crackers matters less than the one on canned tomatoes, but use common sense: if it smells off, looks off, or you can’t remember buying it, let it go. Stale, open, or fossilized items go straight in the trash.
Be honest about the “aspirational” foods too. The specialty flour for the bread you were going to bake, the three kinds of seaweed for the cuisine phase that ended in March — if you’re not going to use it in the next month, donate it (unopened) or toss it. A pantry full of good intentions is just expensive clutter.
Step 3: Zone Your Pantry Like a Store
Grocery stores group similar items together for a reason: you find things fast. Do the same in your pantry.
Create zones based on how you actually cook and eat:
- Breakfast zone: cereal, oats, coffee, tea, honey
- Cooking zone: oils, vinegars, canned tomatoes, broths, pasta, rice
- Baking zone: flour, sugar, baking powder, chocolate chips
- Snack zone: crackers, nuts, dried fruit, kids’ snacks
- Backstock zone: duplicates and bulk buys, stored together so you can see what you already own
Put the zones you use daily at eye level. Heavy items (big bags of flour, bulk cans) go low. Light, rarely-used items go high. Backstock lives in one clearly marked area — never scattered, because scattered backstock is how you end up with four jars of peanut butter.
Step 4: Contain It — The Budget Way
Here’s where people overspend. You do not need a matching set of anything. What you need is containment: things grouped so they don’t migrate.
The dollar-store arsenal. Small bins, baskets, and trays from discount stores do 90% of the work. One bin per category — all the packets in one bin, all the spice overflow in another. When a category has a container, it has boundaries, and boundaries stop the spread.
Use what you own. Mason jars, old glass pasta-sauce jars (washed well), shoeboxes cut down, sturdy gift boxes — all free, all functional. A cut-down cereal box makes a perfect packet organizer. Nobody sees the inside of your pantry except you, so “pretty” is optional.
Decant only the troublemakers. You don’t need to decant everything. But the half-open bags — flour, sugar, rice, cereal — deserve sealed containers because they go stale, spill, and attract pests. Buy a few airtight containers just for these, and leave everything else in its original packaging.
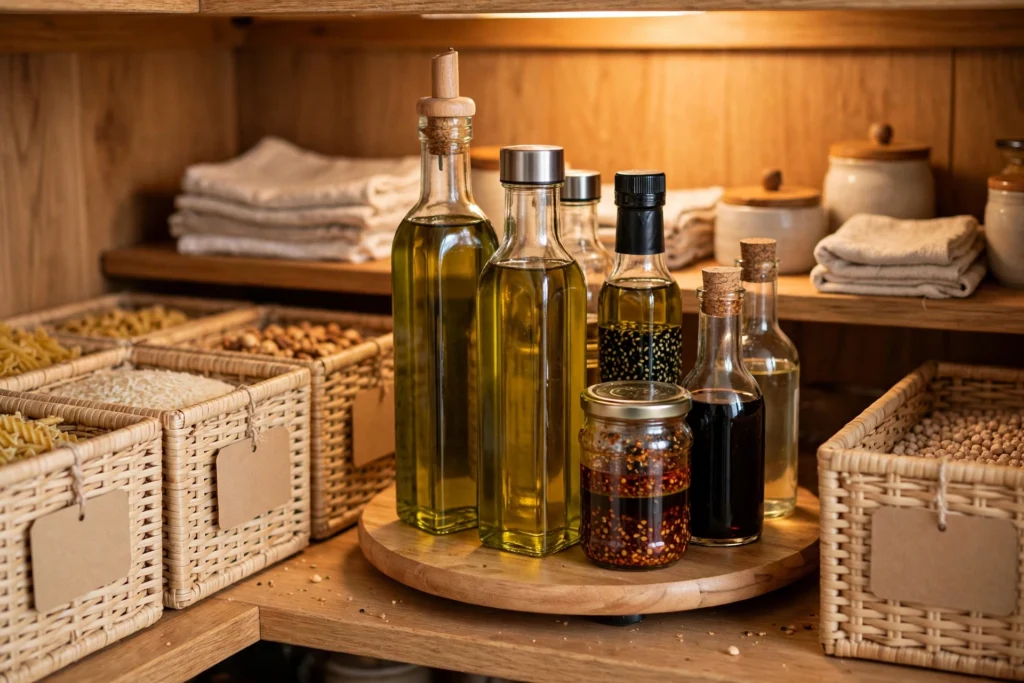
The lazy Susan secret. One turntable (inexpensive, widely available) in a deep corner or under-sink-style cabinet ends the “lost in the back” problem forever. Oils, vinegars, condiments, vitamins — spin and grab. If you buy one organizing product, make it this.
Step 5: Label Everything (Even Ugly Labels Work)
Labels aren’t decoration — they’re memory aids for everyone in the house, including future you.
Masking tape and a marker work perfectly. Label bins (“SNACKS,” “BAKING,” “BACKSTOCK”), label decanted jars with contents and the date you opened them, label the zones if it helps. When everything is labeled, anyone can put groceries away correctly, and you can see at a glance what’s running low.
This matters more than it sounds. Half of pantry chaos is other household members putting things “wherever.” Labels remove the guesswork.
Step 6: The Door and the Gaps
Don’t forget the pantry door. An over-the-door rack or a few adhesive hooks hold spices, wraps, foil, and small packets — all that fiddly stuff that clutters shelves. In a small pantry, the door can add 20–30% more usable space.
Look at the gaps, too. A narrow pull-out cart fits between the pantry and the wall or fridge. Stackable shelf risers double the capacity of tall shelves (cans below, boxes above). Under-shelf baskets hook onto existing shelves for instant extra layers. These small additions cost little and multiply space.
Keeping It Organized: The 5-Minute Weekly Reset
Pantries drift. Groceries get shoved in quickly, kids grab snacks, and within a month it’s chaos again — unless you do a tiny weekly reset.
When you unpack groceries each week, take five extra minutes: toss anything expired or stale, wipe any spills, and put strays back in their zones. That’s it. Five minutes weekly beats a three-hour overhaul twice a year.
Also adopt the “shop your pantry first” habit: before writing the grocery list, check what you have. This alone cut my grocery bill noticeably — no more third jar of cumin.
Budget Breakdown: What This Actually Costs
For a typical pantry, here’s a realistic budget:
- Bins and baskets (discount store): the biggest expense, and you probably need fewer than you think
- One turntable: modest, one-time
- A few airtight containers for flour/sugar/rice: the only “nice” purchase
- Labels (tape + marker): practically free
- Shelf risers or under-shelf baskets: optional but high-value
Most people land well under what one fancy matching container set would cost — and the result works better, because it’s built around how you actually cook.
Frequently Asked Questions
How do I organize a very small pantry?
Zone vertically: daily items at eye level, heavy low, light high. Use the door for spices and small items, add shelf risers to double shelf capacity, and keep backstock elsewhere (a closet shelf or under-bed box). Small pantries work fine — they just need stricter zones.
Should I decant everything into matching containers?
No. Decant only the troublemakers (flour, sugar, rice, cereal, snacks that go stale). Everything else stays in original packaging inside labeled bins. Full decanting is expensive, time-consuming, and makes it harder to see expiration dates.
How often should I clean out the pantry?
A quick check with each grocery run (toss expired, wipe spills) plus a full empty-and-sort twice a year. Seasonal changes are natural reminders — do it when you switch wardrobes.
What’s the best way to store spices in a small pantry?
One dedicated spot — a door rack, a turntable, or a single drawer with jars lying flat and labeled on the lids. Never scatter spices across multiple shelves; that’s how you buy your fourth jar of paprika.
An organized pantry on a budget isn’t about how it looks — it’s about how it works. Empty it, sort it, zone it, contain it, label it. Do it once, maintain it in five minutes a week, and enjoy the strange satisfaction of always knowing exactly what you have.
Once the pantry’s done, the fridge is next: How to Organize Your Fridge So Food Lasts Longer.
[…] The pantry deserves the same treatment: Pantry Organization Ideas on a Budget: A Practical Walkthrough. […]