
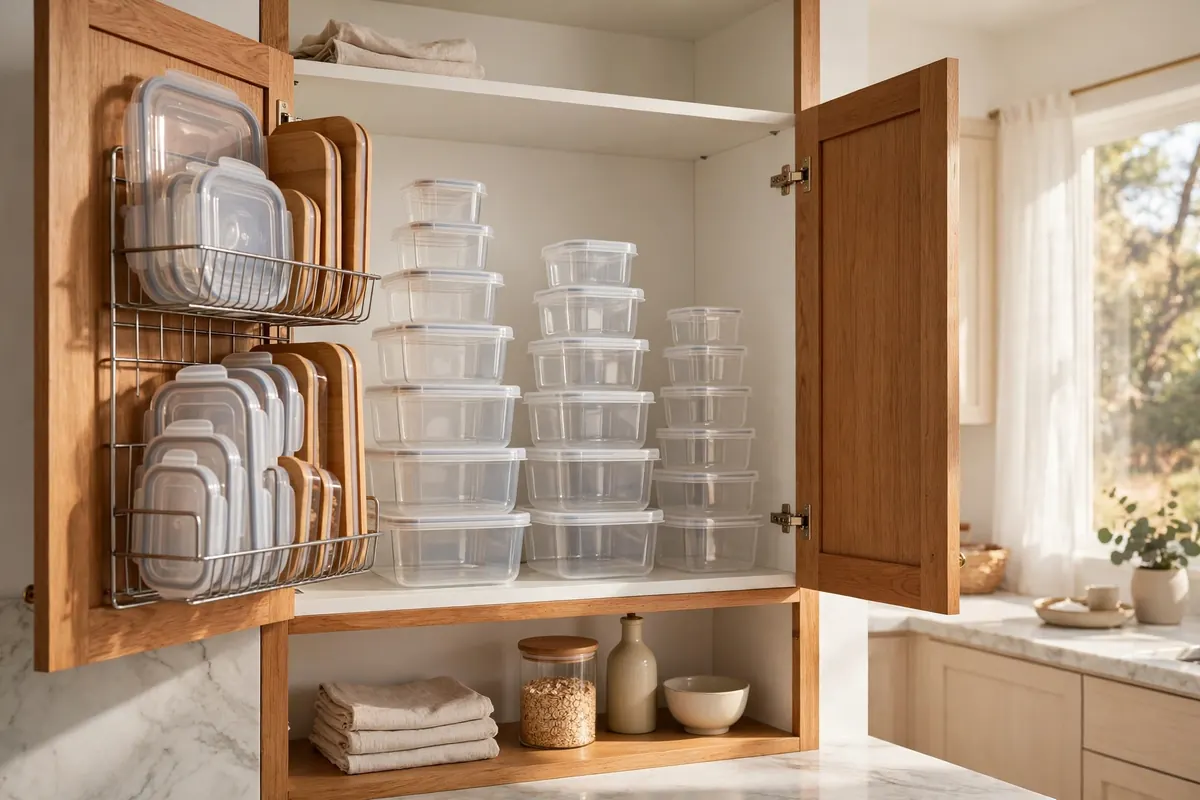

Open the cabinet slowly. That’s what I tell anyone who offers to grab the leftovers at my house. Because the second that door swings wide, it’s an avalanche — lids rain down, a round container with no lid surfaces from the back like a submarine, and somewhere in the pile is a lid that fits absolutely nothing I own. If your food storage container organization is “shove it in and shut the door fast,” you’re in good company — every kitchen I know has this cabinet. Here’s how I finally tamed mine, and kept it tame.
Why the Container Cabinet Always Wins (For Now)
Here’s the honest truth: nobody sets out to own forty mismatched containers. It happens in tiny doses. A set from a housewarming gift. Three more from a clearance sale. The “good” ones you bought individually because you needed one right that minute.
Then one day your partner buys a set too, nobody tells anybody, and suddenly you have eleven medium lids and four medium containers. Every brand has its own slightly different lid shape, so nothing is interchangeable. Your cabinet isn’t disorganized — it’s an archaeological dig through five years of grocery runs and good intentions.
The other reason this never fixes itself: containers are needed right now. Dinner’s done, food’s cooling, you grab whatever’s closest. Nobody thinks about the system mid-week, so it has to be dead simple.
Step 1: The Great Lid Match-Up (Pull It All Out)
Empty the cabinet completely — the whole universe of your containers fits on one counter. Wipe the shelf while you’re at it; there will be crumbs.
Now match every single container to a lid. And be honest. Here’s the toss list:
- A lid with no container: recycle or toss it. It will never find its partner. I once waited two years for a lid’s container to turn up. It did not.
- A container with no lid: same deal, unless you can name, out loud, the non-food job it does. “I use it for paperclips” is valid. “I might use it for something” is not.
- Stained, warped, cracked, or smelly: if it still smells like last year’s chili after three washes, it’s done. Warped edges don’t seal, and cracked plastic is a bacteria hotel.
- The “just in case” duplicates: you do not need six of the same medium container. Keep two or three of the sizes you actually reach for daily. The rest go.
Step 2: Switch to a Matching Set (The Real Fix)
The single biggest upgrade isn’t a product. It’s uniformity: one matching set, where every lid fits every container, ends the matching game forever.
Now, glass or plastic? My honest take after years of both:
- Glass lasts longer, doesn’t stain, and reheating in it doesn’t make you think twice. Heavier and pricier, but you buy it once.
- Plastic is lighter, cheaper, and great for kids’ lunches or anything that travels. It stains, warps, and eventually needs replacing.
Whatever you choose, buy one line in graduated sizes — not five brands of “basically the same thing.”
And never toss a working set to chase a prettier one — only replace what you already decluttered, and wait for a sale.
Step 3: File the Lids Vertically (This Is the Whole Trick)
If you take one thing from this article, take this: stop stacking lids flat and start filing them upright.
Lids stacked flat eat a whole shelf, slide around, and bury the one you want at the bottom. Lids filed vertically — in a plate rack or a cheap lid organizer — stand where you can see every one, so you grab the right lid without touching the others.
Containers nest inside each other by size, lids off — the only stacking that doesn’t topple, since you lift the whole set at once.
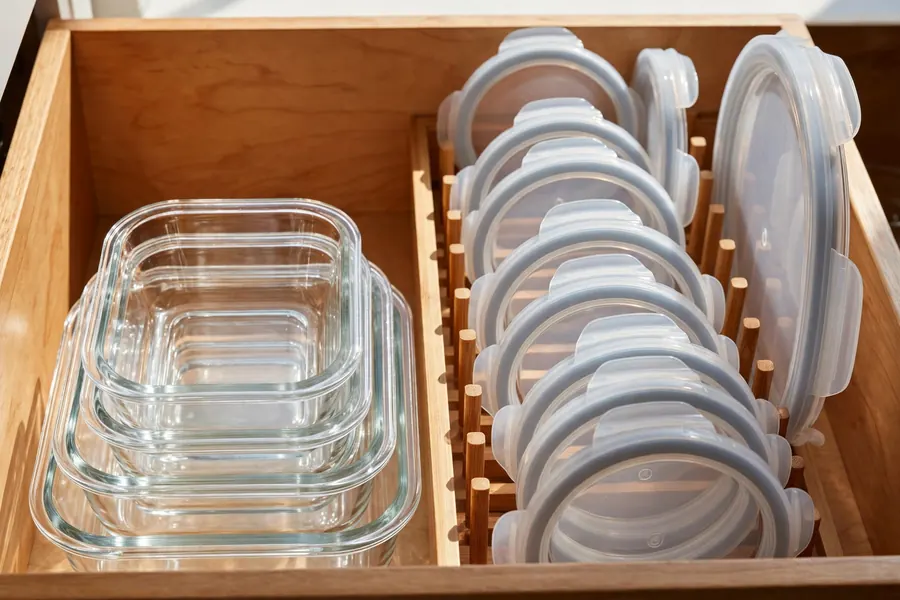
One rule holds it together: lids and containers stay side by side. The moment lids move to a different shelf, the avalanche comes back.
Step 4: Pick the Right Home — Drawer vs. Cabinet
A deep drawer is the ideal home: you see everything at a glance, nothing topples when you pull from the bottom, and lids file perfectly in a rack.
No free drawer? Keep everything on one shelf: containers nested, lids filed upright beside them — never lids up high and containers down low. For more on making cabinets work, read How to Organize Kitchen Cabinets: A Step-by-Step System That Sticks.
Step 5: Decant the Dry Goods (The Other Half of the Chaos)
Half the mess near most container cabinets isn’t containers at all — it’s half-open bags of rice, pasta, and flour held shut with rubber bands and hope. They spill, go stale, and you can never tell what you have.
Decant dry goods into clear, airtight containers or jars. You see everything at a glance, food stays fresh longer, and the shelf looks like you have your life together even when you don’t. Two practical notes:
- Only decant what you buy regularly. Rice, pasta, oats, lentils, flour, sugar — the staples. Don’t buy twelve jars for the quinoa you cook twice a year.
- Keep the cooking instructions. Cut the cooking-time panel off the package and tape it under the lid — you will not remember how long the brown rice takes.
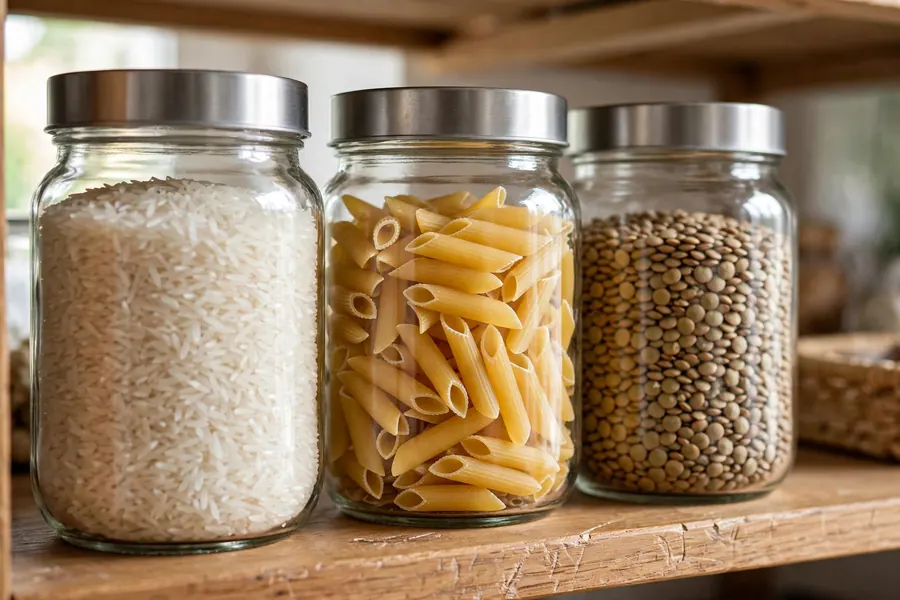
You don’t need to do this all at once — decant one thing each time you open a new bag, and within a month the pantry shelf transforms itself. For the full budget-friendly approach to the pantry side of things, see Pantry Organization Ideas on a Budget: A Practical Walkthrough.
A Quick Note on the Fridge
Matching containers pay off in the fridge too: square shapes stack neatly, and glass lets you see inside without opening five lids — which is how leftovers die in the back. Write the day on a strip of masking tape, keep the oldest container in front. More in How to Organize Your Fridge So Food Lasts Longer.
Keeping Your Food Storage Container Organization Working: The Weekly Reset
Here’s the part everyone skips, and it’s the part that matters most: the system only sticks if putting things away has a rule.
Unload the dishwasher with a rule: lids straight into the file, containers nested — no “I’ll sort it later” pile. New container in, old one out. Once a month, spend sixty seconds tossing any new orphan lids. The avalanche stays gone because every lid has a visible slot and every container fits its home.
Frequently Asked Questions
How many food storage containers does a household actually need?
For a family of four, about eight to twelve containers in two or three sizes covers daily leftovers, meal prep, and lunchboxes. A couple can get by with six to eight.
Glass or plastic — which should I actually buy?
Glass for anything you’ll reheat or store long-term: it doesn’t stain, doesn’t warp, and lasts years. Plastic for lightweight, kid-friendly, or travel situations.
My kitchen is tiny with no spare drawer. What then?
One cabinet shelf, no more: containers nested, lids filed upright beside them in a rack. For more small-space thinking, read Small Kitchen Organization Ideas That Actually Maximize Space.
Can I recycle old plastic containers?
It depends on your area. Sturdy #5 polypropylene containers are accepted by some curbside programs and drop-off points, but stained, warped, or cracked ones are usually trash.
You don’t need a container cabinet worthy of a magazine. You need to open the door without flinching. Start tonight with the great lid match-up — one counter, fifteen minutes — and by the end of the week, the avalanche will be a story you tell about your old kitchen.
Want to go deeper? Read our ideas on Small Kitchen Organization Ideas That Actually Maximize Space next.
[…] clear containers so you can see what you have — which quietly stops you buying duplicates. My food storage container system cut my container collection in half, and I haven’t missed a single […]
[…] projects stall out. For taming the lid-and-container chaos that builds up alongside all this, my guide to organizing food storage containers pairs well with everything on this […]