
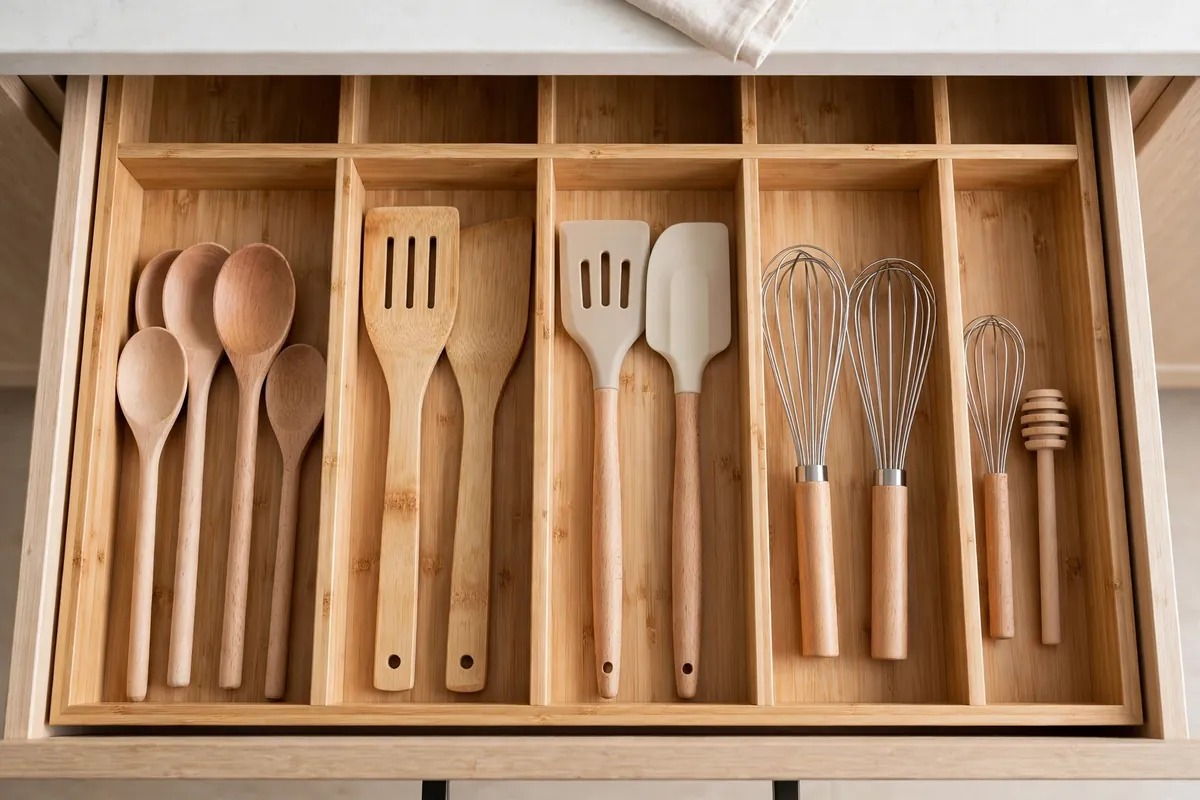

Open your utensil drawer right now and tell me honestly: does it glide open smoothly, or do you have to jiggle it while a rogue potato masher holds it hostage from the inside? If it’s the second one, you’re in good company. Most kitchen drawers are where good kitchen utensil organization goes to die — a jumbled landscape of spatulas, whisks, and mystery gadgets you don’t remember buying.
Here’s what changes when you fix it: cooking gets faster, cleanup gets calmer, and you stop buying your fourth pair of tongs because you couldn’t find the other three. This guide walks you through the whole system — the great utensil audit, the frequency rule that decides where everything lives, drawer zones that actually hold, and what to do with the awkward-shaped tools that ruin every drawer they touch.
Step 1: Start With the Great Utensil Audit
You can’t organize what you haven’t seen. Pull everything out of your utensil drawers and crocks and spread it across the counter. Yes, everything. It’s always worse than you remember, and that’s fine — facing the full inventory is the point.
Now sort into three piles: use daily, use weekly, and use rarely or never. Be ruthless with the third pile. The questions that cut through the guilt:
- Do I own duplicates? Four wooden spoons, three slotted spatulas, two sets of tongs — keep your favorites and release the rest. One household needs exactly one potato masher, not the two you’ve somehow accumulated.
- Is it damaged? Melted spatula edges, wobbly whisk wires, the peeler that hasn’t peeled properly since 2019 — these are tools, not heirlooms.
- Have I used it in the last year? The avocado slicer, the strawberry huller, the single-purpose gadget from a holiday gift exchange — if a year of cooking didn’t need it, your kitchen doesn’t either.
- Does it do a job another tool already does? Five different stirring implements is four too many.
What survives the audit is your real collection — usually 30 to 40 percent smaller than what you started with, which already makes the drawer feel twice as big. Bag up the discards for donation immediately, before “maybe I’ll need it” talks you into keeping the melon baller. If your drawers need the same treatment beyond utensils, our kitchen drawer organization guide covers the full drawer-by-drawer system.
Step 2: Sort by Frequency, Not by Type
Here’s the organizing principle most people get backwards: they group all the spoons together, all the spatulas together, and then wonder why cooking still feels chaotic. A better rule is frequency of use. Your kitchen has prime real estate (the drawer nearest the stove, the countertop crock) and cheap seats (the high cabinet, the back of the drawer). Assign them accordingly.
Daily drivers — your go-to spatula, wooden spoon, tongs, and ladle — earn the closest spot to where you cook. For most people that’s either the top drawer beside the stove or a countertop crock within arm’s reach. Weekly tools — the whisk, the peeler, the meat thermometer — live in the main utensil drawer in their own zones. Rarely-used items — the turkey baster, the mandoline, the fondue forks — get demoted to a higher shelf or a labeled bin in the pantry. They’re still findable; they’re just not clogging your daily workflow.
This one shift is transformative. When the tools you grab fifty times a week are the easiest to reach and the baster you use twice a year isn’t blocking them, the whole kitchen starts to feel like it was designed around your cooking instead of against it.
Step 3: Kitchen Utensil Organization Means Drawer Zones That Hold
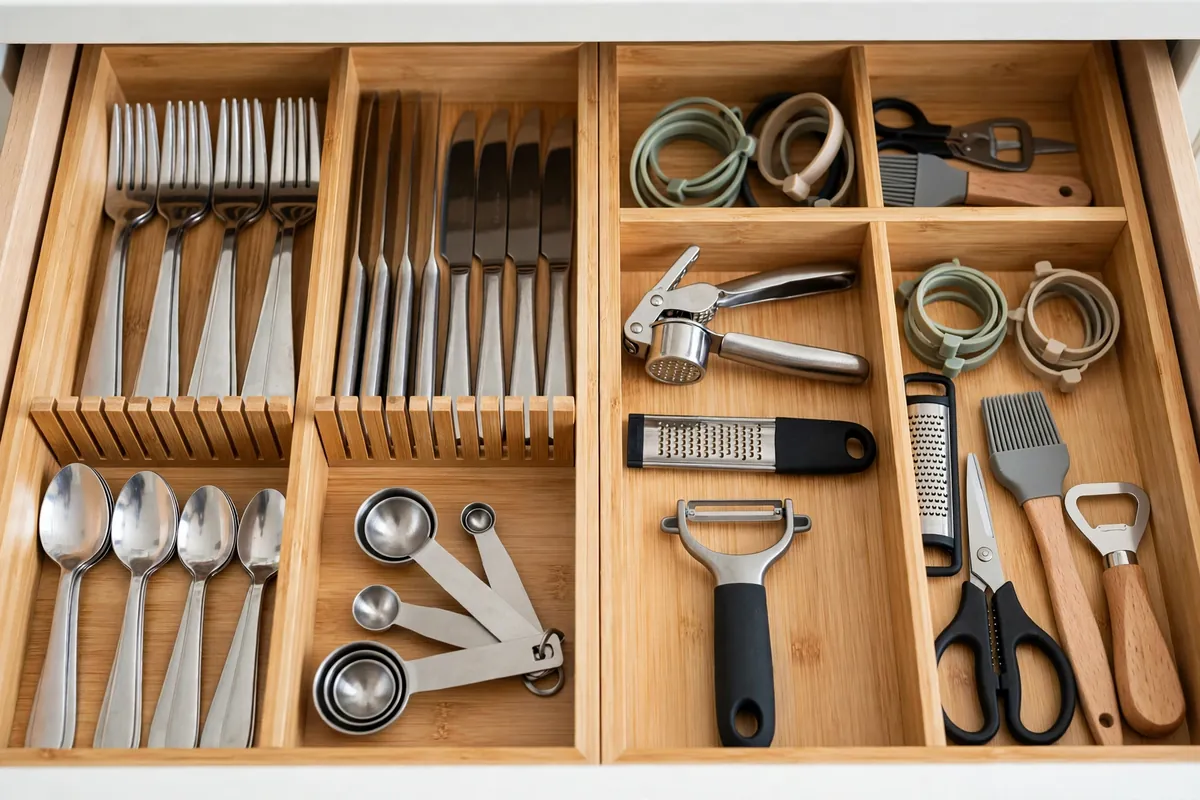
An undivided drawer is just a box where utensils go to tangle. The fix is zones — and the humble drawer divider is the hardest-working organizer in the kitchen. Adjustable bamboo or plastic dividers let you carve one chaotic drawer into a tidy grid: long narrow slots for spatulas and ladles, square sections for gadgets, a slim channel for straws and skewers.
A few zone-building tricks that make the difference between “organized for a week” and “organized for good”:
- Measure first, buy second. Drawer depths vary wildly. Measure length, width, and depth before ordering anything, or you’ll own a beautiful organizer that doesn’t fit.
- Stop the slide. In wide drawers, utensils migrate every time you open and close them. Line the drawer with a non-slip liner, or lay down cut-to-size corkboard tiles — they grip everything and cost almost nothing.
- Go vertical inside the drawer. Tiered inserts and stacking trays double your usable space for small items like measuring spoons and corn holders.
- Contain the small stuff. Peelers, zesters, and kitchen scissors vanish into the void without a small clear container or a shallow lidded bin to hold them together.
- Leave breathing room. A drawer packed edge-to-edge can’t stay organized. If a zone is overflowing, that’s the drawer telling you the audit wasn’t ruthless enough.
Label the zones if you share your kitchen — a strip of masking tape with “baking” or “grilling tools” ends the daily “where does this go?” interrogation from family members.

Step 4: Move the Awkward Ones Out of the Drawer
Some utensils are drawer saboteurs. The potato masher, the long-handled ladle, the bulky whisk — they jam the drawer, snag on everything, and undo your beautiful zones in a week. The professional move: stop forcing them into drawers at all.
Give your tallest, most awkward tools a countertop home instead. A sturdy ceramic crock or mason jar beside the stove holds the daily-driver spatulas, wooden spoons, and tongs upright and grabbable — and it looks good doing it. Keep the crock edited, though: five to seven tools max. A crock stuffed with twenty implements is just a vertical junk drawer.
Then put your walls and cabinet doors to work:
- A magnetic knife strip mounted on the wall or inside a cabinet door frees an entire drawer section and keeps blades safely separated — no more fishing around sharp edges.
- A rail with S-hooks under a cabinet or on a backsplash holds ladles, strainers, and measuring cups on display and within reach.
- Inside-cabinet-door hooks or racks are perfect for pot holders, thermometers, and the measuring cups you use daily.
- A small pegboard near your prep zone turns dead wall space into flexible utensil storage that you can rearrange as your collection changes.
Getting the bulky tools vertical doesn’t just save drawer space — it makes the tools themselves easier to grab mid-cook, when your hands are messy and patience is thin.
Step 5: Give Small Gadgets Their Own System
The little things cause disproportionate chaos. Measuring spoons separate from their ring and scatter. Peelers and zesters sink to the bottom. The meat thermometer disappears exactly when the roast needs it. Small gadgets need containment even more than big tools do.
Dedicate one shallow drawer — or one lidded container inside a deeper drawer — as the gadget station. Line it with felt or a soft liner so metal pieces don’t rattle and scratch. Corral measuring spoons and cups in a small clear bin (transparent beats opaque here — you can see what’s inside without dumping everything out). Keep specialty items with their partners: the thermometer with the roasting tools, the zester with the baking gear.
And be honest about the unitaskers. That strawberry huller, the banana slicer, the avocado tool with the pitter — each one eats a slot that a versatile tool could use. If a gadget does one job and you use it twice a year, it belongs in the rarely-used bin, not the daily drawer. Your future self, reaching smoothly for the peeler instead of excavating, will thank you.
If your gadget situation has spilled beyond utensils into full pantry chaos, our food storage container guide brings the same zone logic to containers and lids.
Step 6: The 10-Minute Quarterly Reset
Even the best system drifts. Someone shoves the whisk in the wrong slot, a new gadget arrives without a home, the zones blur. The antidote is a tiny recurring habit: once a quarter, spend ten minutes resetting the drawers. Pull out anything that’s migrated to the wrong zone, wipe down the liners (crumbs accumulate in shocking quantities), and evict anything that snuck in without earning its place.
Pair the reset with two standing rules and the system basically maintains itself:
- One in, one out. Every new utensil that enters the kitchen means one leaves. New spatula set for Christmas? The old ones go to donation the same week.
- The two-minute return. Utensils go back to their zones as part of cleanup, not “later.” Later is how drawers revert to chaos.
While you’re at it, glance at the bigger picture once in a while. If your cabinets are bursting too, our kitchen cabinet organization guide applies the same audit-and-zone method upstairs. And if you’re working with a truly tiny kitchen, these small kitchen organization ideas squeeze storage out of spaces you didn’t know you had.
Cooking Shouldn’t Start With a Treasure Hunt
A well-organized utensil drawer is one of those small domestic victories that pays off every single day. No more jiggling, no more spatula avalanches, no more buying duplicates of things you already own. Just open, grab, cook.
Start with the audit this weekend — it’s the highest-impact hour you’ll spend in your kitchen all month. Then build your zones, evict the awkward tools to vertical homes, and set that quarterly reminder. Your future self, calmly reaching for exactly the right tool mid-recipe, will be very glad you did.