
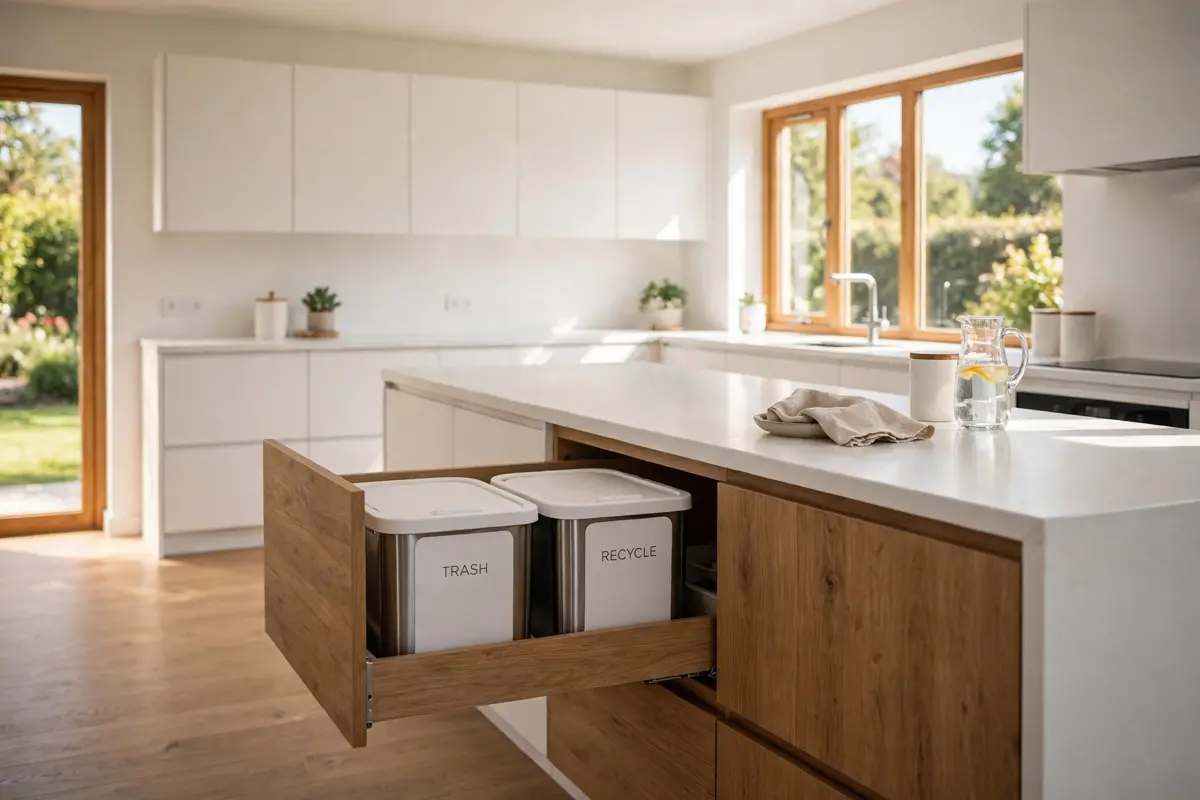

Here’s a scene from my kitchen about two years ago: a tall trash bag leaning against the wall next to the back door, a recycling tote tipped on its side in the hallway because there was nowhere else to put it, and a tiny compost bowl on the counter that smelled like something had given up. Cooking dinner felt like navigating a loading dock. If any of this sounds familiar, what you need isn’t more willpower — it’s a proper system for kitchen trash and recycling organization, one that hides the bins, separates the waste streams, and actually fits the way your household cooks and cleans.
Most of us set up our bins by accident. The good news: a waste system is one of the highest-impact, lowest-cost upgrades in any kitchen. You can do it this weekend, most of the options cost less than a grocery run, and the daily payoff is huge — emptier floors, faster cleanup, and recycling that doesn’t secretly end up in the trash.
The Three-Bin Rule: Sort Where You Stand
The single biggest change you can make is this: stop making trash a two-step trip. Every item in your kitchen gets thrown away, recycled, or composted — so your bins should be reachable from one spot, in one motion. Kitchen designers call this the three-bin rule, and it works because it respects how people actually behave. When the recycling bin is across the room, the cereal box goes in the trash. When the compost bowl is in a cupboard, the banana peels go in the trash. Nobody’s lazy; the setup is just fighting human nature.
A three-bin station means: one bin for landfill trash, one for recycling, one for food scraps or compost. You don’t need all three to have the same size — in most households, recycling fills fastest, trash second, compost smallest. If your trash is always stuffed and the recycling half-empty, your recycling bin is probably too far away, not too small. The fix is placement, not a bigger bin.
Start by finding the natural drop point in your kitchen. Stand at the spot where you scrape plates or empty leftovers — usually the sink or the prep counter — and reach out. The ideal waste station lives within one step of that spot, ideally in a cabinet rather than on the floor. Once you commit to this principle, every idea below becomes easier to choose, because you’re no longer decorating around bins — you’re building one station that does everything.
Kitchen Trash and Recycling Organization Ideas That Actually Work
Below are the setups real families use, from near-free to modest remodel territory. Pick the one that matches your space, budget, and tolerance for DIY — and if you’re also sorting out the rest of the room, our kitchen cabinet organization ideas guide pairs well with this project.
1. The pull-out cabinet converter (the gold standard)
If you can change one thing, make it this: convert one base cabinet into a pull-out waste station. A pull-out frame with two or three removable bins slides out on smooth tracks, so the bins hide behind a cabinet door and appear when you pull the handle. Two 35-quart bins fit in a standard 18-inch base cabinet; that’s enough for a family of four for trash plus recycling. Triple-bin kits exist for the same width and add compost into the same reach.
Measure before you buy: open the cabinet, measure the interior width, height, and depth, and check whether a plumbing pipe or garbage disposal eats into the space. If the cabinet under the sink is crowded, choose the base cabinet next to the sink instead — plate-scraping happens beside the sink, not under it. Installation is usually four screws and an afternoon; no special tools beyond a drill.
2. The tilt-out freestanding cabinet
Renters and anyone who can’t drill into cabinetry have a workaround: a freestanding tilt-out trash cabinet. It looks like a small piece of furniture, the front tilts down to reveal the bins, and most models hold two standard bins plus a drawer for liners. Position it at the end of the counter run or in that awkward gap beside the fridge, and it reads as storage, not garbage. Just confirm it fits your bins before ordering — bin heights vary more than you’d expect.

3. The door-mounted recycling bin
When floor and cabinet space are both scarce, mount a slim bin on the inside of a cabinet door. These are ideal for recycling in small kitchens: a narrow 5-to-7-gallon bin with a hook-over bracket installs in seconds and uses dead space on the door back. One caution — don’t load it past its bracket rating, and keep it on a door near the sink or prep zone so recycling actually lands in it.
4. The countertop compost pail with a system behind it
Compost fails in most kitchens for one reason: the pail sits on the counter for three days getting soggy and smelly, so everyone quietly stops using it. The fix is a small stainless pail (under 1.5 gallons) with a charcoal filter lid, emptied every other day into a larger outdoor bin or curb compost tote. Lining it with compostable bags makes the swap painless. Emptying a tiny pail feels like nothing; emptying a big smelly one feels like punishment. Size the pail to your discipline, not your ambition.
5. The stackable tower for tight corners
Stackable recycling bins turn a dead corner into a full sorting station. Narrow, lidded stackable units hold paper, cans, and glass in the footprint of one bin. They work especially well in laundry rooms and garages too — keep the daily recycling inside the kitchen and the sorted stack near the door you use for taking bins to the curb. This two-stage system (daily bin → sorted stack → curb) keeps small kitchens calm.
6. The bag and liner station inside the waste cabinet
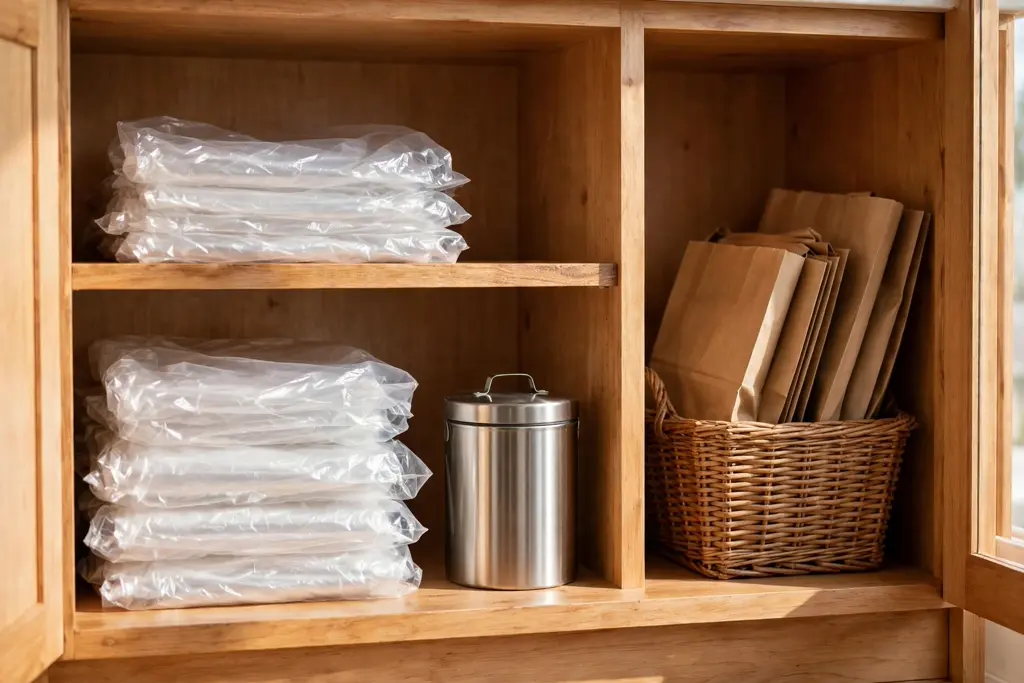
The most overlooked part of any bin setup is what goes around the bins. Reserve a corner of the waste cabinet — or a small caddy inside it — for liners, compostable bags, a box of baking soda, and a spare spray bottle. When everything lives with the bins, bag changes take thirty seconds instead of becoming a scavenger hunt. Keeping the station near the sink also means you can rinse the bins where the water is; see our under-sink organization ideas for making the neighboring cabinet work just as hard.
Measuring and Choosing the Right Bins
Bin shopping goes wrong most often on one thing: people buy bins, then try to make their cabinet fit them. Reverse the order. Empty the cabinet you’re targeting, measure interior width, depth, and height (remembering the door needs to close), then shop with those numbers. Two numbers matter most: the cabinet’s interior width and the bin’s rim width. A 13-gallon tall kitchen bag doesn’t dictate your bin — the cabinet does.
- Width: A single 35-quart bin needs a 15-inch cabinet; doubles need 18 inches minimum. Measure twice.
- Height: Leave 2–3 inches above the bin rim so the cabinet door closes without pressing on bags.
- Depth: Full-depth bins use the cabinet better but are heavier to pull; consider this if the cabinet has rear plumbing.
- Material: Smooth plastic bins wipe clean; stainless looks better but shows fingerprints and dents.
- Lids: Inside a cabinet, open-top bins are fine and easiest to pull out and lift; freestanding bins should have lids or a cabinet front.
For the waste bags themselves, standardize on one bag size per bin and buy the matching liners in bulk — a mixed bag drawer is its own mini-chaos.
Labels: The Five-Minute Fix Nobody Does
You can have the perfect pull-out system and still find recycling in the trash, because every household has at least one person who guesses. Labels fix guessing. A waterproof label on each bin — TRASH, RECYCLING, COMPOST — does more for sorting accuracy than any fancy hardware. This is especially true for kids, guests, and grandparents, who shouldn’t need a briefing to use your kitchen correctly.
Label the outside of the cabinet door too, or use color coding: black bins for trash, blue for recycling, green for compost. When the whole system is visible at a glance, habits stick without nagging. While you’re at it, post a small cheat sheet on the inside of the cabinet door listing what your local program actually accepts — “accepted / not accepted” lists vary by city, and the wrong items (wish-cycling) contaminate recycling loads. One printed list, taped where you sort, beats a hundred reminders.
Keeping It Clean and Smell-Free
A waste station is only as good as its maintenance. Build these five habits into your routine and the system stays invisible, which is the entire point:
- Bag-on-day rule: Trash goes out on collection day whether the bag is full or not — never let it sit past pickup.
- Compost every other day: A small pail emptied on a 48-hour cycle almost never smells. This is non-negotiable in warm months.
- Recycling rinse: Rinse cans and jars before they go in. Sticky recycling is the number-one source of odor and fruit flies.
- Cabinet wipe: When you change liners, wipe the cabinet floor with a damp cloth. Thirty seconds, zero mystery drips.
- Baking soda base: A dusting of baking soda at the bottom of each bin between liners absorbs odors for weeks.
The easiest way to lock these in is to attach the waste station to something you already do. Emptying the compost becomes part of the nightly kitchen reset — same time, same route, no extra decision. And if your leftovers tend to multiply, our tupperware organization guide keeps the containers feeding the compost, not the chaos.
Small Kitchens, Renters, and Tricky Layouts
No spare cabinet? A galley kitchen or a rental with limited cabinets can still run a three-bin system with creative placement. The door-mounted recycling bin from the ideas above is your best friend here. Pair it with a single small trash bin tucked into the narrow gap between the counter and the wall, and a countertop compost pail near the prep zone — three streams, nearly zero floor space.
For corner cabinets — the notorious black holes of kitchen storage — don’t put the bins there. Corner cabinets are hard to reach and harder to clean; bins there go stale. Keep corners for pans and small appliances and put the waste station in the straight cabinet nearest the sink instead. If your kitchen is truly tiny, consider the under-sink space: with the right slim stackable bins and careful measuring around the plumbing, it can hold a compact trash and recycling setup — just never store food or sponges in the same cabinet.
Your Weekend Plan: From Messy to Managed
Here’s the whole project as a Saturday plan, roughly three hours end to end. First, pick your station spot (30 minutes): stand where you scrape plates, find the nearest cabinet, measure it, and decide which of the six ideas fits. Second, order or buy (online, no trip needed): the pull-out kit or freestanding cabinet, bins that match your measurements, liners in bulk, and a pack of waterproof labels. Third, install (about an hour): attach the frame, drop in the bins, and label everything — bins, cabinet door, and the accepted-items list inside.
Then set the rhythms: bag day on your calendar, compost on the nightly route, recycling rinsed before it drops. Give the household one walkthrough — five minutes, point at each label — and the system runs itself. The payoff shows up fast: a kitchen floor you can actually see, a counter without a sad compost bowl, and a recycling bin that stops being a second trash can. That’s kitchen trash and recycling organization done right — not a bigger bin, but a smarter station, one step from where the mess starts.