
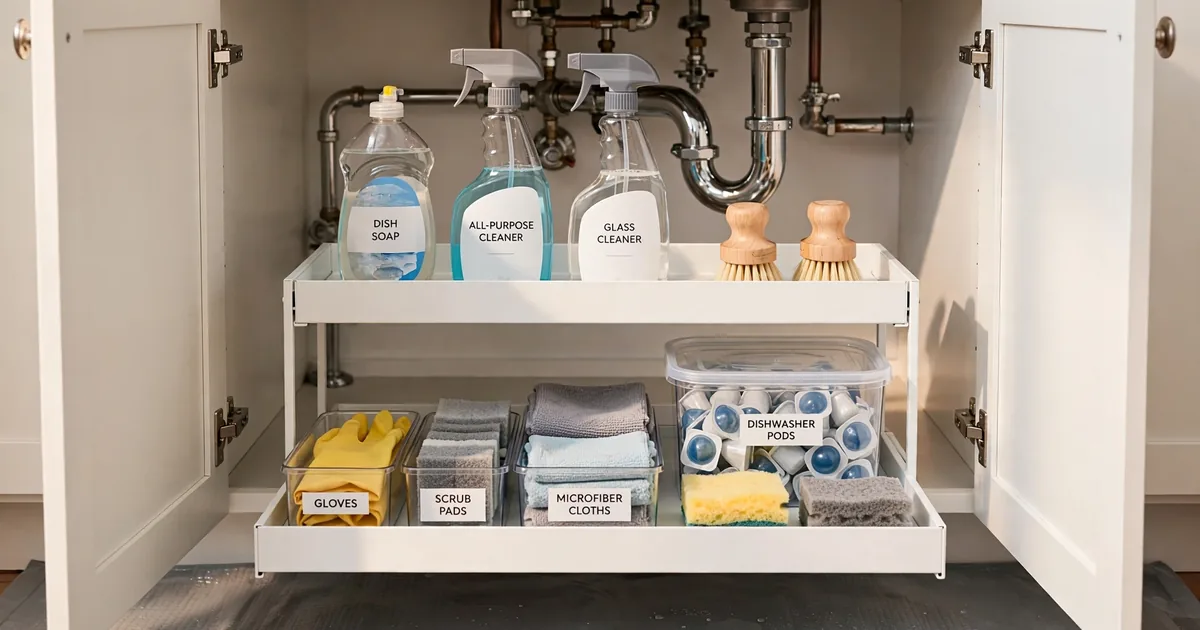

Under sink kitchen organization is one of those chores everyone puts off because the space looks like a lost cause. Open the cabinet and you’re greeted by a tangle of pipes, a leaning tower of spray bottles, three half-empty bottles of dish soap, and a sponge you’re not entirely sure is still a sponge.
Here’s the truth: the cabinet under your sink is one of the most-used storage spots in the entire house. You reach into it at least twice a day — once for the dish soap, once for the sponge, plus every time something needs a quick wipe. When it’s a mess, cooking feels harder than it should. When it’s organized, the whole kitchen runs smoother.
The good news? This is a Saturday-afternoon project, not a remodel. Most under sink kitchen organization systems cost less than a takeaway dinner and take under two hours to set up. You don’t need a drill or a designer — you need a plan that works around your pipes instead of fighting them. In this guide, I’ll walk you through the exact steps I use to turn chaotic sink cabinets into calm, functional storage: the empty-out reset, how to map your plumbing, the pull-outs and tension rods that do the heavy lifting, and the tiny habits that keep it tidy long after the novelty wears off.
Start With an Empty, Honest Reset
Every under-sink rescue begins the same way: take everything out. Spread an old towel on the counter, haul every bottle, sponge, and mystery rag out of the cabinet, and wipe the floor of the cabinet with a damp cloth. You need to see the bare bones — the actual floor, the back wall, the plumbing column — before you buy a single organizer.
Now sort everything into three piles. Be ruthless; this is where the magic happens.
- Keep under the sink: dish soap, sponges, scrub brushes, dishwasher pods, an all-purpose cleaner, rubber gloves, a roll of trash bags, white vinegar. These are the items you grab while standing at the sink — they belong within arm’s reach of it.
- Relocate elsewhere: the hammer that somehow lives under the sink, candles, batteries, pet medication, random pens, spare lightbulbs. Dampness and temperature swings make this cabinet a terrible home for anything that isn’t cleaning-related. That junk you cleared out is a cousin of the stuff that multiplies in drawers — if your utensil drawer needs the same treatment, our 25-minute junk drawer method works on the same principle.
- Toss or recycle: expired cleaners, dried-out sponges, crusty bottles, duplicate products you forgot you owned (this is where three dish soaps came from — you’ll see them all lined up now and wonder why).
While the cabinet is empty, do yourself one big favor: check for leaks. Run your hand along the cabinet floor, feel around the pipe joints, and sniff for mildew. Catching a slow drip now is worth a hundred times more than any organizer you’ll buy later.
Under Sink Kitchen Organization Starts With the Pipes
The number one mistake people make is buying a pretty organizer first and discovering their plumbing disagrees with it. Measure before you shop. Grab a tape measure and note three numbers: the interior width, the depth from the door to the back wall, and the clear height on each side of the pipe column. Snap a photo of the measurements on your phone so you have them in the store.
Here’s what you’re working around: the drain pipe running down from the sink, possibly a garbage disposal (a big metal cylinder that eats floor space), and shut-off valves on either side. Instead of forcing one big organizer into this obstacle course, think in modular pieces — several small organizers that slot around the plumbing. Flexible systems win here every time because no two homes have the same pipe layout.
- U-shaped organizers are built to hug the plumbing column, with a cutout in the middle — the closest thing to a custom fit off the shelf.
- Narrow tiered shelves fit in the slivers of space on either side of the pipes and turn one layer of storage into two.
- Renters, relax: almost everything in this guide is tension-fit or adhesive-mounted. Nothing in this article requires drilling into the cabinet.
Once you know your clear zones — the floor space, the vertical air above short items, the inside of the doors — you can assign a job to each one. That’s the whole game: every item gets a zone, and every zone respects the pipes.
Pull-Out Drawers That End the Back-of-Cabinet Black Hole
If your cabinet is deep, you know the black hole problem: items migrate to the back, vanish, and are never seen again until you buy a replacement — and then you own two. Pull-out drawers fix this in one move. You tug a handle, and the back row comes to you. No kneeling, no headlamp, no contortionist act.
A two-tier pull-out placed on either side of the plumbing is the classic setup. Load it with intent: the top tier holds the daily crew — dish soap, sponge, dish brush, the all-purpose spray you reach for at breakfast. The bottom tier holds the backups — the refill jug of dish soap, the spare pack of sponges, the specialty cleaners you use weekly. Look for models with adjustable dividers and a weight rating that can handle full bottles; cheap sliders buckle under real cleaning products.
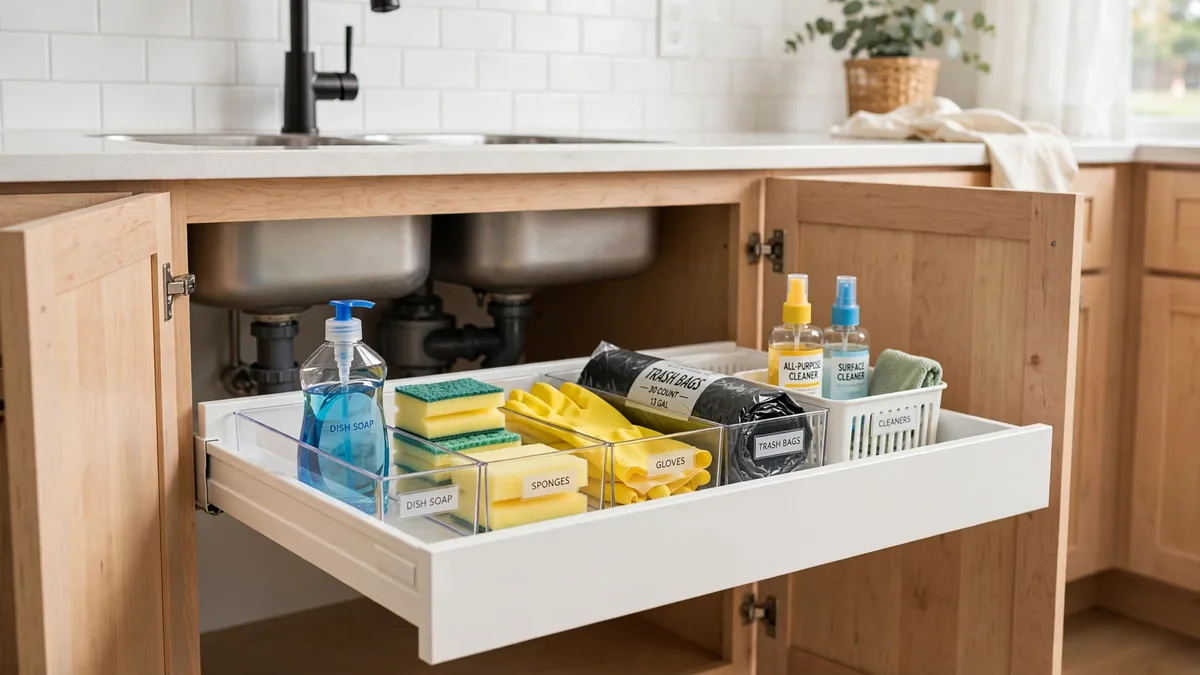
Not ready for pull-outs? Clear stackable drawers give you 80% of the benefit for a fraction of the cost. The transparency matters more than you’d think: when you can see the spare dish soap without opening anything, you stop buying a fourth bottle.
Think of this as part of a bigger cabinet system. If the cabinets above the sink are overflowing too, our kitchen cabinet organization guide tackles those with the same zone-everything approach.
What goes where: a quick pull-out map
- Right side, top tier: the items you grab most (dominant-hand side wins — a pro organizer trick worth stealing).
- Left side, top tier: dishwasher pods and dishwashing aids, ideally on the side nearest the dishwasher.
- Bottom tiers: refills, backups, and anything you only touch once a week or less.
The Tension Rod Trick for Spray Bottles
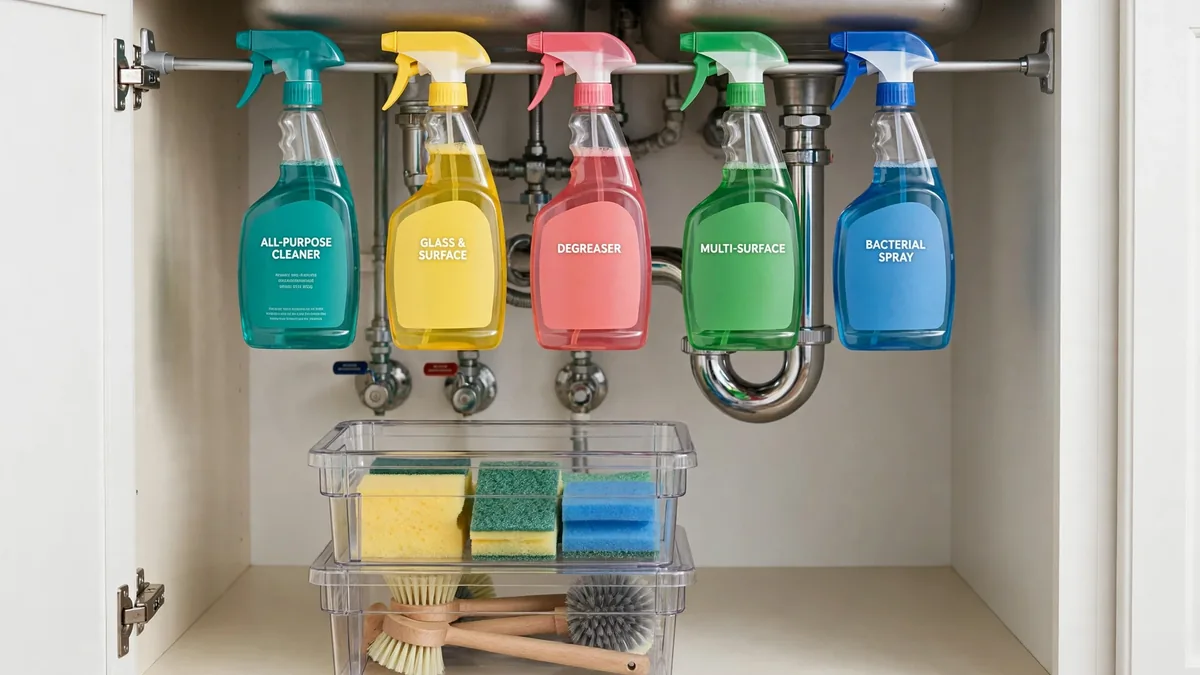
This is the highest-impact hack in under sink kitchen organization, and it costs less than a coffee. Install a metal tension rod horizontally across the cabinet, high up near the top, and hang your spray bottles by their trigger handles. One twist of the rod, five minutes, done.
What you get back is an entire row of floor space. Spray bottles are tall, awkward, and topple at the slightest nudge — getting them airborne solves all three problems at once. Add a few S-hooks to the same rod and you’ve got a hanging station for dish brushes, a roll of small trash bags, or a damp cloth that needs to dry out between uses.
A few practical notes: measure the cabinet’s interior width before buying the rod so it actually tensions properly, keep it high enough that hanging bottles clear your pull-out drawers below, and don’t overload it — a rod with six bottles is storage, a rod with twelve is a load test. For a space this small, this single rod often matters more than any shelf you could add.
Steal Back the Door Space
The inside of your cabinet doors is free square footage you’ve been ignoring. This is the perfect home for the small, flat things that clutter the floor: rubber gloves, spare sponges, a trash-bag roll, dishwasher tablets.
- Adhesive wire caddies stick to the door and hold sponges, gloves, and scrub pads — strong enough for daily use, removable for renters.
- A slim over-the-door basket works for folded trash bags and box-style dishwasher pods.
- Self-adhesive hooks take a dish brush or a pair of gloves and cost practically nothing.
Before you stick anything on, do the clearance test: close the door slowly and watch that the caddy doesn’t collide with your pull-out drawers or tension rod inside. Measure twice, stick once — adhesive is forgiving, but not that forgiving.
One more idea that earns its keep: a compact trash station. If your cabinet has room, a slim pull-out bin for a trash can on a glide-out track turns the under-sink cabinet into a proper cleaning station — waste and supplies in one place. And if your fridge shelves are the next battlefield, our fridge organization guide applies the same everything-in-its-zone thinking to cold storage.
Making Your Under Sink Kitchen Organization Last
Organization without protection is a countdown to damage. Under-sink cabinets live one drip away from a ruined floor, so finish the job with moisture defenses: a waterproof liner mat across the cabinet floor, drip trays under your cleaning bottles, and clear (never cardboard) containers for anything stored low. Water finds cardboard packaging fast, and once the floor swells, no organizer will sit straight again.
One safety note that matters in real homes: if you have kids or pets, keep harsh chemicals in a caddy on a higher shelf or add a simple child-safety latch to the door. The cleaning supplies that belong here are convenient for you — and that means they’re reachable for curious little hands too.
Finally, the five-minute monthly reset. This is the habit that keeps the whole system alive. Once a month — the first Saturday works — open the cabinet, slide out the bins, and run through this checklist:
- Check the floor and pipe joints for drips or dampness.
- Toss empties and recycle bottles you finished.
- Push everything back into its zone and wipe down the liner.
Five minutes, tops. Fold it into your existing rhythm — our daily cleaning routine that actually sticks is built on exactly these small, repeatable wins. Systems that need an hour of maintenance die; systems that need five minutes survive.
Here’s what you’ve really bought with one afternoon and a few organizers: no more kneeling to dig for dish soap, no more avalanche of spray bottles, no more buying your third bottle of something you already owned. The cabinet under your sink went from the most avoided spot in your kitchen to the most reliable one.
Start today with the empty-out reset — it costs nothing and takes twenty minutes. Measure your pipes, add the pull-outs and the tension rod, steal back the door space, and protect it all from moisture. Then let the five-minute monthly check do the long-term work. A calm cabinet makes for a calmer kitchen, and a calmer kitchen makes everything else — cooking, hosting, even the morning coffee rush — just a little bit easier.