
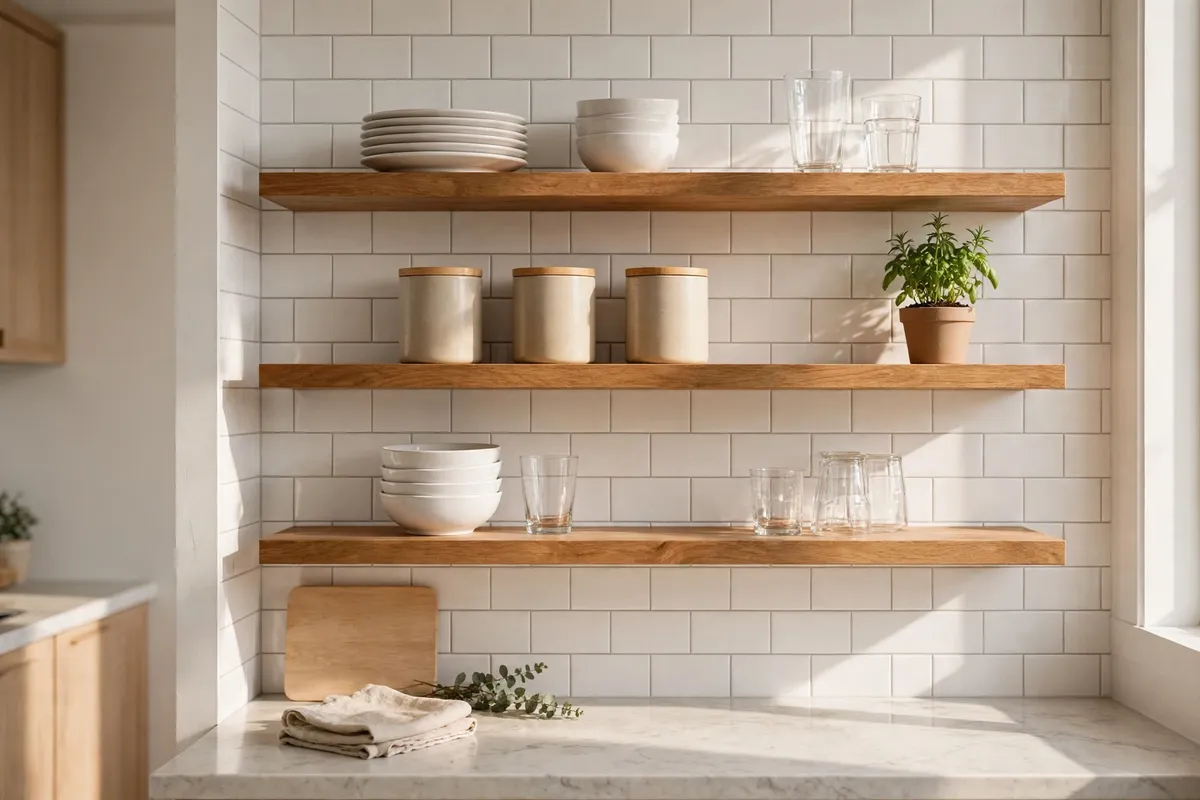

Kitchen open shelving organization looks effortless in photographs and completely different in real life. In the photos, three neat shelves hold a row of white bowls, a stack of plates, and a trailing plant. In real life, those same shelves somehow end up holding twenty-three mugs, a cereal box with the top torn off, a chipped plastic container nobody can find the lid for, and a slow layer of dust that seems to appear overnight. The difference is not better taste or a bigger budget. It is a system. Open shelves only work when they are edited on purpose, filled to about seventy percent, and organized around the way you actually cook, pour coffee, and set the table.
The good news is that none of this is complicated. You do not need matching everything or a kitchen remodel — just a few honest decisions about what earns a spot on display, a simple zoning habit, and a willingness to move the noisy stuff behind closed doors. Done well, open shelves make a kitchen feel bigger and easier to use, because everyday things sit at eye level instead of buried in a cupboard.
Kitchen Open Shelving Organization Starts With a Ruthless Edit
Before you arrange a single plate, take everything off the shelves. All of it. Wipe the boards down, because dust and cooking film dull even the prettiest ceramics, and then sort what came off into three groups: daily, weekly, and rarely. Daily means you touch it almost every day — everyday plates, cereal bowls, the two or three mugs you actually drink from. Weekly means once or twice a week — pasta bowls, the big salad bowl, the serving platter. Rarely means everything else, and that group is almost always bigger than people expect.
Here is the rule that changes everything: only daily and weekly items earn a spot on open shelves. Everything else goes to a closed cabinet, a drawer, a pantry shelf, or out of the kitchen entirely. This is the hardest step and the most effective one. The fondue set you use at Christmas, the novelty mug collection, the fourth set of ramekins — not bad things, just wrong for open display. When shelves hold only what you genuinely use, they stop looking like storage and start looking like a choice.
Be honest about duplicates while you are at it. Most kitchens have three spatulas, two colanders, and plastic containers that multiply in the dark. Keep the best version of each item on display and store the rest elsewhere. If you have not reached for something in six months, it does not belong at eye level, and anything chipped or stained should retire too — a chipped mug on an open shelf is on show every single day.
Zone Your Shelves by How You Actually Cook
The second mistake is treating each shelf as a random row of stuff. Shelves work far better zoned by function, the way a good kitchen layout puts pots near the stove and glasses near the dishwasher. Think about your daily routines and give each one a home.
Most kitchens end up with three or four natural zones:
- Everyday dishes: dinner plates, side plates, bowls, and the glasses you use at every meal. Keep this zone closest to the dishwasher or the table, so putting things away is a short trip.
- Coffee and tea: mugs, a jar of coffee beans, tea boxes decanted into a tin, and the pour-over or French press if you use it daily. Keeping this zone together turns bleary mornings into a two-minute routine.
- Cooking staples: the olive oil, the salt crock, the pepper grinder, and the two or three sauces you reach for constantly. Keep these near the stove but not directly above it, where steam and grease collect fastest.
- Serving pieces: the big bowl, the platter, the cake stand — the pieces that come out for guests and weekend meals. These can live on the highest shelf, since you only need them occasionally.
Zoning does more than look tidy. It means you stop hunting: when the coffee things are always in the same corner and the plates are always in the same stack, anyone in the household can set the table or make breakfast without asking where things live. If you are building out a dedicated drinks corner, a proper coffee station organization setup pairs beautifully with open shelves, because the mugs and jars are already on display and ready to use.

Keep Shelves About 70% Full
If there is one number worth remembering, it is seventy percent. Shelves that are about seventy percent full look intentional. Shelves that are completely full look like a warehouse. The empty thirty percent is not wasted space — it is breathing room, and it is what makes the difference between a shelf that looks styled and a shelf that looks stuffed.
In practice, leave gaps between groupings: a stack of plates, a little space, then a row of glasses; a cutting board leaning at the back, a small bowl in front, then air before the next group. Your eye needs those resting points — without them, even beautiful dishes blur into clutter.
Try the two-to-three grouping rule: two or three groupings per shelf, not five or six — a stack of plates with a board behind it, or three matching glasses beside a small plant. More than three groupings almost always reads as busy. If a shelf looks crowded, do not rearrange it — remove one or two items and look again.
Height matters too. A shelf full of short items looks flat, so mix heights on purpose: a tall olive oil bottle beside a low stack of bowls, a cookbook standing upright next to a row of mugs. Stack plates no more than five or six high, so the stack feels easy to lift, and nest bowls inside one another. Put the heaviest items on the lowest shelf, both for safety and because a heavy stack up high makes the whole wall feel top-heavy.
Repeat Shapes, Materials, and Colours
Repetition is the quiet secret behind every calm-looking shelf. When the same shapes and materials show up again and again, the eye reads the shelf as one composition instead of twenty separate objects. You do not need everything to match — a kitchen full of identical white dishes can feel like a showroom — but you do need a thread running through it.
Start with a base that repeats. White plates, clear glasses, and one wood tone will carry almost any kitchen. Then add one accent on purpose: a soft sage green in two bowls and a small vase, or warm terracotta in a serving dish and a plant pot. The key is that the accent repeats at least twice. One lone red mug looks like an accident. Two red pieces look like a decision.
The same rule applies to materials. Mixing wood, ceramic, glass, and metal gives a shelf depth, but scattering every finish at random gives it chaos. Pick a dominant material and let the others support it — wood and cream ceramics for a farmhouse feel, glass and matte black for a modern one — and keep the metal consistent: one finish for hooks, brackets, and jar lids.
This is also where decanting earns its keep. Cooking staples in plain, matching jars — flour, sugar, rice, coffee — look calm and make it easy to see what is running low. You do not need a full matching set; even three or four consistent jars will pull a shelf together. Just be realistic: if you hate decanting, skip it. A tidy shelf of things you actually use beats a beautiful system you abandon in a fortnight.
Kitchen Open Shelving Organization Means Knowing What to Hide
Some things simply do not belong on open shelves, no matter how well you style them. Loud packaging is the biggest offender: cereal boxes, chip bags, and brightly branded boxes turn a calm shelf into a supermarket aisle in seconds. The same goes for mismatched plastic containers, cleaning sprays, and anything with a stained or torn label. If you would not want it photographed on your countertop, you will not love it on an open shelf.
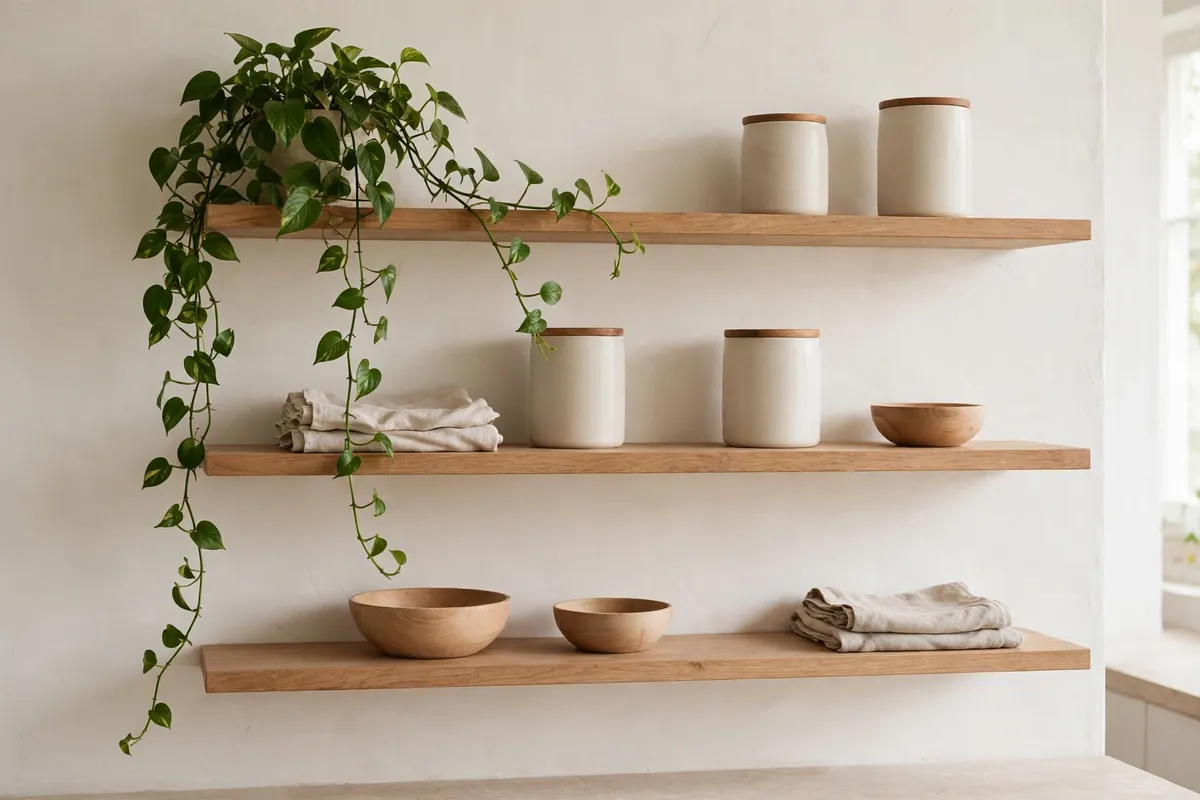
Give those items a closed home instead. A well-planned kitchen cabinet organization system is the partner open shelves need — closed cabinets absorb the visual noise so open shelves stay calm. Cleaning supplies go under the sink or in a utility cupboard. Bulk food stays in the pantry, and only the small working jar earns shelf space. Plastic containers stack in a deep drawer, out of sight.
The same logic applies to your counters. Open shelves and countertops share the same visual field, so a cluttered counter will undo tidy shelves and vice versa. A few kitchen counter organization ideas will help you decide what stays out permanently and what gets put away after use, for one calm look from shelf to worktop.
Spices deserve a special mention, because they are the classic shelf-spoiler: dozens of small jars in different shapes, heights, and label styles. If you love a spice row, decant into matching jars and keep it to one short run. Otherwise, spices are happier in a drawer or closed cabinet, where mismatched jars do not matter. Our guide to spice organization ideas walks through drawer and cabinet options that keep them accessible without the visual noise.
Dust, Grease, and the Seasonal Swap
Open shelves ask a little more of you than closed cabinets, and it is better to plan for that. They collect dust and cooking film faster, especially near the stove, where grease settles on anything left out. The fix is mostly automatic: daily-use items get washed and handled constantly, so they never get dusty, while rarely used, grease-prone pieces stay in closed storage.
Build a small routine around it. Once a week, when you are already wiping the counters, run a damp cloth along the shelf boards and give the displayed items a quick once-over. Once a month, take down the top shelf — the one you reach for least — and wipe it properly. That is the whole maintenance plan, and it takes less time than hunting for a missing lid in a cluttered cupboard.
Finally, let your shelves change with the seasons. An open shelf arrangement is not a permanent installation, and treating it like one is how shelves go stale. In summer, swap in a pitcher for iced drinks, a bowl of lemons, and lighter linens. In autumn, bring out heavier mugs, a ceramic casserole, and a jar of cinnamon sticks. Rotating just a few pieces every couple of months keeps the shelves feeling fresh without a full redesign — and it answers the quiet question of the decorative piece untouched for a year. If something has not been touched or enjoyed in twelve months, move it to a cupboard or pass it on. Shelves should hold what your life looks like now, not what it looked like three kitchens ago.
The best open shelves are not the ones that photograph perfectly. They are the ones that make Tuesday morning easier: the plates are where your hand expects them, the coffee mugs are in one place, the shelf is full enough to feel abundant and empty enough to breathe. Start with the edit, zone by routine, hold the line at seventy percent, repeat your materials, and hide the noise. Then step back and look at the wall as a whole. If it feels calm, useful, and a little bit like you, it is done — and when life changes, the shelves can change with it in an afternoon.