
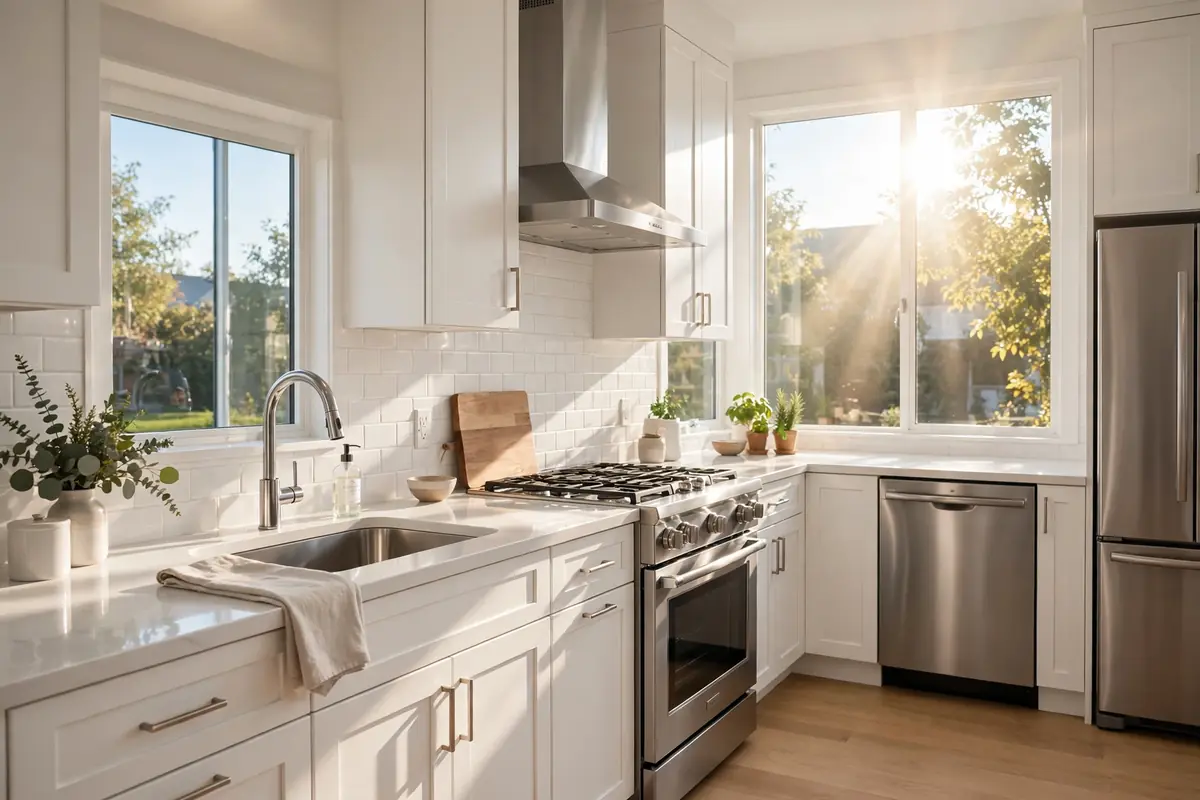

There is a special kind of tired that only a kitchen can produce. You wipe the counters every night, you run the dishwasher, you tell yourself it looks fine — and then one Saturday you pull the toaster forward and discover a grease-stained time capsule of everything you have cooked since spring. This kitchen deep cleaning checklist is for exactly that moment. It is a complete, room-by-room-style walk through a single room: the kitchen, top to bottom, so that every hidden corner gets handled in one satisfying afternoon instead of haunting you for another six months.
A deep clean is not your everyday tidy-up. Your daily wipe-down keeps the kitchen usable; a deep clean resets it. We are talking about the inside of the oven, the back of the fridge, the grease film on top of the cabinets, the crumbs that have set up a permanent camp under the toaster. Nobody wants to do all of this every week — and you should not. Once a season, or about every three to four months, is the sweet spot for most households.
Before we start, a quick promise: this checklist is designed for a real kitchen with real cookware, real crumbs, and a real person doing the work. No professional equipment required, no fourteen-step miracle products, and nothing that asks you to rearrange your entire life. Just a logical order, a few household basics, and one afternoon.
Gather your kitchen deep cleaning checklist supplies first
Deep cleans fall apart when you are running to the store halfway through. Take ten minutes to assemble your kit before you touch a single surface. You probably own most of this already:
- All-purpose cleaner or a simple mix of warm water and dish soap
- Baking soda and white vinegar (the classic grease-fighting pair)
- A degreaser for the range hood and stovetop area
- Microfiber cloths — at least four, because you will go through them
- A non-scratch scrub sponge and an old toothbrush for grout and edges
- Rubber gloves, a step stool, a trash bag, and an empty laundry basket
The laundry basket is the unsung hero here. As you clean each zone, toss stray items into it instead of putting them away properly — you will do one final put-away round at the end, and it keeps the momentum going. If you want the kitchen to stay closer to this clean state between deep cleans, pair this seasonal reset with a nightly kitchen reset that keeps surfaces clear day to day.
Your kitchen deep cleaning checklist, step by step
Work top to bottom and dry to wet. That means ceiling and cabinet tops first, floors last. Anything you dislodge falls downward, so this order means you only clean each surface once. Start your oven self-clean cycle or baking-soda soak before anything else, because it needs dwell time while you work the rest of the kitchen.
Zone 1: The high ground — 20 minutes. Grab the step stool and start with the tops of the cabinets, the range hood exterior, light fixtures, and the tops of tall appliances. These surfaces collect a fine film of dust mixed with cooking grease, and most people never touch them until moving day. Wipe with a damp microfiber cloth and a little degreaser, then dry. If you have a vent hood filter, pop it out and soak it in the sink in hot water with dish soap while you keep working.
Zone 2: Cabinets and drawers — 30 minutes. Wipe down every cabinet door and drawer front, paying attention to the handles and the area around them, where hands leave invisible grime. Work in small sections with your all-purpose cleaner and a wrung-out cloth. You do not need to empty every cabinet on a routine deep clean — but open them all, toss anything expired, and wipe the shelf liners or bare shelves where you can reach. If one cabinet has become a junk drawer annex, this is your invitation to finally sort it; if you need backup, our guide to decluttering a junk drawer pairs perfectly with this zone.
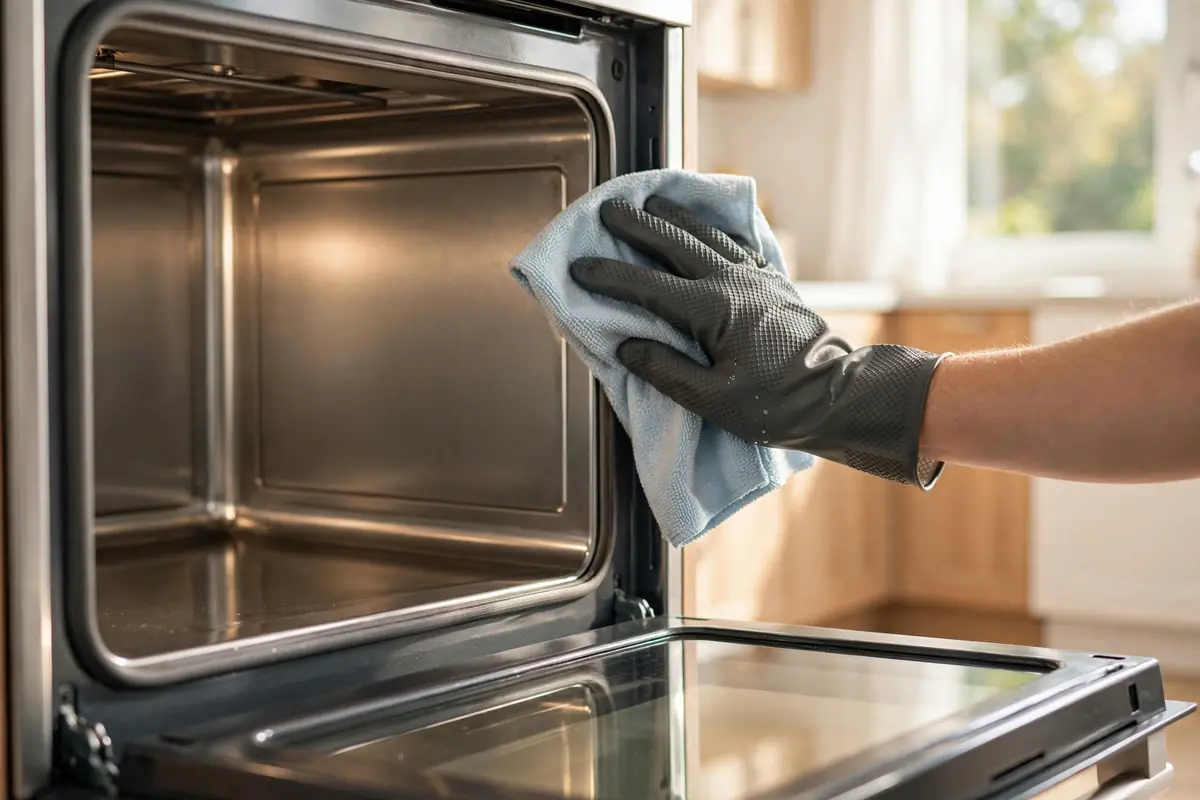
Zone 3: The oven, stovetop, and microwave — 40 minutes. This is the heart of the job and the part that transforms the whole room. For the oven: pull out the racks to soak in hot soapy water, then spread a paste of baking soda and water over the interior (avoiding heating elements), and let it sit. For the stovetop: lift off grates and burner caps, soak them in the sink, and scrub the surface beneath with your degreaser and the non-scratch sponge. For the microwave: heat a bowl of water with a few lemon slices for three minutes, then wipe the softened splatters away — the steam does most of the work. Return to the oven paste after it has dwelled, spray lightly with vinegar to loosen it, and wipe clean with damp cloths. It will not look factory-new, but the difference will be dramatic.
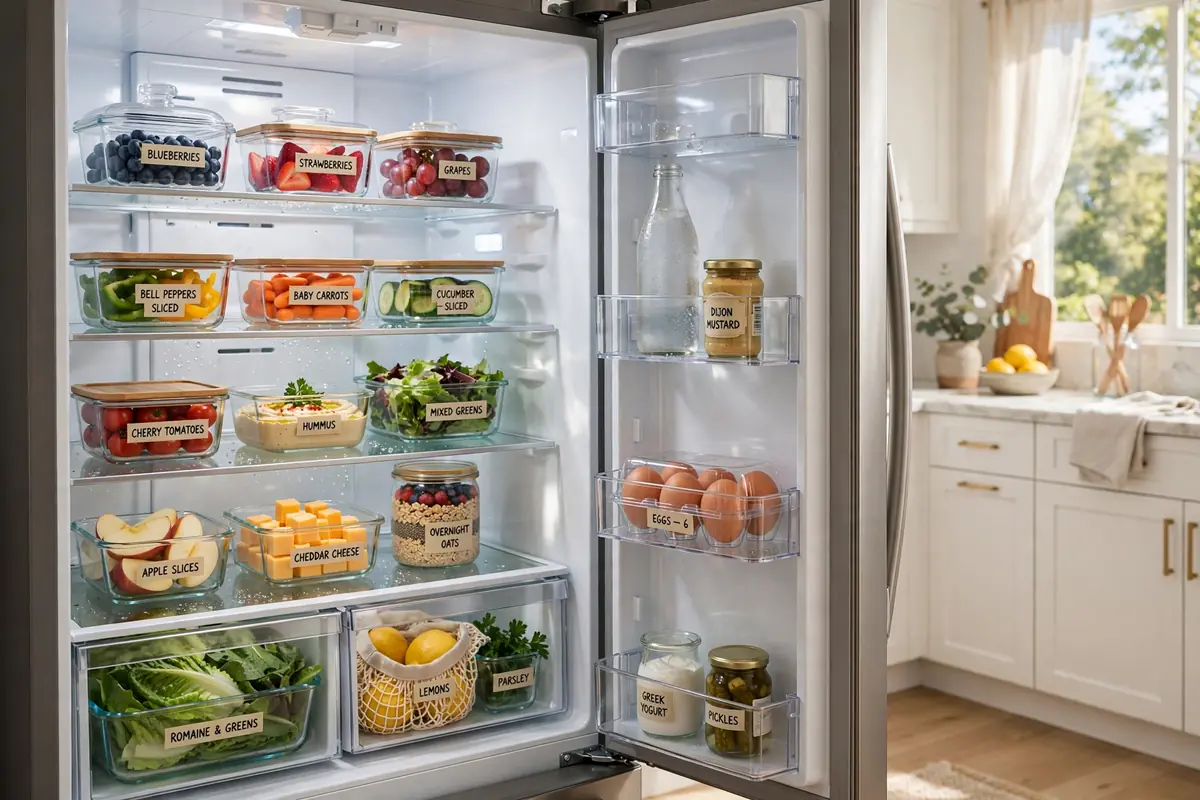
Zone 4: The fridge — 30 minutes. Empty the refrigerator completely, shelf by shelf, checking dates as you go — condiments have expiration dates too, and that jar of pickles from two years ago can go. Remove shelves and drawers, wash them in the sink with warm soapy water, and wipe the interior walls with a baking-soda solution (a tablespoon in a quart of warm water) which cleans and deodorizes at once. Dry everything before restocking, and wipe the door seals, which quietly collect mold and crumbs. For keeping the fridge orderly between deep cleans, our fridge organization ideas will save you from doing this chore twice as often.
Zone 5: Sink, faucet, and small appliances — 20 minutes. Scrub the sink basin with baking soda and a sponge, paying attention to the drain rim and the base of the faucet, where limescale and grime love to hide. The old toothbrush earns its keep here. Wipe down the outside of every small appliance — the toaster, the kettle, the coffee maker — and pull each one forward to clean the countertop underneath. Descale the kettle with a half-and-half vinegar and water boil, and run the coffee maker with a vinegar cycle followed by two plain water cycles.
Zone 6: Countertops, backsplash, and walls — 20 minutes. Clear everything off the counters and wipe them down with the appropriate cleaner for your surface (stone-safe for granite and marble, mild soap for laminate, oil for butcher block). Scrub the backsplash, especially the tiles right behind the stove, where grease spatters invisibly until the light hits them at the wrong angle. Spot-clean any splashes on the walls and wipe the switch plates — you will be amazed how much brighter the room looks with clean switches alone.
Zone 7: Floors and finishing touches — 25 minutes. Sweep or vacuum first, getting under the edges of the cabinets and behind the trash can. Then mop with a bucket of warm water and a few drops of dish soap — or your usual floor cleaner. Wash the trash can itself with soap and water and let it air-dry outside if you can. Empty that laundry basket of stray items, put everything back in its home, replace the vent hood filter, and take out the trash. Stand in the doorway and look at your kitchen. That glow is real.
The spots everyone forgets on a kitchen deep clean
Even careful cleaners miss the same places every time. Run through this quick hit list before you declare victory:
- Under the sink: pull everything out, check for leaks, wipe the cabinet floor, and toss the half-empty bottles you have been avoiding.
- The dishwasher: empty the filter, wipe the door seal, and run an empty hot cycle with a cup of vinegar on the top rack.
- Light fixtures and window sills: grease travels; wipe them and the blinds or curtains nearby.
- The top of the refrigerator: if you can reach it, it is filthy — wipe it down.
- Pet bowls and their area: wash the bowls and mop the feeding corner, which collects more grime than you think.
- Outlet covers and the microwave handle: high-touch spots that rarely make any list.
How often should you repeat this kitchen deep cleaning checklist?
For most households, a full deep clean like this one every three to four months is plenty. If you cook most meals at home, lean toward quarterly; if you mostly reheat and eat out, twice a year is fine. The oven and the fridge are the two zones that benefit most from staying on schedule — grease and food residue get dramatically harder to remove the longer they bake on, so a date on the calendar beats willpower every time.
Between deep cleans, the maintenance that matters most is small and boring: wipe the stovetop when you are done cooking, run the dishwasher filter rinse monthly, and keep the counters clear so grime has nowhere to hide. A simple daily cleaning routine that actually sticks turns this quarterly deep clean from an exhausting marathon into a straightforward refresh, because you will never be starting from zero again.
A kitchen that stays cleaner, longer
Here is the quiet truth about deep cleaning: the cleaning itself is not the hard part — the hard part is the months before, when every little task feels too small to matter. This checklist breaks the big scary job into zones with honest time estimates, and once you have done it, you will know exactly which parts your kitchen actually needs next time. Most people find their second deep clean takes half as long as the first.
So pick a Saturday, put on a podcast, and work the zones in order. By dinner time you will have the kind of kitchen that makes cooking feel easy again — and that feeling is worth protecting with fifteen unglamorous minutes a night. Your future self, reaching for the toaster, will thank you.
[…] inches, wipe the floor behind them now. If you want a deeper pass on this room once settled, our kitchen deep cleaning checklist walks through the whole job step by […]