
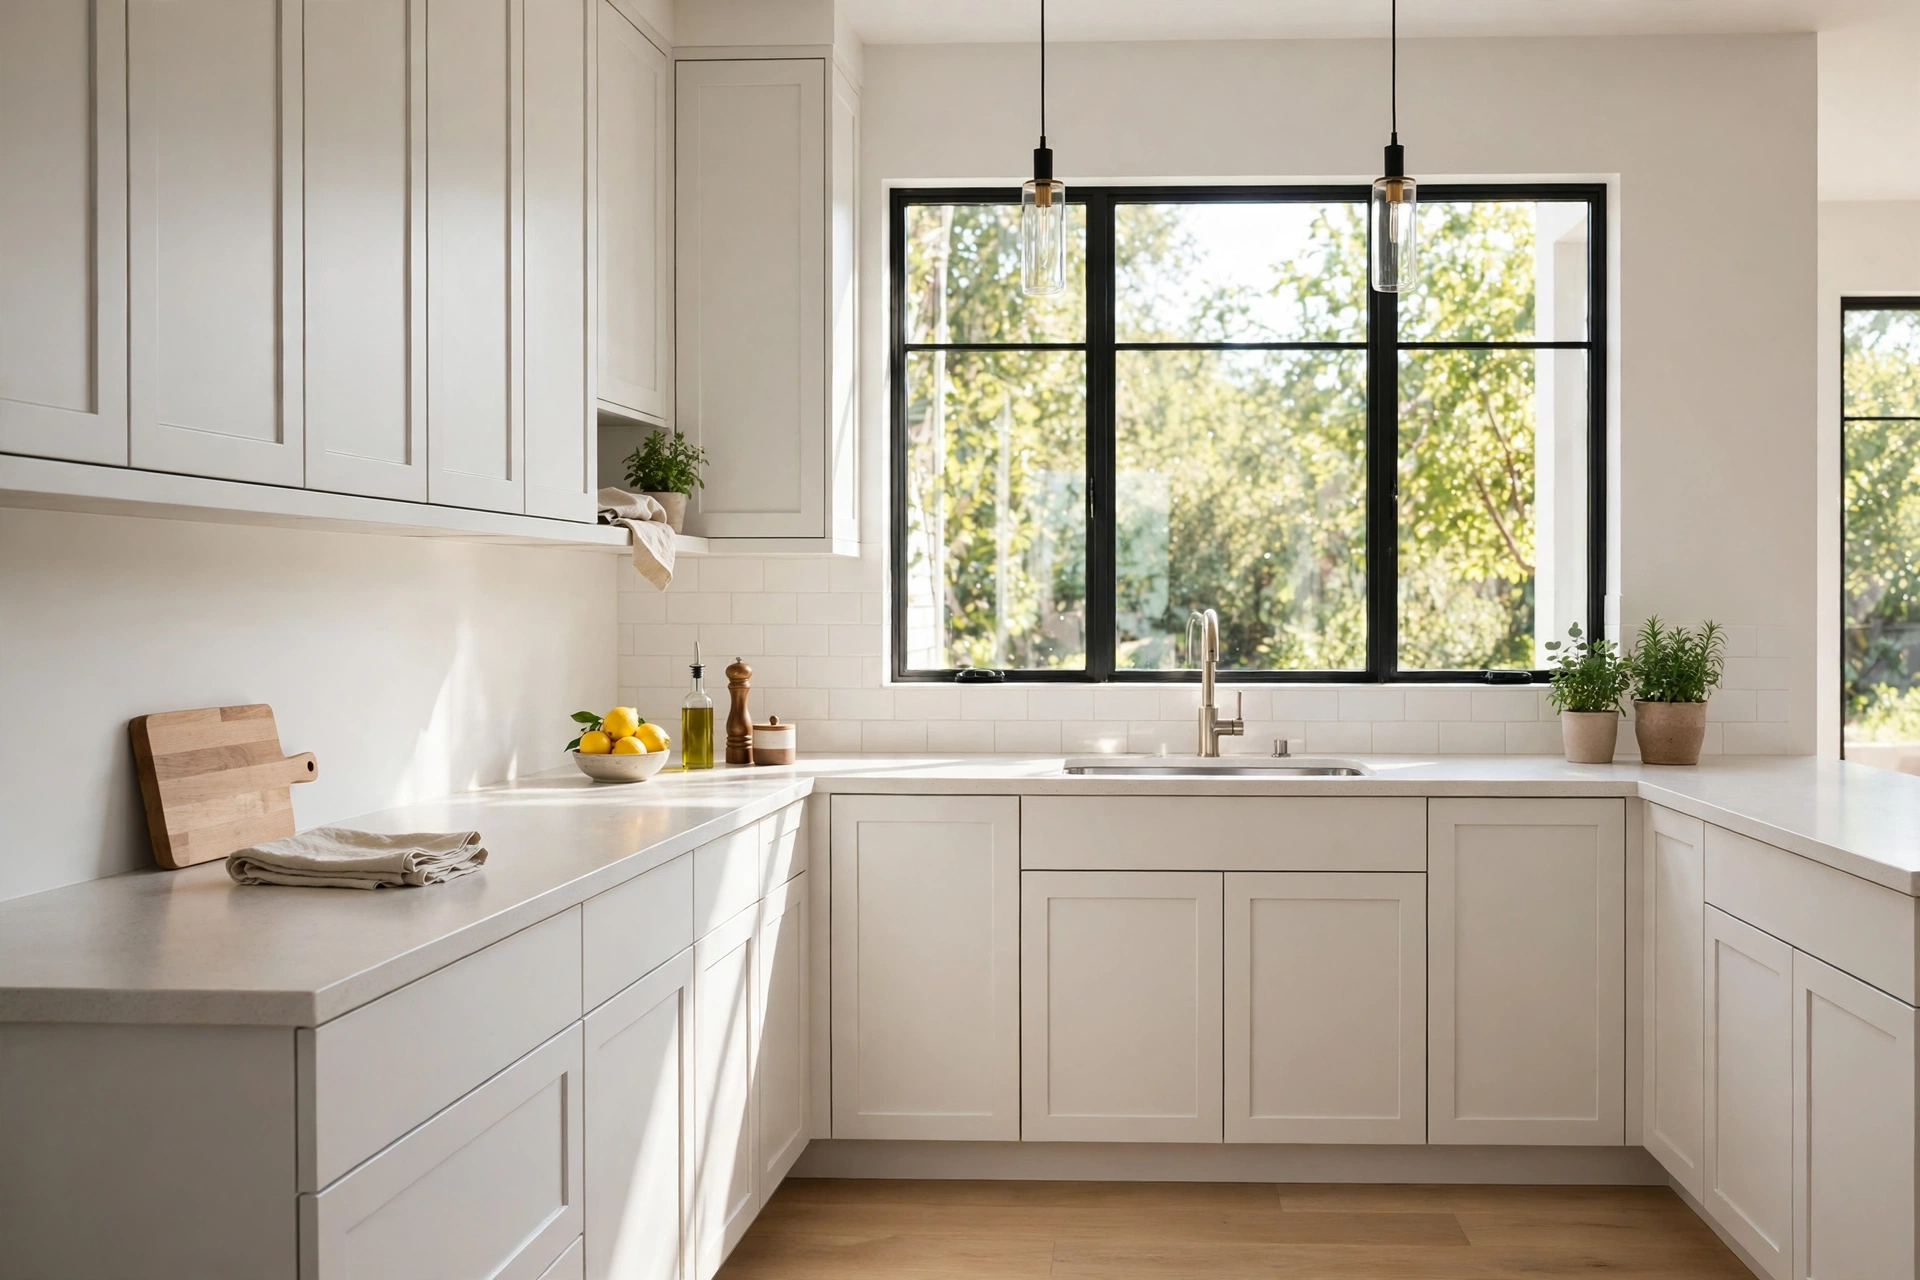

Learning how to declutter a kitchen without ending the weekend exhausted, cranky, and surrounded by half-empty boxes is mostly a matter of pacing. Most people fail not because their kitchen is uniquely messy, but because they try to do everything at once, in one heroic marathon, with no plan and no stopping point. This guide takes a different approach: a zone-by-zone plan broken into short, timed sessions across a weekend, so you finish with a kitchen that actually stays tidy — and energy left over for Sunday dinner.
Here is the honest truth about kitchen clutter: it is rarely about laziness. Kitchens accumulate things quietly. A free mug from a conference here, a third spatula there, a gadget bought for one recipe and never touched again. The fix is not a bigger kitchen or a shopping trip to the container store. It is a calm, methodical clear-out, one zone at a time.
Before You Start: Five Ground Rules That Prevent Burnout
Before you pull a single item out of a cupboard, agree to these rules. They are what separate a satisfying weekend project from a miserable one.
- Work in timed sessions, not marathons. Set a timer for 45 to 90 minutes, then take a real break. Two focused sessions a day will get you further than one eight-hour slog.
- Finish one zone before starting another. A half-emptied cabinet plus a half-emptied pantry plus a half-emptied fridge equals three messes. One finished zone gives you momentum.
- Keep a box and a bag beside you at all times. The box is for donations, the bag is for trash and recycling. Decide as you go — do not make a “maybe” pile.
- Do not buy organizers yet. This is the rule everyone wants to skip, and it matters most. You cannot organize clutter; you can only contain it. Declutter first, live with the emptier space for a week, and only then buy storage that fits what you actually kept.
- Take a “before” photo. You will forget how far you have come by Sunday afternoon, and that photo is your proof.
Have a few supplies ready before Saturday morning: trash bags, a donation box, a damp cloth, and a small step stool for high cabinets. That is it — no special products required.
How to Declutter a Kitchen in a Weekend: The Zone-by-Zone Plan
The plan below splits the kitchen into four zones across four sessions. If you only have one day, pick two zones and schedule the rest for the following weekend — a half-finished kitchen that you actually completed is far better than a whole kitchen abandoned halfway. If you have a few evenings instead of a weekend, the same sessions work perfectly as weeknight projects.
Session 1 — Saturday Morning: Counters and the Junk Drawer
Start with the counters, because they are what you see every time you walk into the room. Clearing them first gives you an instant, visible win, and you need that empty surface as a staging area for everything else. Take everything off the counters, wipe them down, and only put back what you genuinely use daily: the coffee maker, the kettle, the knife block, perhaps a fruit bowl. Everything else earns its place or leaves.
Be honest about the decorative items. That pretty olive oil bottle you never cook with, the bread maker gathering dust, the stack of cookbooks you look up recipes for on your phone — they are taking up prime real estate. Move them to a cabinet, donate them, or store them elsewhere. Clear counters are the single biggest change you can make to how your kitchen feels, and you can read more ideas in these kitchen counter organization ideas once the decluttering is done.
Next, tackle the junk drawer while your energy is still high. Empty it completely, throw away dried-out pens, dead batteries, mystery keys, and expired coupons, and group what remains: tools in one corner, batteries together, tape and scissors together. If you want a step-by-step for this drawer specifically, this guide on how to declutter a junk drawer in 25 minutes breaks it down beautifully. For a longer-term fix, these kitchen drawer organization ideas will keep it from sliding back into chaos.
Session 2 — Saturday Afternoon: Cabinets and Drawers
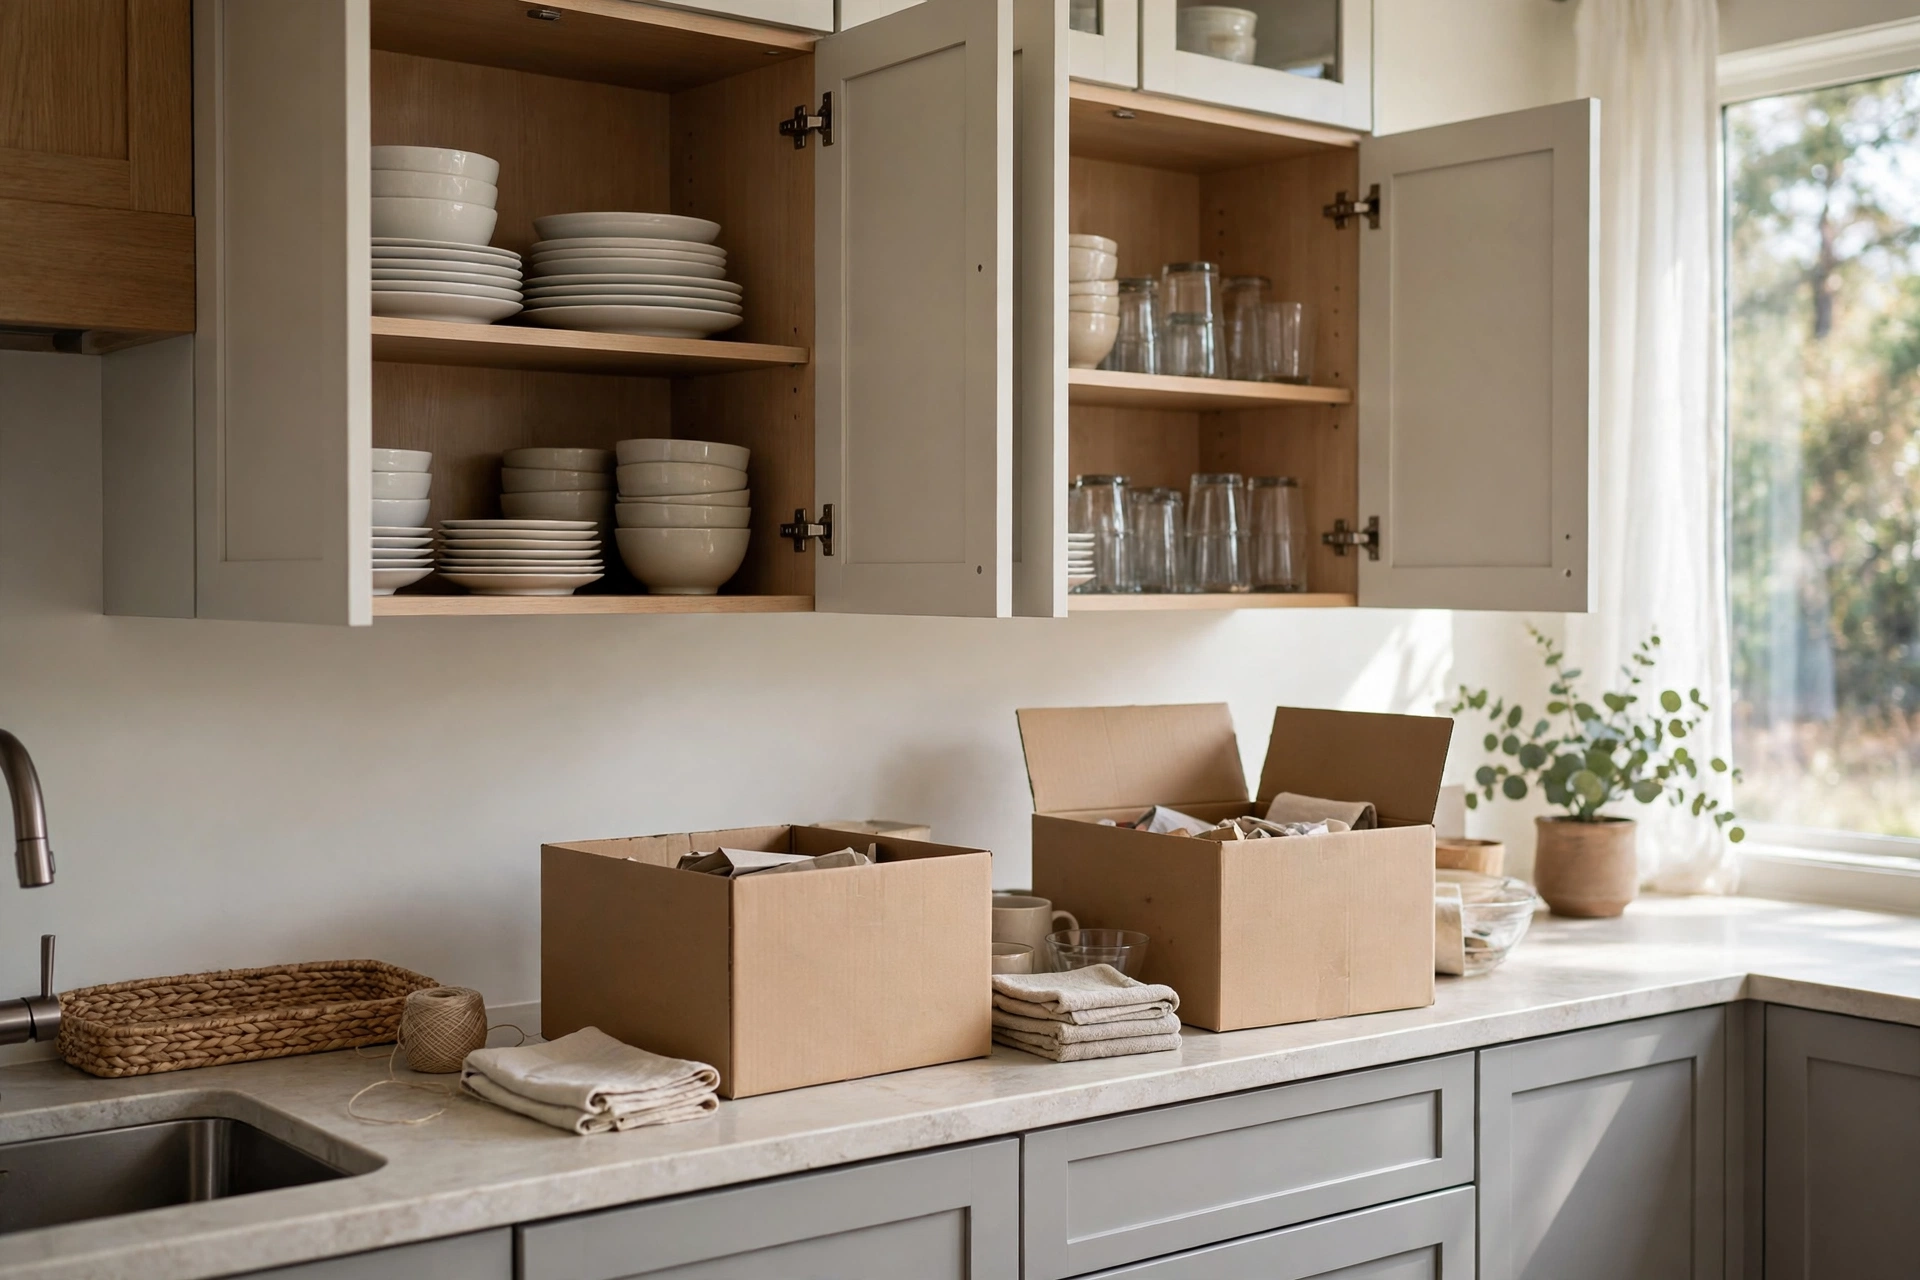
After a proper lunch break, move on to the cabinets. Work one cabinet at a time, top to bottom, and pull everything out before you decide anything. It is tempting to tidy around things in place, but you cannot judge duplicates while they are hiding behind each other.
Duplicates are the biggest culprit in most kitchens. Count them as you go and you will probably be startled: four spatulas, three vegetable peelers, two cheese graters, a drawer full of wooden spoons. Keep the best one of each — the one you actually reach for — and donate the rest. The same goes for mugs. A household of two does not need twenty-three mugs, however sentimental each one feels. Keep the favourites, the ones that make your morning better, and let the rest go.
Apply the same test to pots, pans, and baking trays. If a pan is warped, scratched beyond use, or missing its lid, it is not “still good” — it is taking up space. If you have not used a gadget in a year, and it is not a seasonal item like a turkey roaster, it goes. Be especially ruthless with single-purpose gadgets: the avocado slicer, the egg separator, the banana slicer. A good knife does all three jobs.
As you put things back, group like with like and place everyday items at eye level and within easy reach. Heavy pots go low, rarely used items go high, and the things you grab every day live closest to where you use them. Wipe the shelves before anything goes back in — future you will be grateful.
Session 3 — Sunday Morning: The Pantry
The pantry is where expired food hides in plain sight. Pull everything out, shelf by shelf, and check dates as you go. Spices lose their punch after about a year, so sniff-test the ones you cannot date — if a spice smells like nothing, it tastes like nothing. Toss stale crackers, half-empty boxes of pasta from three years ago, and the sauce packets you have been carrying since a takeaway order you barely remember.
Then deal with the duplicates again: three half-used bags of rice, two open boxes of the same cereal, four jars of jam. Consolidate what you can, and note the staples you are actually missing. Put the oldest items at the front so they get used first, and group the rest by type — breakfast, baking, snacks, canned goods — so you can see at a glance what you own. This one habit alone will cut your grocery bill, because you will stop buying a third jar of something you already had.
Session 4 — Sunday Afternoon: The Fridge and Freezer
Finish with the fridge, because it is the zone that rewards you most immediately — a clean fridge makes every meal of the coming week easier. Work shelf by shelf, tossing anything expired, mouldy, or unidentifiable. That mystery container at the back? If you cannot name it and it has been there more than a week, it goes. Condiments deserve the same honesty test: the hot sauce nobody liked, the salad dressing from last summer, the three mustards when you only ever reach for one.
Wipe the shelves and drawers as you go, then put things back grouped by type: dairy together, drinks together, leftovers in clear containers at eye level so they actually get eaten. If you want a lasting system rather than a one-off clean, these fridge organization ideas will help you keep your refrigerator tidy for good. Do not forget the freezer: toss anything with heavy freezer burn or no label, and keep a short list on the door of what is inside so nothing gets lost for another year.
The Keep, Donate, Toss Rules That Actually Work
Decision fatigue is the real enemy of decluttering, so use simple tests instead of debating every item:
- Keep it if you have used it in the past year, it works properly, and you have a sensible place for it.
- Donate it if it works and someone else could use it — clean kitchenware, spare utensils, and unopened pantry items are always welcome at charity shops and food banks.
- Toss or recycle it if it is broken, expired, stained beyond cleaning, or missing an essential part.
- The one-year rule, with one exception: seasonal and celebration items — the roasting pan, the Christmas cookie cutters — get a pass. Everyday items do not.
- When in doubt, box it. Put the uncertain item in a box, date it, and store it out of the kitchen. If you do not open the box in 30 days, donate it unopened. This trick works because it removes the fear of regretting a decision.
One more honest rule: guilt is not a reason to keep something. The fondue set from a relative or the expensive blender you never bonded with will get a second life somewhere they are actually used if you donate them.
What Not to Do: The Traps That Undo a Good Weekend
A few common mistakes can quietly undo all your work. The first is buying organizers before decluttering, which just gives clutter prettier housing. The second is starting with the hardest zone — the pantry or the deep corner cabinet — and running out of steam before anything is finished. Start easy, build momentum, and save the tough spots for when you are warmed up.
The third trap is the “maybe” pile. Every item you set aside for later decision is a decision you still owe, and a pile of maybes on the dining table on Sunday night feels worse than the original clutter. Decide in the moment, even if the decision is the 30-day box trick.
The fourth trap is doing it alone when you do not have to. A partner or friend makes a brilliant second opinion — they have no sentimental attachment to your third whisk and will say so cheerfully. Put on some music, make it social, and the hours pass far more easily.
Keeping It Decluttered After the Weekend
A decluttered kitchen only stays that way with a few small habits. The most important is the one-in, one-out rule: every new kitchen item that comes in means an old one leaves. Buy a new mug? An old one goes. It sounds strict, but it is the difference between a kitchen that slowly refills and one that stays calm.
Build in a ten-minute weekly reset — Friday evening or Sunday morning works well — to wipe the counters, toss anything expired from the fridge, and return stray items to their homes. And do a quick seasonal pass every three months: one drawer, one cabinet, one shelf. Small, regular attention beats another giant weekend clear-out every year.
Finally, enjoy the result. Cook a meal in your clearer kitchen on Sunday evening, even something simple. That feeling is the whole point — not a perfect kitchen, but a kitchen that works for your real life.
A Calmer Kitchen Is Closer Than You Think
You do not need a renovation, a new set of matching containers, or a personality transplant to have a tidy kitchen. You need a weekend, a timer, a donation box, and the willingness to let go of the duplicates and the “just in case” items that have been quietly crowding you out. Work zone by zone, rest between sessions, and finish each area before moving on. By Sunday evening, you will have a kitchen that is easier to cook in, easier to clean, and genuinely nicer to spend time in — and you will still have energy left to enjoy it. That is a weekend well spent.