
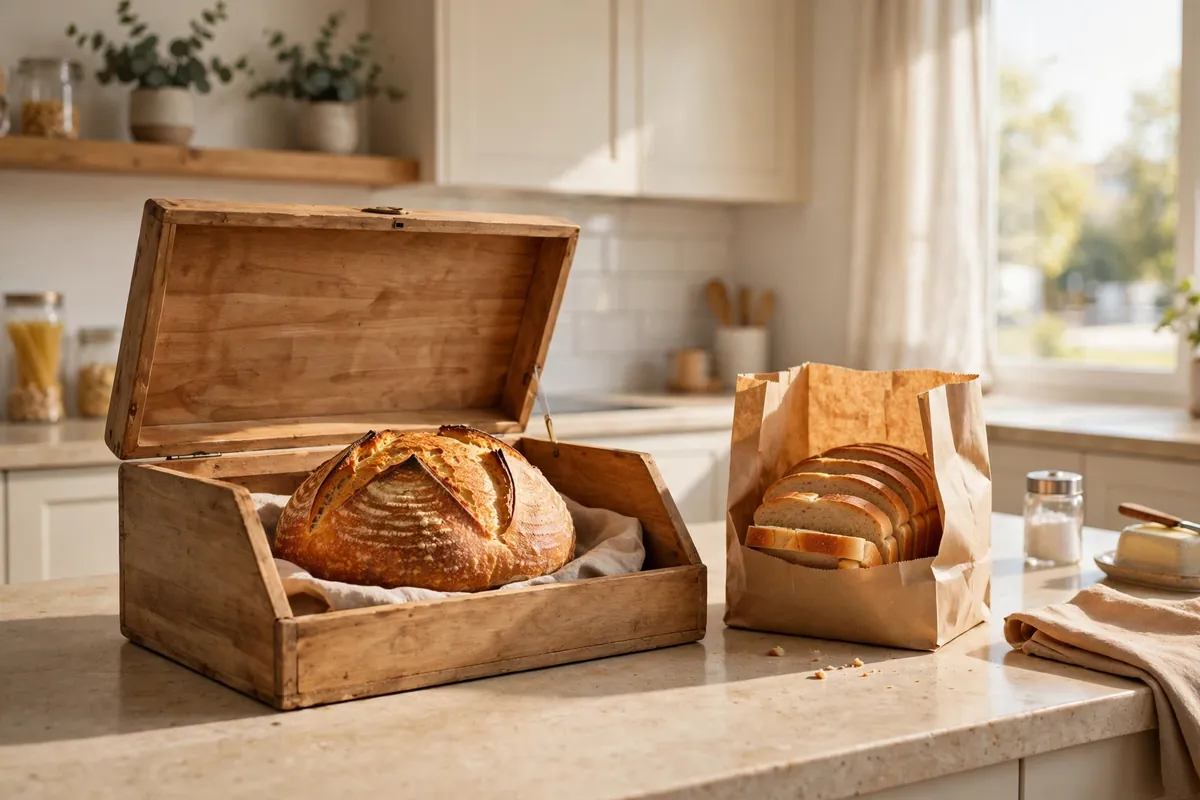

There is a specific kind of disappointment that only stale bread can deliver. You bring home a beautiful crusty loaf on Saturday, picture-perfect crackling crust, and by Tuesday morning it has the texture of a packing crate. The good news is that this is almost never a bread problem — it is a storage problem. These bread storage ideas are the ones that actually work in real kitchens: no gadgets you will use once and forget, no advice that only applies to a bakery, just practical ways to keep every loaf, baguette, and sandwich slice fresh for as long as it possibly can be.
The 3-Day Question Every Loaf Answers First
Before you store any bread, ask one honest question: when am I going to eat this? Your answer decides everything. If the whole loaf will disappear within two to three days, room-temperature storage is all you need. If you will not finish it in that window, the freezer is your answer — not the refrigerator, never the refrigerator, and I will explain why a few paragraphs down.
This single decision is where most people go wrong. They leave a whole loaf on the counter for a week because that is where bread “lives” in their kitchen, and by day five it is chewy, then crumbly, then feed-the-birds territory. A friend of mine used to buy two beautiful sourdough loaves every Saturday at the farmers’ market and watch the second one slowly die all week. The day she started slicing and freezing the second loaf the moment she got home, her bread life changed completely — same delicious bread, twice the edible window, zero waste.
So the system is simple: the counter for what you will eat soon, the freezer for everything else. Every idea below fits into one of those two buckets.
Bread Storage Ideas for Crusty Loaves and Sourdough
Crusty bread — sourdough, baguettes, ciabatta, a good country loaf — has one enemy above all others: trapped moisture. A crisp crust needs a little airflow. Seal a warm-from-the-bakery loaf in plastic and within hours the crust turns soft and leathery, and within a day the whole thing can start tasting damp.
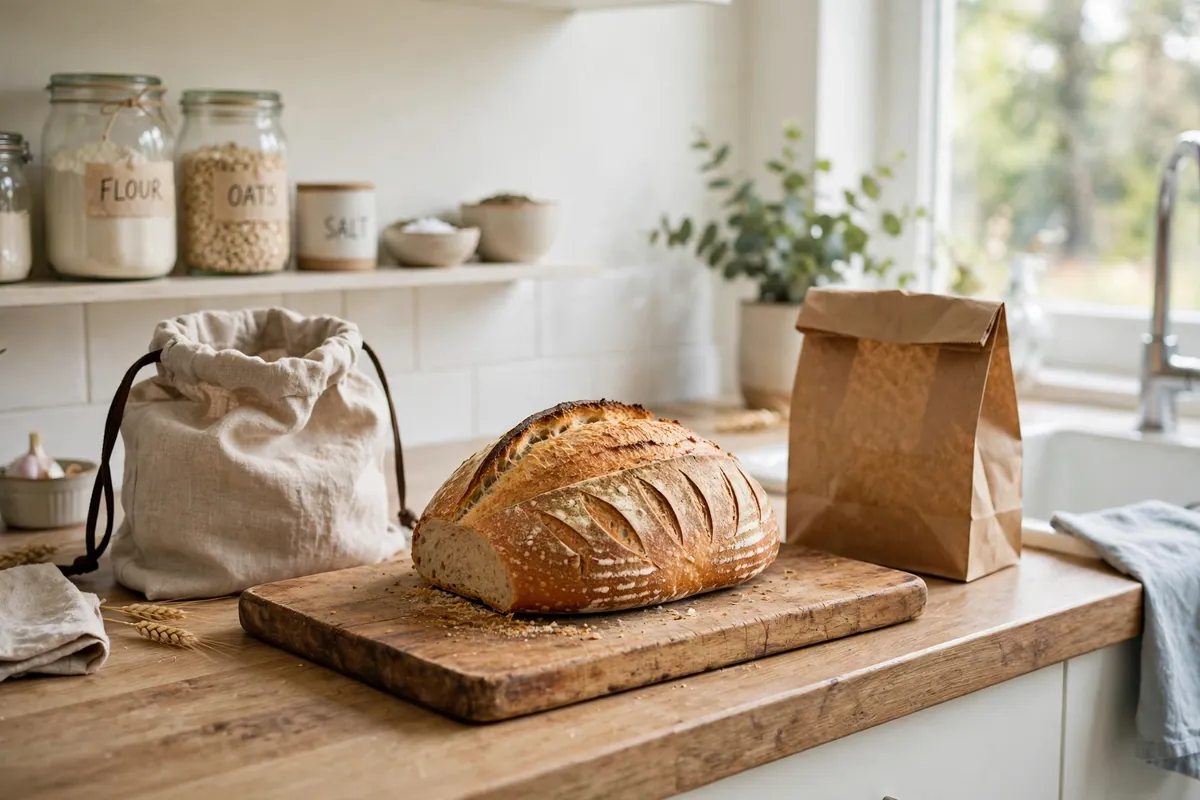
For the first 24 hours, the best move is almost comically simple: leave a whole unsliced loaf cut-side down on a wooden cutting board, with a paper bag draped over the top. The cut face presses against the board and seals itself, slowing moisture loss from the crumb, while the paper lets the crust breathe. It keeps a Saturday-morning loaf bakery-fresh through Sunday brunch.
After day one, switch to one of these:
- A paper or cloth bread bag. These let moisture escape slowly while keeping the loaf from drying out too fast. A linen bag in particular is worth the few dollars it costs — it breathes, it washes, and it keeps a boule genuinely good for three days.
- A bread box. The old-fashioned wooden box works because it creates a dark environment with moderate airflow — exactly the balance a crusty loaf needs. Just make sure the box is not cramped; air needs room to move around the loaf.
- Cool, dry, away from heat. Whatever you use, park it away from the oven, the dishwasher, and sunny windowsills. Heat and humidity are what push a good loaf toward mold.
One more habit that matters more than any container: slice only what you need. Every slice exposes fresh crumb to the air. If you bake your own loaves, you already know that keeping your baking supplies organized makes the whole from-scratch routine easier — and unsliced storage is the baker’s reward: a whole loaf stays fresh dramatically longer than a sliced one.
What Actually Works for Soft Sandwich Bread
Soft bread plays by the opposite rules. Sandwich loaves, brioche, challah, soft dinner rolls — these want their moisture kept in, not let out. The twist-tie plastic bag your sandwich bread comes in is, honestly, close to perfect. The manufacturer designed it to hold exactly the right humidity.
Keep soft bread in its original bag at room temperature, away from heat, and it will stay soft for four or five days. If you transferred it to something prettier, use an airtight container or a resealable plastic bag with the air pressed out before sealing. A beeswax wrap also works beautifully for soft loaves — it holds in moisture without the waste of single-use plastic, and it molds around a half loaf like it was made for it.
If soft bread is your school-lunch workhorse, it helps to keep it with the rest of the routine: when your lunch-packing station is organized so the bread, spreads, and wraps all live together, mornings go faster and the loaf spends less time open on the counter.
The Freezer: Your Best Long-Term Bread Storage Idea
Here is the single most useful fact about bread: freezing pauses staling almost completely. Bread goes stale because starch molecules recrystallize as the loaf cools — that process, called retrogradation, happens fastest at refrigerator temperatures and slowest in the freezer. A loaf frozen properly tastes better on day twenty than the same loaf kept on the counter tastes on day four.
The trick is in how you pack it. Air is the enemy in the freezer too — freezer burn dries out the surface and dulls the flavor. Follow this routine and it works every time:
- Slice first. Freeze sandwich bread and everyday loaves in slices so you can pull out exactly what you need. A whole frozen loaf is lovely but forces you to commit to thawing the entire thing.
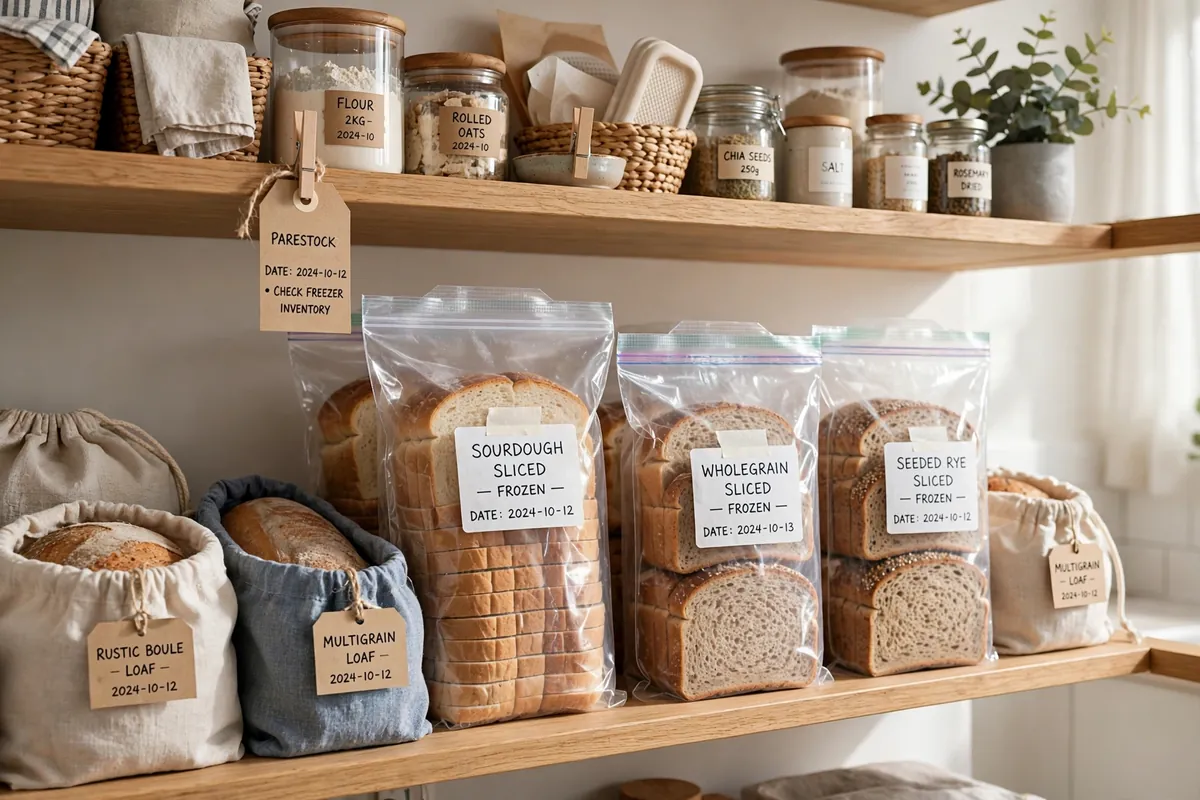
- Wrap tight, then bag. Wrap the loaf or slices snugly in foil or plastic wrap, pressing out the air, then slide that into a freezer-grade zip bag and squeeze out the remaining air before sealing.
- Label and date. Every bag gets the bread type and the date. Frozen bread keeps well for about three months, and a mystery bag with no label is how freezers fill up with things nobody trusts enough to eat — a little labeling discipline is the heart of any freezer organization system that actually works.
- Cool completely first. Never wrap a warm loaf. Trapped steam becomes ice crystals and sogginess on the other end.
To use frozen bread, thaw slices at room temperature for about twenty minutes, or toast them straight from frozen — most toasters handle that beautifully, which makes frozen sliced bread a genuinely brilliant addition to a breakfast station that runs itself. For a whole loaf, thaw it in its wrapping at room temperature for a few hours, then warm it in a 350°F oven for ten minutes to bring back the crust.
Why the Fridge Is (Almost) Never the Answer
This one surprises people, so it deserves its own moment: the refrigerator makes bread go stale up to three times faster than room temperature. Remember retrogradation — starch recrystallization? It peaks in the 35–40°F range, which is exactly where your fridge sits. Putting a fresh loaf in the refrigerator is the fastest possible route to dry, crumbly bread.
The only exception is when mold is the bigger threat. If your kitchen is hot and humid and a loaf is visibly threatening to mold within a day, the fridge buys you time against mold at the cost of faster staling. In that case, freeze what you will not eat today instead — you get the mold protection without the staling penalty. The fridge is a last resort, not a storage strategy.
How to Revive Bread That Is Past Its Prime
Even with the best system, life happens and a loaf sits a day too long. Before you write it off, try the oven rescue: run the loaf briefly under the tap — yes, literally wet the crust — then put it in a 350°F oven for six to eight minutes. The water turns to steam, the crust crisps back up, and the crumb softens. A day-old baguette comes back remarkably close to fresh. It will not save a loaf that is actually moldy or three days stale, but for “slightly past it,” this trick is close to magic.
And when a loaf is truly beyond reviving, it still has a second life. Stale bread makes better French toast than fresh bread (it soaks up custard without falling apart), the best croutons you have ever had, a proper panzanella salad, and breadcrumbs that put the store-bought canister to shame. Waste is only waste if you throw it away — a loaf that became breadcrumbs was just bread with a second career.
A Simple System You Will Actually Keep
Forget the complicated diagrams. A bread storage system that survives real life has exactly three parts: a counter spot for this week’s loaf, bags and wrap in a drawer nearby so freezing a loaf takes thirty seconds, and the slice-only-what-you-need habit. That is it.
The counter spot matters more than people think. If the bread box or board has a permanent home away from heat, the loaf goes back there every single time instead of migrating to the top of the microwave, the edge of the stove, or wherever it lands when hands are full. Give bread a home and it stays fresh longer — the same principle that organizes every other corner of the kitchen, applied to the one food that goes stale fastest.
Start today with whatever is on your counter right now. Ask the 3-day question, freeze what you will not finish, and notice how much less bread you throw away this month. Your future self — the one eating toast from a perfectly preserved frozen slice on a busy Tuesday morning — says thank you.