

Sunday afternoon, 3 p.m. The cutting board is buried under junk mail, your sharpest knife is somewhere in the back of a chaotic drawer, and the containers you swore you’d buy last week still aren’t here. You wanted to prep five lunches for the work week. Instead, you spend forty-five minutes just finding the lid that matches the container — and order takeout by 6.
Sound familiar? The problem was never your motivation or your cooking skills. It was meal prep organization — or the lack of it. When every tool has a home, every container matches its lid, and your fridge is zoned like a tiny grocery store, Sunday cooking stops feeling like a chore. This guide walks you through exactly how to set that up, step by step, in a real kitchen — not a magazine kitchen.
Why Most Meal Prep Fails Before the First Vegetable Is Chopped
Here’s an uncomfortable truth: most people who quit meal prepping didn’t quit because batch-cooking rice is hard. They quit because prep day took three hours instead of one. The actual cooking of five lunches usually takes about 40 minutes of active work. The other two hours go to hunting for the vegetable peeler, reorganizing the fridge mid-session to make room, washing the same three mixing bowls over and over, and doing an archaeological dig through the spice cabinet for the cumin.
That’s an organization problem, and it’s fixable in a single weekend — before you ever cook a single batch of anything. Professional kitchens don’t have better knives than you; they have systems. Everything is where it should be, ingredients are prepped before cooking starts, and nothing stops the flow. Your kitchen can work the same way, without a hundred new gadgets.
Start by writing down everything that bugs you on prep day, honestly. “I can never find container lids.” “The fridge is packed so nothing fits.” “I prep but forget what’s in the freezer.” That list becomes your roadmap for the rest of this guide.
Set Up a Dedicated Meal Prep Station
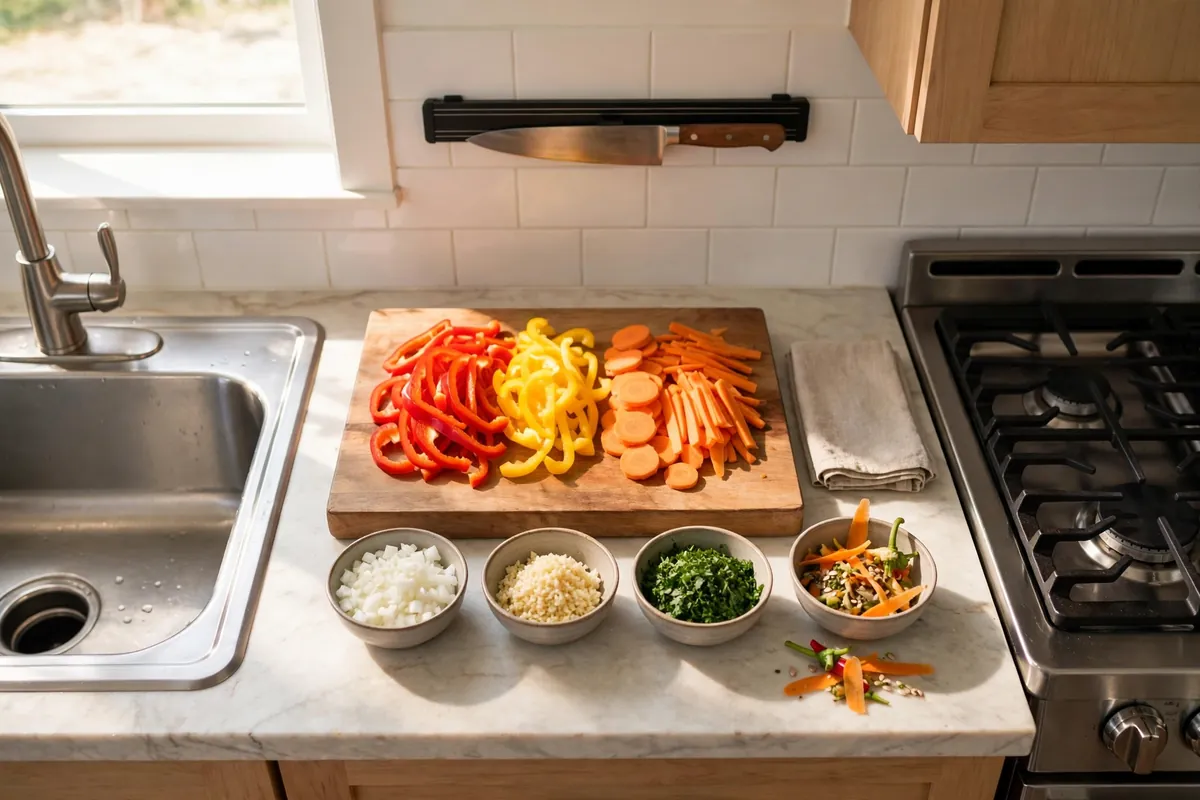
The single most transformative change you can make is giving meal prep a physical home in your kitchen. Not “the whole counter,” but a specific zone — usually the stretch of counter between your sink and your stove, since that’s where the action naturally flows. Clear everything off that section that doesn’t serve prep day: the mail pile, the air fryer you use twice a year, the decorative bowl of fake lemons. Give that space one job.
Now stock the station like a workstation — you need surprisingly little:
- One great cutting board large enough to actually chop on — a cramped board is how prep day triples in time.
- Your sharpest chef’s knife and a paring knife, ideally on a magnetic strip on the wall right above the station so they never vanish into a drawer again.
- Three prep bowls in descending sizes for the chop-as-you-go method (more on that below).
- A trash bowl — a large bowl you keep beside your cutting board for peels, ends, and scraps. This alone will save you twenty trips to the bin per session.
- Measuring cups, spoons, and a kitchen scale if you portion meals, all within arm’s reach.
If your kitchen is small, make the station mobile: a rolling utility cart can hold your prep tools and wheel up to the counter on Sunday, then tuck into a closet the rest of the week.
Build a Container System That Fits Your Fridge (Not Just Your Dreams)
The number one mistake is owning a chaotic mix of mismatched containers — round ones, square ones, deli containers, that one yogurt tub you keep washing. Mismatched containers don’t stack, their lids disappear, and they turn your fridge into a Jenga tower.
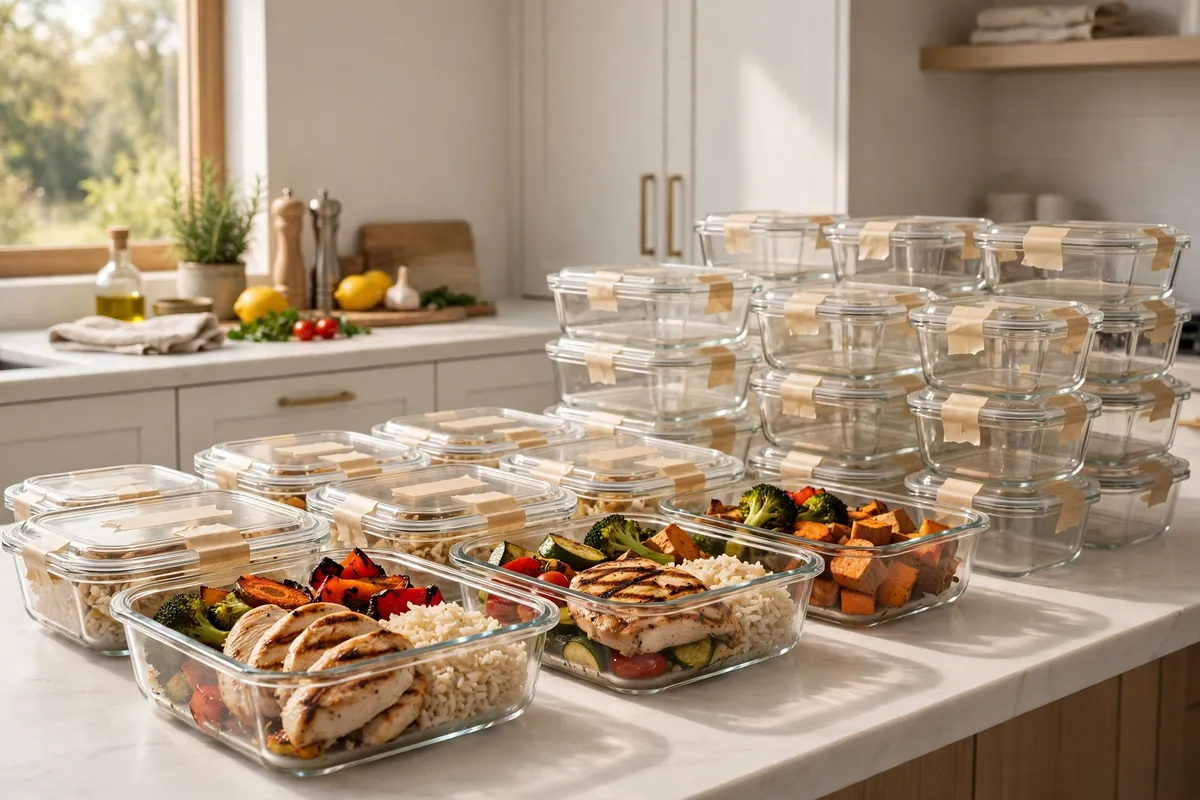
The fix is a uniform set. Pick one style — rectangular or square, because they use shelf space better than round ones — and buy enough for your heaviest prep day plus a margin. For most people, that means 10 to 12 main containers (one per planned meal plus a few extras for chopped veg, cooked grains, and snacks), plus 6 to 8 small ones for dressings, sauces, and dips. Double it for two preppers. Uniform sets stack neatly whether full or empty, the lids interchange, and you can see at a glance how many you have.
Glass versus plastic is the eternal debate, and honestly both work. Glass doesn’t stain or hold odors and reheats beautifully; BPA-free plastic is lighter, nests tighter, and survives a 7 a.m. drop on tile. Many serious preppers end up with a hybrid: glass for reheated meals, plastic for cold snacks and chopped ingredients.
- Store bases and lids separately. Nest the container bases inside each other and file the lids upright in a separate rack or divider — hunting for lids is the most-reported prep-day time thief there is.
- Use clear containers whenever possible. If you can see the food, you’ll eat it. Opaque containers are where good intentions go to expire.
- Add a few divided containers for meals with components that shouldn’t touch (think teriyaki chicken that would make the rice soggy). They’re a small investment that prevents a lot of sad lunches.
- Keep one “overflow shelf” in the fridge clear on prep day — the top shelf, ideally — so finished meals have somewhere to go the moment they’re packed.
And here’s a rule that sounds fussy but changes everything: containers live where they’re packed, not where they’re convenient to store. If you pack meals at the counter next to the fridge, your container stash should live in the cabinet directly above or beside that spot — not across the kitchen. Every step you eliminate gets repeated dozens of times per session.
Label Everything — Your Future Self Will Thank You
Wednesday-you will not remember what Monday-you put in that container. This is a law of physics. Labels are the cheapest, fastest upgrade in all of meal prep organization, and skipping them is how mystery bags are born.
The gold standard is simple: what it is + the date it was made. “Chicken tikka — 10/18.” “Quinoa — 10/18.” That’s it. With those two facts, you always know what to eat first and what needs to go. Painter’s tape and a Sharpie work perfectly and cost almost nothing — the tape peels off cleanly in the wash. If you want something sleeker, reusable silicone labels or a grease pencil on glass lids work just as well.
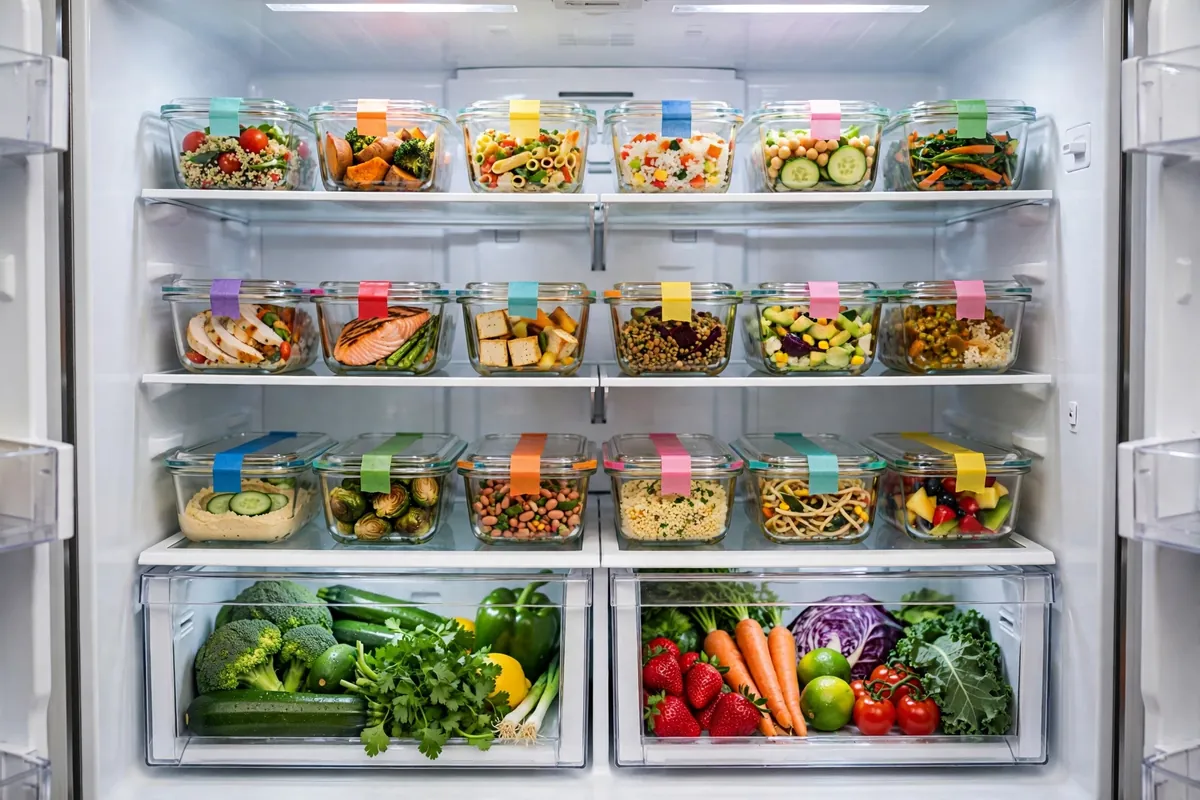
Take labeling one level deeper with a simple color system: assign each meal type a tape color — blue for breakfast, green for lunch, red for dinner. It sounds like overkill until you’re bleary-eyed at 6:30 a.m. grabbing breakfast without thinking.
Don’t forget the freezer. Freezer bags laid flat freeze into thin, stackable slabs that take up a fraction of the space of rigid containers — a revelation for anyone with a small freezer. Label each bag flat before filling (it’s much harder to write on a frozen, lumpy bag), squeeze out the air, and freeze them flat on a sheet pan before standing them upright like files. Soups, stews, chilis, cooked grains, marinated proteins, and smoothie packs all freeze beautifully this way.
Finally, keep a running freezer inventory list — a note on your phone or a sheet on the freezer door. Cross items off as you use them. It takes ten seconds per meal and ends the era of discovering six-month-old “mystery stew” during a holiday cleanout.
Zone Your Kitchen for Meal Prep Organization Flow
Professional kitchens are divided into stations because it works. Borrow the concept. You don’t need to remodel — you need to mentally (and physically) assign your existing space to the jobs of prep day, so you’re never crossing the kitchen with dripping chicken hands again.
The four zones that matter:
- The Prep Zone — your station from above: cutting board, knives, bowls, trash bowl. Positioned near the sink for rinsing produce and washing tools.
- The Cooking Zone — stove, oven, sheet pans, pots. Keep cooking oils, salt, pepper, and your most-used spices within one step of the stove. A tidy spice system pays for itself every single prep day — no more digging past the paprika for the oregano.
- The Storage Zone — fridge, freezer, and pantry shelves where finished meals live. Dedicate specific shelves: one shelf (or one fridge door) per meal type, or simply one shelf per day of the week. Zoning your fridge before prep day is the difference between a calm Sunday and a fridge-avalanche Monday.
- The Cleanup Zone — sink, dish rack or dishwasher, and a small caddy with soap, sponge, and dish towels. Prep day generates a shocking amount of washing up; a stocked cleanup zone means you can wash as you go instead of facing Mount Dishmore at the end.
Arrange these zones to match how you actually move. Most people naturally flow sink → counter → stove → fridge, so set up in that order. And here’s the pro move: declutter the fridge before you shop, not after. Toss expired condiments, wipe one shelf, and clear your designated meal shelves the night before prep day — trying to fit twelve fresh containers into a packed fridge mid-session is how the habit dies.
The same zoning logic applies to pantry staples. Group your meal-prep basics — olive oil, rice, quinoa, canned beans, broth, oats, go-to sauces — on one or two shelves instead of scattering them. When staples have a neighborhood, the weekly shopping list takes five minutes, because you can see what’s running low at a glance.
Keep the Habit Alive With a Weekly Reset
Here’s the part most organization guides skip: the system only works if you maintain it. The good news is that maintaining it takes about fifteen minutes a week — far less than the chaos tax you were paying before.
Build this into your routine:
- Sunday (or your prep day), before cooking: clear the prep station, run the freezer-inventory check, toss anything past its prime from the fridge, and confirm your designated meal shelves are empty.
- During cooking: clean as you go. Keep the sink filled with warm soapy water and drop tools in as you finish with them. Wipe the station between recipes. This one habit can cut end-of-session cleanup from forty minutes to ten.
- After packing: put every container away immediately, update the freezer inventory, and wipe down the station. Never leave “just the cooling” as an excuse to walk away — set a timer if you must, but finish the reset.
- Midweek, five minutes: glance at your meal shelves and eat anything looking tired. Shift Friday’s meals forward if plans change. Flexibility is what keeps the system alive through real life.
- Once a month: audit the container cabinet. Toss warped, stained, or lid-less containers without mercy. Reorder tape and labels before you run out.
And give yourself a grace week. Some weeks, “meal prep” will mean rotisserie chicken, pre-washed salad, and microwave rice — and that is still meal prep. A nightly kitchen reset pairs beautifully with this: if the kitchen starts each morning clean, prep day starts from calm instead of chaos.
A month from now, picture this: it’s Tuesday at 6 p.m., you’re tired, and dinner is a labeled container you grab from its designated shelf, reheat, and eat. No decisions, no dishes mountain, no takeout guilt. Your fridge looks like a tidy little deli case. Your prep station is clear and waiting for Sunday. That feeling — that quiet, competent calm — is what meal prep organization buys you.
You don’t need a bigger kitchen, fancier containers, or more willpower. You need zones, labels, matching containers, and a fifteen-minute weekly reset. Set the system up once, this weekend, and let it carry you. Future-you — opening a labeled container of chicken tikka on a busy Wednesday — says thank you.