

Open almost any kitchen cupboard and you will find the same familiar mess: a leaning tower of cutting boards wedged between baking trays, sliding every time you reach for one. Good cutting board organization ideas fix more than the clutter, though. How you store your boards decides whether they dry properly, whether they warp, and whether the board you used for raw chicken last night is anywhere near the one you use for tomatoes today. This is one of those small kitchen jobs that quietly affects both how tidy your kitchen looks and how safe your food is.
The good news is that you do not need a remodel or expensive gadgets. Most of the solutions below cost very little, take ten minutes to set up, and work in kitchens of every size. The trick is to stop stacking boards and start treating them the way a library treats books: upright, separated, easy to see, and easy to grab.
Why Cutting Board Organization Ideas Matter More Than You Think
A cutting board spends most of its life in storage, not on the counter. If it goes away damp and pressed flat against another board, moisture gets trapped between the two surfaces. That trapped damp is exactly what causes warping in wooden boards, that faint musty smell in plastic ones, and the dark patches nobody wants to think too hard about. Boards stored upright, with air moving around both faces, dry fully between uses and last far longer.
There is a hygiene angle too. When boards are jumbled together in a pile, you cannot tell at a glance which one is for meat and which one is for bread. You end up grabbing whichever is on top, and cross-contamination becomes a matter of luck rather than habit. A simple, visible system removes the guesswork entirely. You reach for the right board without thinking, which is precisely the point: the best kitchen systems are the ones you do not have to think about at all.
Then there is the everyday frustration: pulling out three baking sheets and two smaller boards just to reach the big wooden one. Multiply that by every meal you cook, and a ten-minute fix ends a daily annoyance for good.
The Golden Rule: Store Boards Upright and Dry
Almost every storage method in this article comes back to one principle: boards should stand upright, separated from each other, in a dry spot with air circulating around them. This is the single most important habit, and it matters even more for wooden boards, which soak up water and need to dry evenly on both sides to stay flat.
Before a board goes back into storage, it should be properly dry. After washing, stand it on its edge on a tea towel or in the dish rack for a few minutes rather than sliding it straight into a cupboard while it is still dripping. It sounds fussy, but it is the difference between a board that stays sweet-smelling for years and one that starts to smell faintly of old dishwater after a few months. Never store a board flat under a stack of other things while it is wet, and never lean a wet board flat against the wall, where one face stays damp for hours.
Wooden boards need one extra step: a monthly rub with food-grade mineral oil keeps the surface sealed and stops it cracking. Plastic boards do not need oiling, but retire them once deep knife grooves appear, because those grooves are impossible to clean properly.
7 Cutting Board Organization Ideas That Work in Real Kitchens
Here are the storage solutions that genuinely hold up in daily use, starting with the easiest and moving to the more involved.
1. A countertop rack by the prep zone
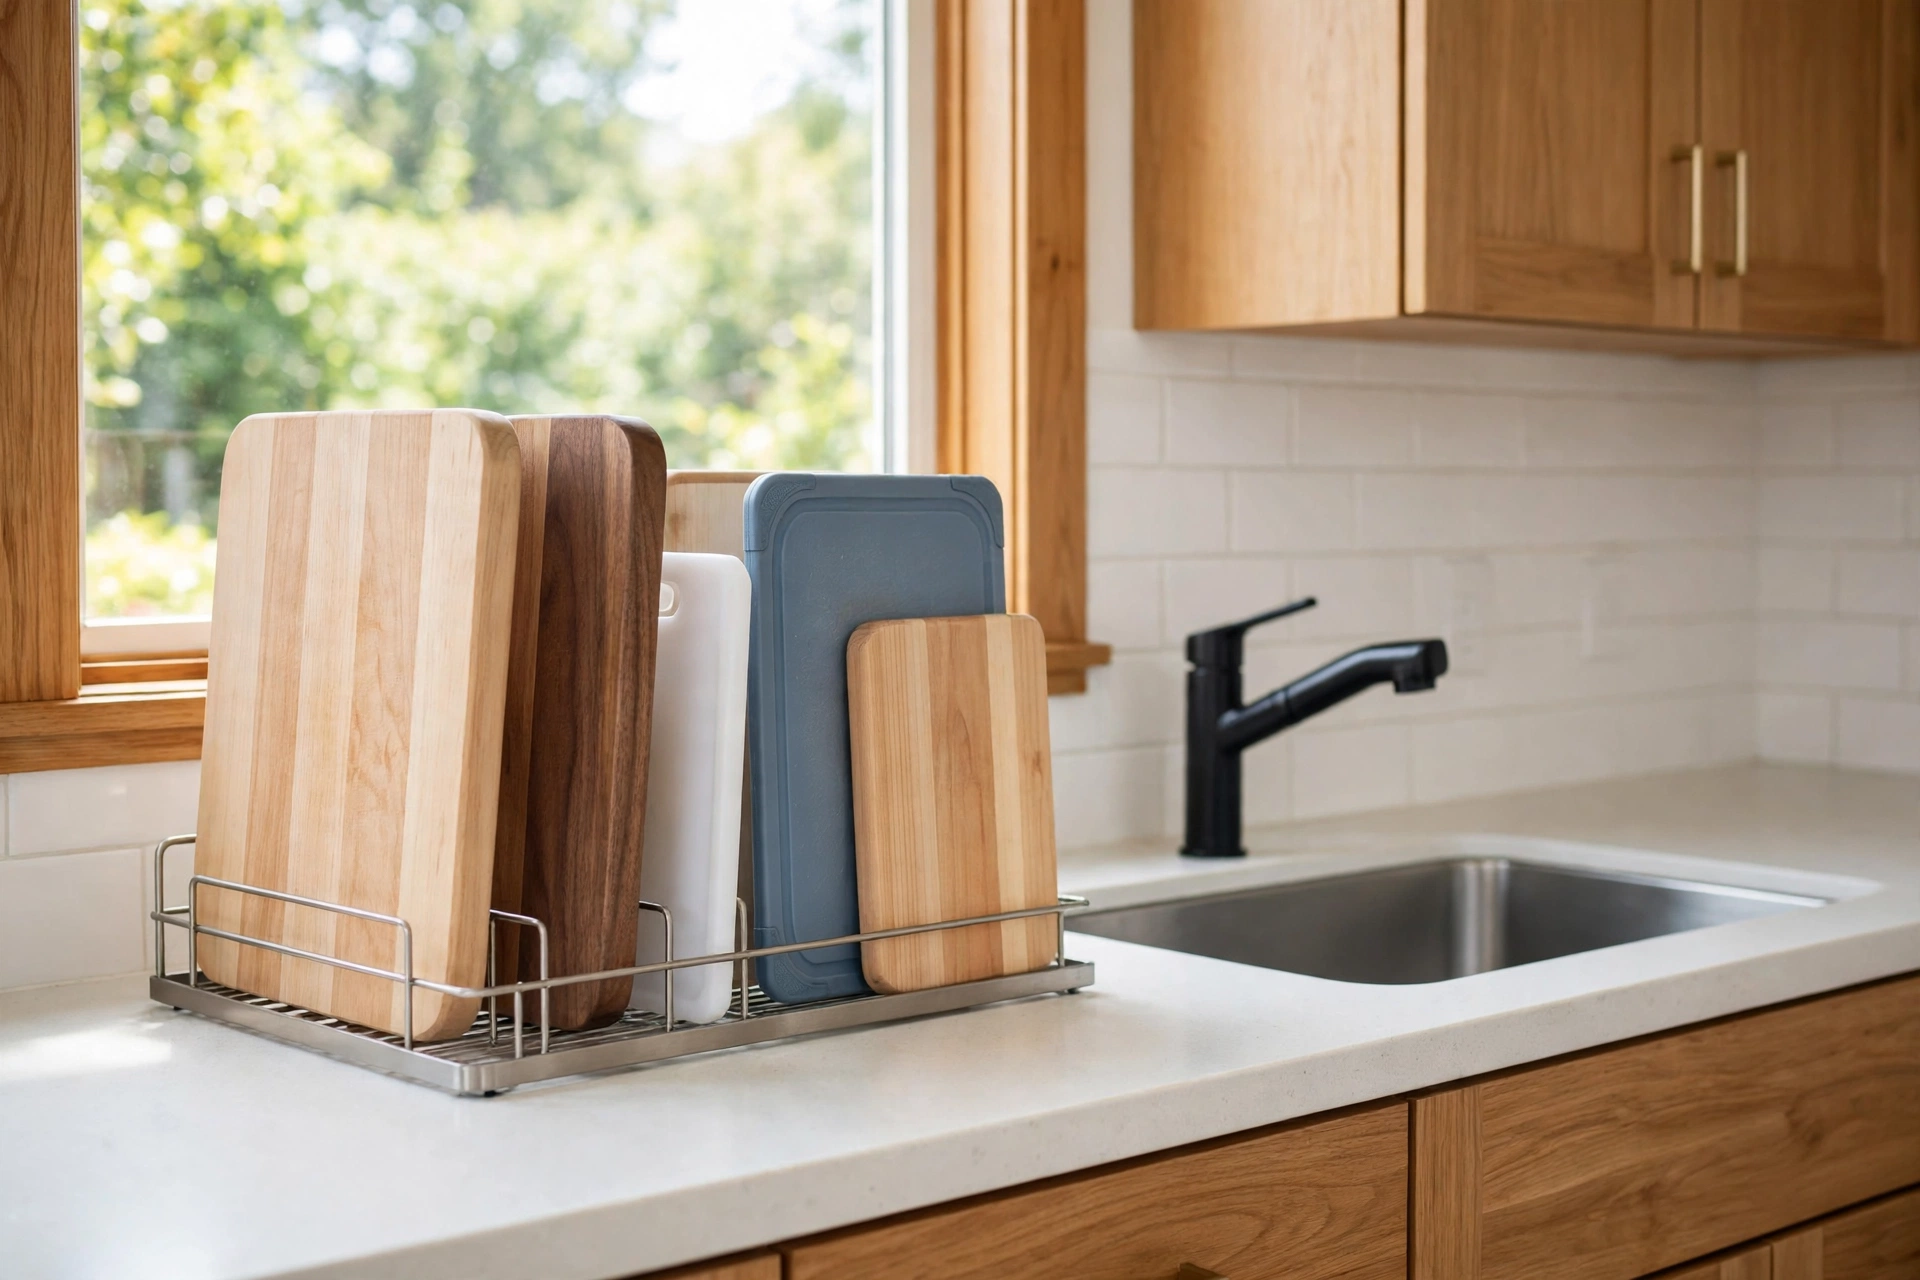
A simple upright rack on the counter, near where you actually chop, is the lowest-effort option and often the best one. Boards stand in a row like books, you can see every one at a glance, and the board you use most is always within arm’s reach. Keep the rack away from the direct splash zone of the sink and away from the cooker, where heat and steam do wood no favours. If counter space is tight, a slim rack that holds just two or three boards still beats a cupboard pile.
2. A pot lid organizer, repurposed
This is the trick that surprises people most. An adjustable pot lid organizer, the kind with movable dividers, makes a superb cutting board holder, and it costs very little. Stand it inside a cabinet or a deep drawer, adjust the dividers to fit your boards, and slide each board into its own slot. Heavy boards go at the back, lighter ones at the front. It is the same principle as good pot and lid storage, just applied to a different awkward shape.
3. A vertical divider inside a cabinet
If you have a tall, narrow cabinet, especially the awkward one beside the cooker that never seems to hold anything useful, fit it with a vertical divider or a tension rod or two. Boards slide in upright and stay put, and the cabinet door hides everything. This works brilliantly for large wooden boards that are too heavy to hang and too big for a drawer. Measure the cabinet first, though: a divider that is even slightly too wide will jam, and one that is too narrow lets boards topple sideways.
4. Hooks on the wall or inside a door
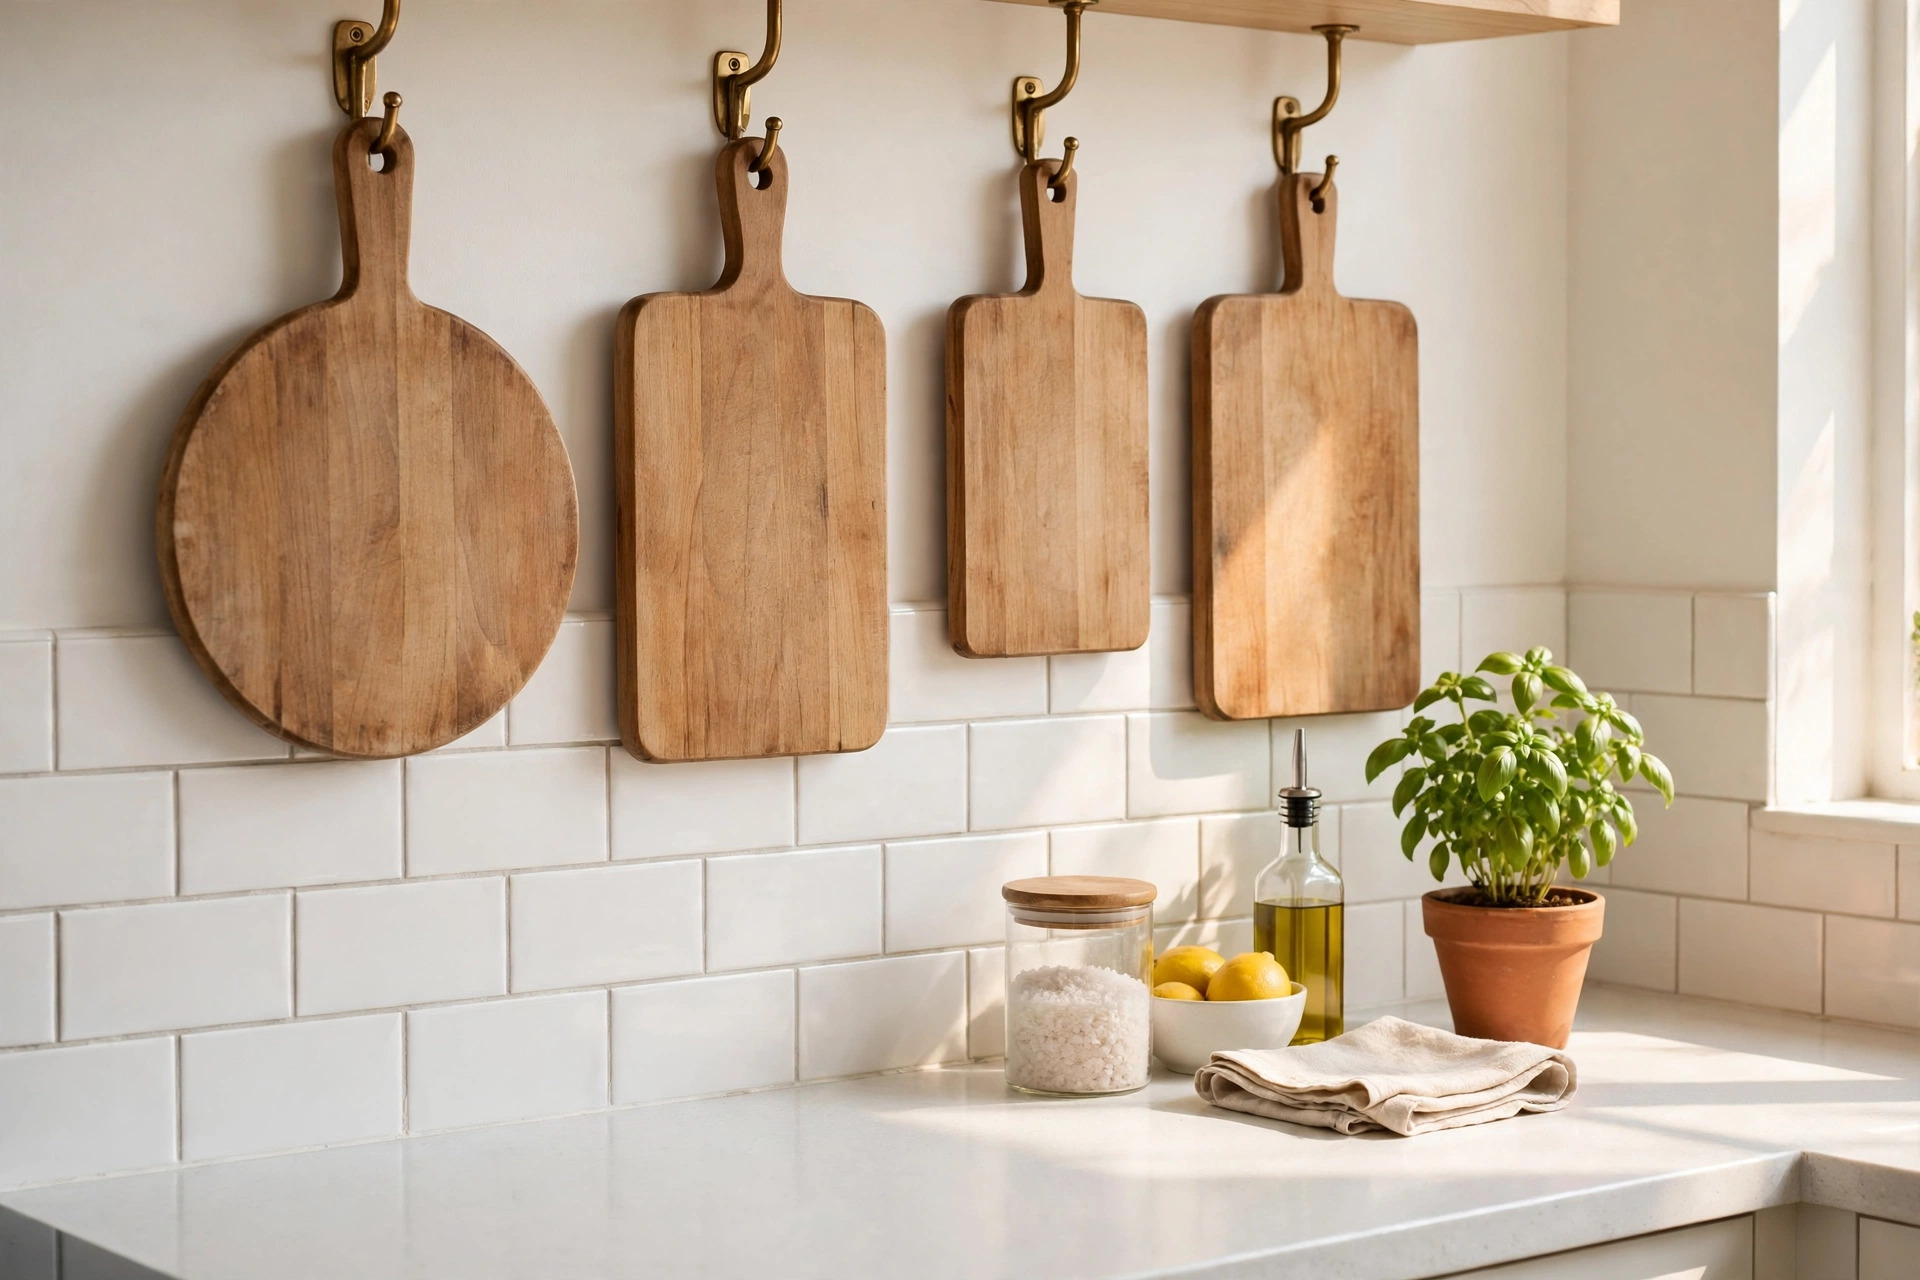
Boards with a hanging hole can go on sturdy hooks on a kitchen wall, on the side of a cabinet, or on the inside of a pantry door. This is a great choice for small kitchens because it uses space that would otherwise sit empty, and wall-hung boards dry beautifully. Put heavier boards on hooks screwed into a stud or a solid fixing, not on adhesive hooks, which tend to give way at the worst possible moment. Space hooks at least a few inches apart so air can move between boards and you can lift one off without knocking its neighbours down.
5. A dedicated drawer with dividers
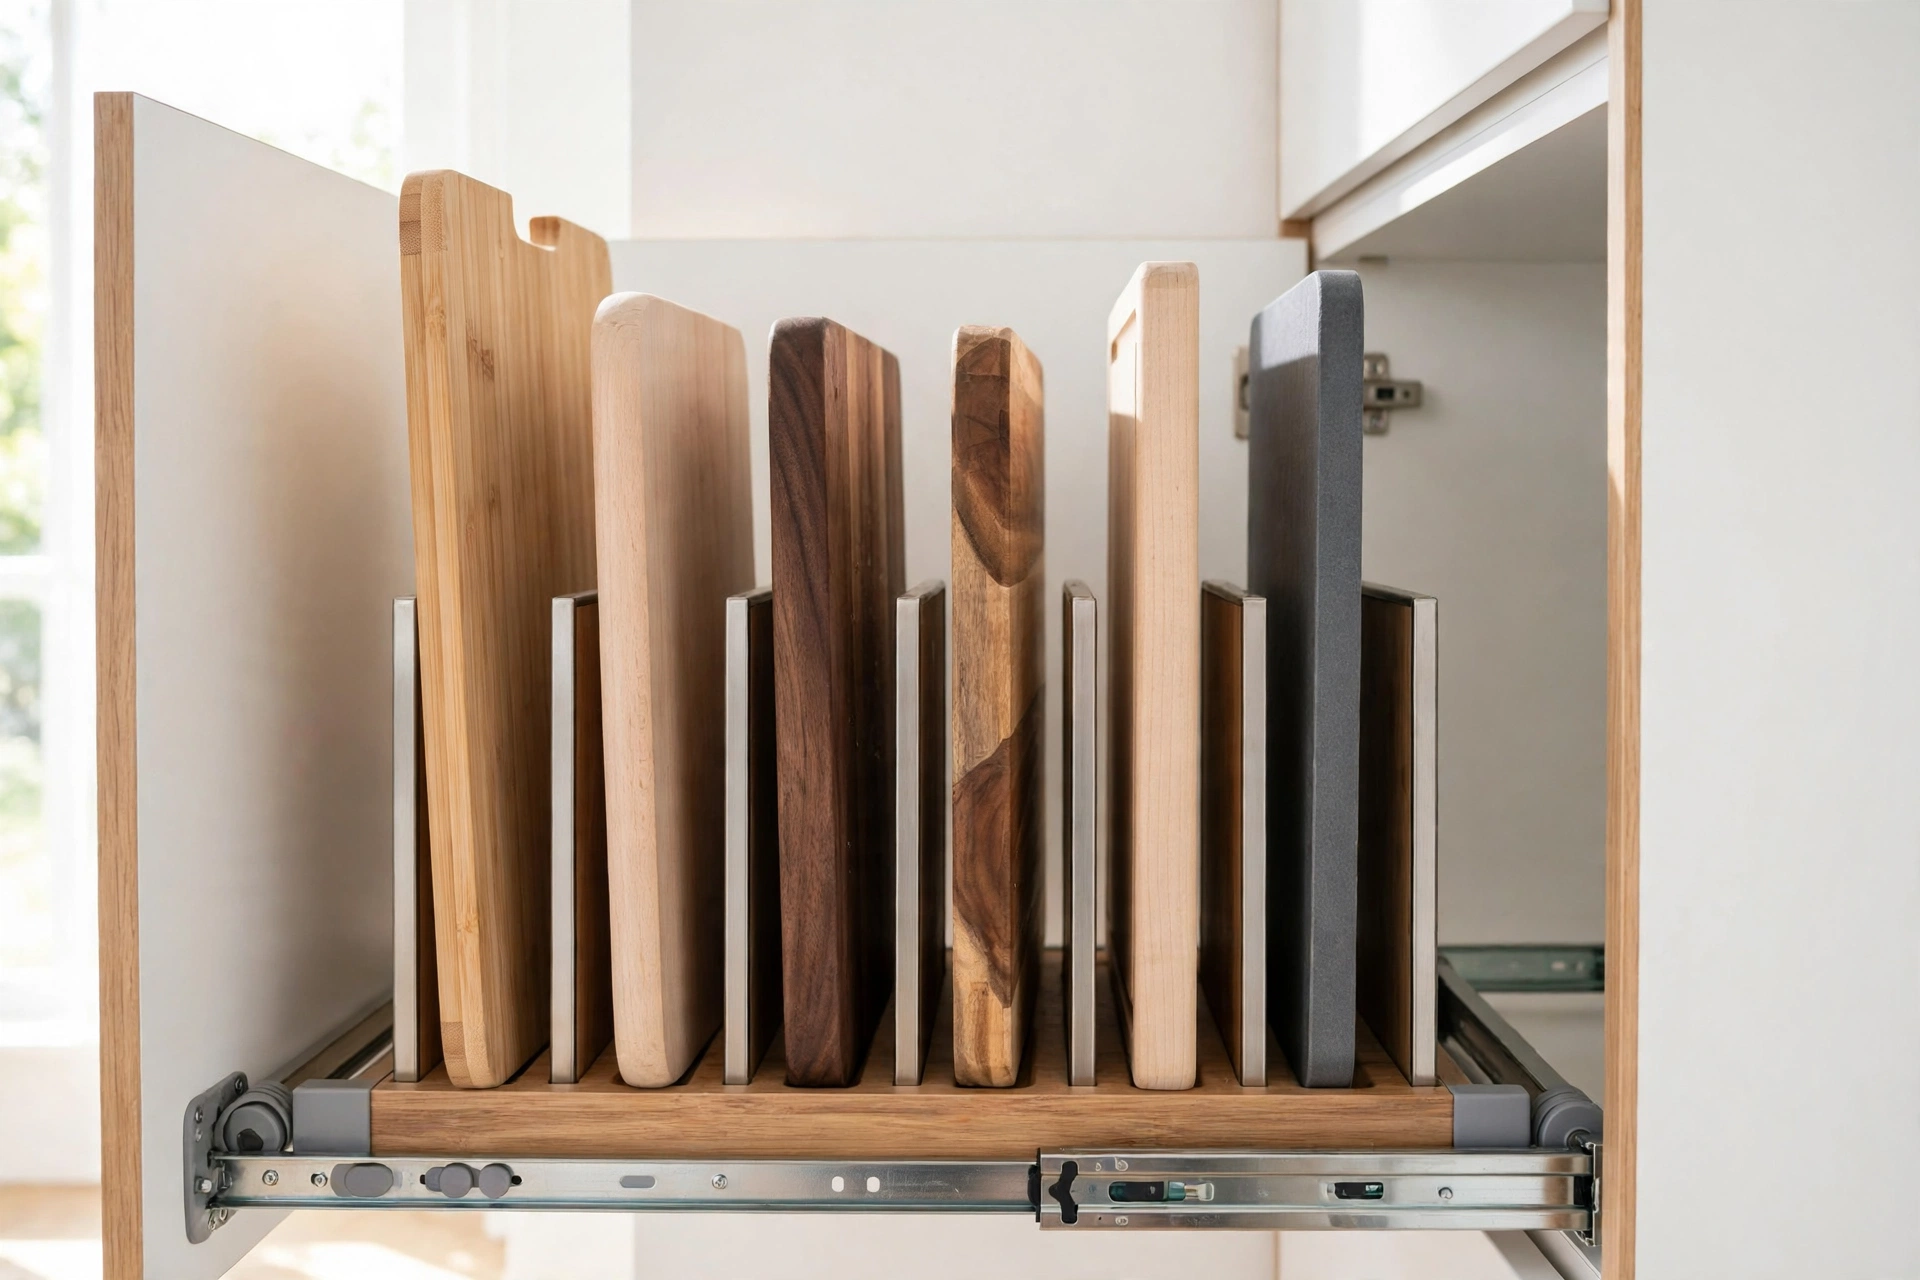
If you have a deep drawer to spare, upright dividers turn it into a cutting board garage. Boards stand on edge, sorted by size, and the drawer closes to hide everything completely. This is the neatest-looking option of all, and it pairs beautifully with the rest of a well-planned drawer system. If your drawers are already doing heavy duty elsewhere, the same principles in our guide to kitchen drawer organization will help you free up the space honestly, rather than just cramming one more thing in.
6. A magazine holder on a cabinet door
For a truly budget-friendly fix, a wire or wooden magazine holder screwed or hooked to the inside of a cabinet door holds one or two slim boards perfectly upright. It costs almost nothing, takes five minutes to fit, and turns dead space into useful storage. It will not hold a thick butcher block, but for everyday plastic or bamboo boards it is hard to beat for value.
7. A pegboard or rail for the serious collector
If your household has accumulated boards the way others accumulate mugs, a small pegboard or wall rail with S-hooks gives every board its own visible spot. Keep the rail near the prep area, not above the cooker, and the prettiest board at eye level.
A Colour-Coded System That Keeps Raw Meat Away From Your Salad
Organization is only half the story; the other half is knowing which board is which. The simplest system used in professional kitchens works just as well at home: assign each board a job and keep that job fixed.
- One board for raw meat, poultry, and fish. This is the board that needs the most careful washing, so make it a distinct colour, ideally red, and store it in its own slot, away from the others.
- One board for fruit and vegetables. This board gets the most daily use, so keep it the easiest to reach, ideally at the front of the rack.
- One board for bread and ready-to-eat foods. Bread crumbs and cheese should never meet raw meat juices, so this board deserves its own permanent home too.
- One large board for general prep, if you have the space, for everything that does not fit the categories above.
Colour-coded sets make this effortless because the colour does the remembering for you, even when someone else is cooking. If your boards are all wood, use a small coloured dot sticker on the handle end, or simply always store them in the same order: meat board at the back, vegetable board at the front. If you are sorting the whole cooking zone, our guide to kitchen knife storage covers the same upright, separated principles for blades.
One habit ties the system together: prep ready-to-eat foods before raw meat, and wash the board properly between jobs if you only have one board to hand.
Cleaning and Drying Habits That Make Storage Work
Even the best rack cannot rescue a board that goes away dirty or soaking wet, so the two minutes after washing matter as much as the storage.
- Wash straight after use. Food residue dries into knife grooves quickly, and dried-on residue is far harder to shift than fresh mess. Hot, soapy water and a good scrub are enough for everyday cleaning.
- Sanitise after raw meat. Once a week, or after any raw meat session, wipe the board with a diluted bleach solution or white vinegar, leave it for a couple of minutes, then rinse well and dry.
- Deodorise wooden boards naturally. A scrub with coarse salt and half a lemon lifts stains and smells from wood without harsh chemicals.
- Dry before storing, every time. Stand the board upright in the dish rack until both faces are dry to the touch, then put it away. This one habit prevents most warping and most smells.
- Inspect boards regularly. Deep grooves, cracks, splits, or a smell that survives cleaning all mean it is time to retire the board. A cheap plastic board that has seen better days is not worth a stomach upset.
A slightly warped wooden board sometimes settles if stored upright somewhere dry, but a board that rocks while you chop is a safety problem, not just an annoyance. Replace it, and start the new one off with the upright habit from day one.
Small Kitchens, Big Collections: Making It Fit
Small kitchens force the hardest choices, so be honest about how many boards you actually use. Most households cook happily with three: one for meat, one for produce, and one large all-rounder. If you own eight boards and regularly reach for three, the other five are clutter, not a collection. Pass them on, and suddenly the rack you already own fits everything.
For the boards you keep, use the dead spaces: the inside of a cabinet door, the narrow gap beside the fridge, or the end panel of a run of cabinets. A slim rack in one of these spots often holds your whole working set without touching a centimetre of counter. If you are reorganising the wider kitchen too, our ideas for kitchen cabinet organization will help you find that dead space in the first place.
Renters have one extra constraint: no drilling. Adhesive hooks rated for the weight, over-door hooks, tension rods inside cabinets, and freestanding racks all work without a single hole, and they come with you when you move.
Sorting out your cutting boards will not take a weekend, and it will not cost very much. Pick one method from this list that fits your kitchen, give each board a fixed job and a fixed spot, and build the dry-before-storing habit. Within a week you will reach for the right board without digging, your boards will dry properly and last longer, and that cupboard avalanche will be a thing of the past.