
Most kitchen cabinets are organized by accident. You moved in, unpacked boxes in a hurry, shoved things wherever they fit, and then lived with the consequences for years: the baking soda avalanche, the pot lid that never fits, the spice you buy for the third time because you can’t find the first two.
I reorganized my cabinets properly exactly once, about four years ago, and they’ve stayed organized since — not because I’m disciplined, but because the system makes sense. When everything has a logical home, putting things away is easier than leaving them out. That’s the whole secret. Here’s the step-by-step.
Step 1: Empty One Cabinet at a Time
Not the whole kitchen — one cabinet. Emptying everything at once is how people end up crying on the kitchen floor at 9 PM surrounded by every pot they own. One cabinet is finishable, and finishable is everything.
Pull everything out of that single cabinet and set it on the counter. Wipe the cabinet down — shelves, sides, the whole interior. You’ll be amazed what’s been living in there: crumbs, sticky rings, a fossilized cheerio.
Step 2: Sort and Declutter Ruthlessly
Group the cabinet’s contents by type on your counter. Then interrogate every item:
- Duplicates: Three whisks? Seven water bottles? Keep the best one or two, donate the rest.
- Broken or damaged: Chipped mugs, warped lids, containers without matching lids — recycle or trash.
- Unused gadgets: The avocado slicer, the banana hanger, the third garlic press. If you haven’t used it in a year, you won’t.
- Aspirational items: The fondue set, the juicer from the health phase. Be honest.
The container test is brutal and effective: match every container to a lid. No lid, no container. You’ll lose a third of your plasticware in one go, and you’ll never miss it.
Step 3: Plan Your Zones
Kitchens work best in zones — groups of related items stored where they’re used. Before putting anything back, decide what lives where:
- Cooking zone (near the stove): pots, pans, cooking utensils, oils, spices
- Prep zone (near the main counter): cutting boards, knives, mixing bowls, measuring tools
- Dish zone (near the dishwasher/sink): everyday dishes, glasses, mugs
- Food storage zone (near the fridge or pantry): containers, wraps, foil, bags
- Baking zone (wherever you bake): flour, sugar, baking pans, mixer attachments
Store items as close as possible to where you use them. Pots near the stove seems obvious, but most kitchens have them three steps away for no reason. Every step you eliminate gets repeated hundreds of times a year.
Step 4: Put Things Back — High, Low, and Smart
Daily items at eye level and within easy reach. The dishes, glasses, and cooking tools you grab every day belong in the most accessible cabinets — no stretching, no step stool.
Heavy items low. Pots, dutch ovens, small appliances, bulk ingredients go in lower cabinets. Your back will thank you, and heavy things on high shelves are genuinely dangerous.
Rarely used items high. The turkey roaster, the punch bowl, the specialty bakeware — top shelves or the cabinet above the fridge. If you need a step stool to reach it, that’s correct; you only need it twice a year.
Inside the cabinet, arrange for visibility. Heavy in back, frequently used in front. Use shelf risers so nothing hides behind anything else — a riser turns one deep shelf into two visible layers. For deep cabinets, a pull-out shelf or even a simple tray you can slide out ends the “lost in the back” problem.
Step 5: Tame the Problem Cabinets
Every kitchen has them. Here’s how to fix the classics:
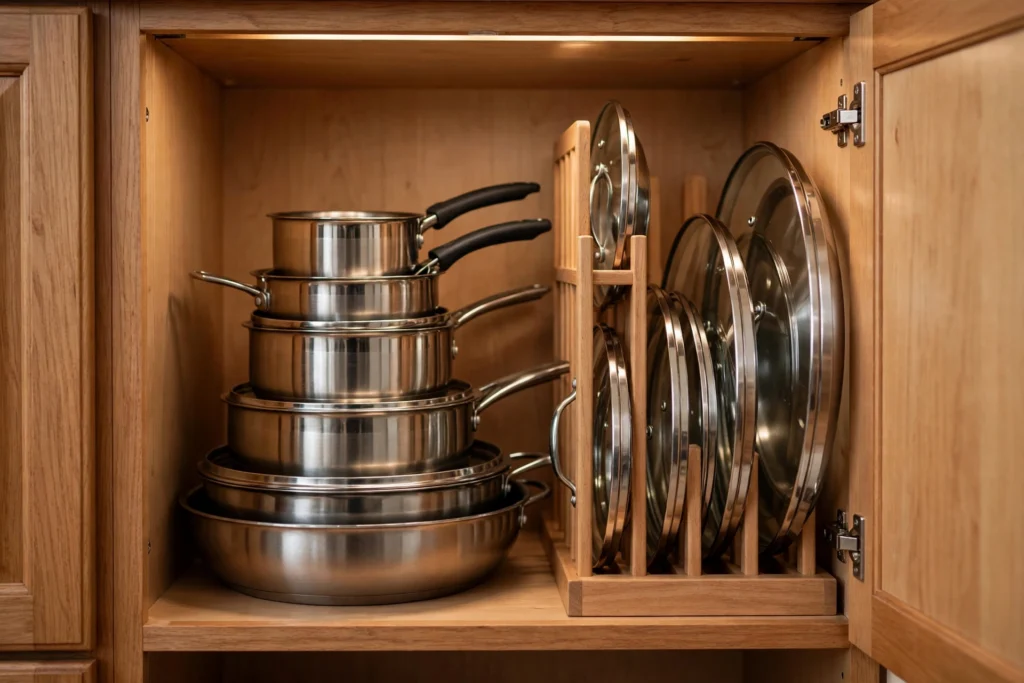
The pot and pan cabinet. Nest pots with a cloth or paper towel between them to prevent scratching. Store lids separately — vertically in a rack, or on the inside of the cabinet door with hooks. Never stack lids on pots; that’s the avalanche.
The spice situation. Pick ONE spot for all spices — a drawer with jars lying flat (labels on lids), a door-mounted rack, or a single shelf with a stepped riser. Alphabetical order sounds obsessive but saves real time. Never store spices in two places.
The food storage container cabinet. After the lid-matching purge, store containers nested with lids filed vertically beside them (a dish rack works perfectly). If it doesn’t fit neatly, you still have too many.
Under the sink. This cabinet is dark, damp, and awkward — perfect for cleaning supplies, and nothing else. A door-mounted caddy plus a small turntable keeps everything visible. Toss the half-empty bottles you’ve been avoiding.
Step 6: Drawers Deserve the Same Treatment
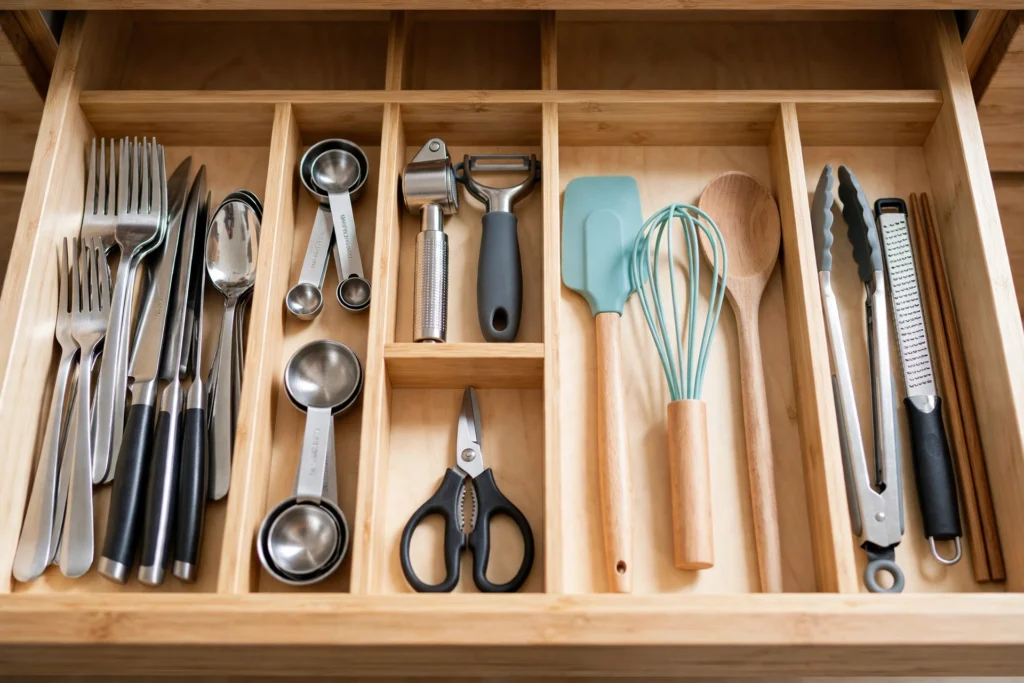
Kitchen drawers fail without dividers. The utensil drawer becomes a tangled mess; the gadget drawer becomes a museum of good intentions.
Use drawer dividers or small boxes to give every category a boundary: cooking utensils, cutlery, gadgets, wraps and foil. One drawer near the stove for cooking tools, one near the prep area for knives and cutting tools. If a drawer won’t close easily, it’s overfull — that’s a declutter signal, not a bigger-drawer signal.
Keeping It Organized: The Rules That Make It Stick
The system stays because of three rules:
- One in, one out. A new mug means an old mug leaves. A new gadget means an old one goes. This prevents the slow refill that undoes every organizing project.
- Everything returns home immediately. Not “later,” not “on the drying rack for three days.” The system only works if items go back to their zones. This takes seconds when the zones make sense.
- A 5-minute weekly check. When you wipe the counters, glance inside one cabinet. Put strays back, toss anything broken. Rotating through cabinets weekly means none of them ever gets bad again.
Small Kitchens: The Same System, Tighter
If your kitchen is small, the system matters even more — you just compress it. Combine zones (cooking + prep), use the inside of cabinet doors for lids and measuring tools, add a shelf riser to every deep shelf, and be ruthless about duplicates. Our Small Kitchen Organization Ideas That Actually Maximize Space has more small-space-specific tricks that pair perfectly with this system.
Frequently Asked Questions
What’s the best way to organize deep kitchen cabinets?
Pull-out shelves or slide-out trays are the gold standard. On a budget, a simple tray you can pull forward works nearly as well. Shelf risers help too, by creating visible layers instead of hidden depths.
How do I organize spices in a small kitchen?
One dedicated spot only — a drawer with flat-labeled jars, a door rack, or a stepped shelf riser. Decant into uniform jars if you want the full effect, but even original jars work when they’re all in one visible place.
Should I store pots and pans with lids on?
No — store lids separately, vertically in a rack or on hooks inside the cabinet door. Lids-on stacking causes the avalanche and wastes vertical space.
How often should I reorganize kitchen cabinets?
A full empty-and-sort once or twice a year is plenty if you follow the one-in-one-out rule and the weekly 5-minute check. Most cabinets stay organized on their own when the system is logical.
Organized cabinets aren’t about pretty labels or matching containers. They’re about a system so logical that putting things away is the path of least resistance. Empty one cabinet today, follow the steps, and feel the difference the next time you cook. Then do the next cabinet tomorrow. Within two weeks, your whole kitchen will just… work.
For the full small-kitchen picture, read Small Kitchen Organization Ideas That Actually Maximize Space next.