
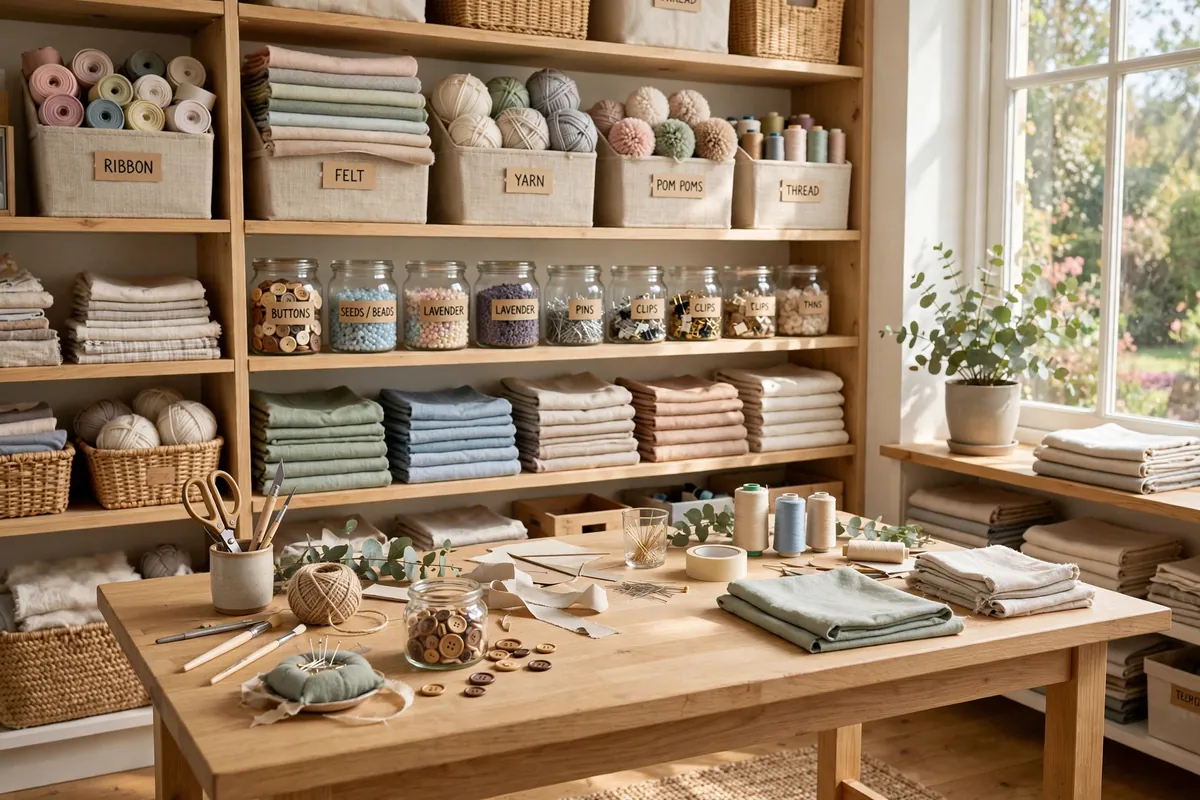

Learning how to declutter a craft room feels different from decluttering anywhere else in the house. Every spool of thread, every half-finished quilt block, every skein of yarn represents an intention, a plan, a version of you who was going to make something beautiful. That is exactly why craft rooms turn into the hardest rooms to tidy. You are not just sorting stuff, you are sorting through hopes, hobbies, and a surprising amount of guilt.
Buying three new rolling carts feels like progress, but it only moves the clutter into prettier containers. No storage solution can fix a room that holds more than you will ever use. The good news? A craft room is one of the most satisfying rooms to declutter. This guide walks you through the process, gently but honestly, so your craft room inspires you instead of overwhelming you.
Why Craft Rooms Become the Clutteriest Room in the House
Craft rooms collect clutter for reasons that make complete sense. First, hobbies multiply. Most crafters do not have one hobby. They have a main craft, a backup craft, a craft they tried one summer, and a craft they bought supplies for at a clearance sale “just in case.” Sewing fabric sits next to scrapbooking paper, which sits next to three kinds of glue. Each collection is small enough to justify, but together they fill a room.
Second, craft supplies arrive constantly and rarely leave. Gifts, clearance finds, and a friend’s “just couldn’t throw it away” box all land here. Crafters save scraps too: fabric too small for any project but too pretty to discard. The room has no natural exit for materials.
Third, and biggest of all, unfinished projects accumulate. A half-knitted baby blanket from 2019. A cross-stitch hoop with the owl’s eyes done and nothing else. The quiet guilt of these unfinished projects makes you avoid the room entirely. Clear them out and you make space, mentally and physically, for the projects you will actually finish.
How to Declutter a Craft Room: The 6-Step Method
This works for any size craft space, from a whole room to a corner of the spare bedroom. Plan two or three two-hour sessions instead of one marathon. Fresh eyes make better decisions than tired ones.
Step 1: Pick Your Time and Set Up Stations
Choose an uninterrupted block of time and set up four stations with bins or labeled bags: Keep, Donate or Pass Along, Trash or Recycle, and Maybe. The Maybe box is your safety net. Anything you are unsure about goes there with no agonizing allowed; you will revisit it at the end with one clear rule.
Step 2: Clear One Zone at a Time
Work zone by zone instead of pulling the whole room into the hallway: the cutting table today, the shelving unit tomorrow. Take everything out of the zone so you can see the empty surface. Wipe it down while it is bare. A quick clean gives you a small psychological reset before sorting begins.
Step 3: Sort Everything Into Categories
Before deciding what stays, group like with like: all fabric together, all yarn together, all paint, all paper, all tools. This reveals the duplicates quietly eating your storage. Most crafters own the same thing three or four times over. Pick the best one of each and let the rest go.
Step 4: Ask the Honest Questions
For each item, ask yourself three questions:
- Do I still love this craft? Not the memory of it, the actual doing of it. The bead collection from your jewelry-making phase counts as a no if you have not made a bracelet in three years.
- Will I use this in the next twelve months? A vague “someday” is not a plan. If you cannot name a specific project, it is storage debt, not a supply.
- Would I buy this again today? This cuts through sentiment beautifully. If you would not spend money on it now, you are keeping it for the past, not the future.
Two passes through the same pile beat one long agonizing session. On the first pass, remove only the obvious yeses and nos; the second pass gets easier once the easy wins have lightened the load. If an item has genuine emotional weight, like fabric your mother saved for you, read our guide on decluttering sentimental items without the guilt before you decide.
Step 5: Deal With the Maybe Box Using the Quarantine Rule
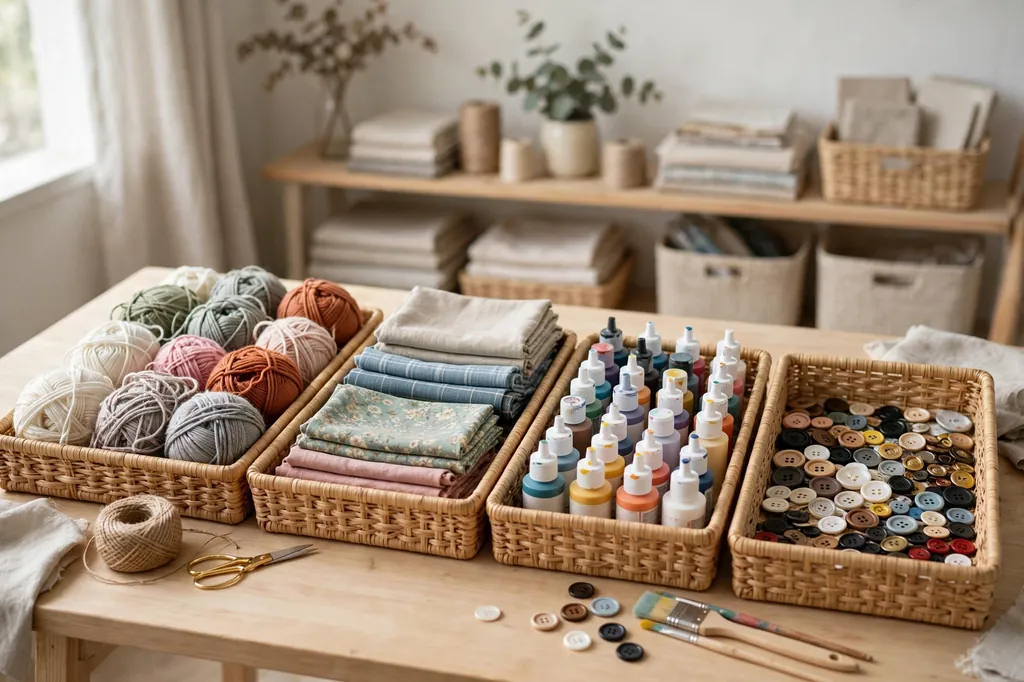
When a zone is done, seal the Maybe box, date it, and stash it out of the way. Revisit it in six months. If you have not needed anything in it, donate the whole box unopened. Most people never open the box again, which tells you everything about how much they needed those items.
Step 6: Give Every Kept Item a Visible Home
Only after the purge do you put things back. Everything that stays gets a designated home that matches how you actually craft: daily tools near the work table, bulk supplies in labeled bins, small bits like buttons and beads in compartmentalized containers. If your tools drawer has become its own miniature junk drawer, the twenty-five-minute method in our junk drawer declutter guide works perfectly for it.
Craft Room Declutter Checklist: One Category at a Time
Some categories need their own rules. Work through this checklist as you reach each pile.
Paper, Cardstock, and Scrapbooking Supplies
Paper is the silent space thief of craft rooms. Keep only paper you love and will genuinely use; toss anything faded, bent, or yellowing. Old pattern envelopes count as paper clutter too. If your patterns come as PDFs now, recycle the paper versions you can reprint. For the keepers, slip each pattern into a sheet protector and file them in a binder by craft. One binder on a shelf replaces a whole cubby of crumpled envelopes. For the rest of your paper chaos, our guide to taming paper clutter for good will help you build a real system.
Fabric, Felt, and Sewing Notions
Fabric stash is where crafters keep the most “someday” material. If you bought a piece for a specific project and the project is dead, the fabric’s purpose is gone too. Fabric smaller than a fat quarter with no planned use is a scrap, not stash. Keep one scrap basket with a strict size limit: when it is full, no new scraps enter until old ones leave as finished projects. Test markers and fabric pens; dried-out ones go straight to trash.
Yarn, Thread, and Fiber
Yarn is heavy, bulky, and oddly emotional. Sort by fiber and weight, and be realistic about how much you can knit or crochet in a year. Keep only enough yarn for the projects you can finish in the next twelve months, plus one comfort project. Donate the rest. Schools, senior centers, and animal shelters often welcome yarn donations warmly. If you are storing yarn for someone else’s hobby, pass it on.
Paints, Inks, Adhesives, and Finishing Supplies
This is the one category with a genuine expiry date. Open every bottle and tube. Dried-out acrylics, separated paint, and gummy glue go into the trash or hazardous-waste collection. Keep only colors you reach for, not the full starter set you bought for one project. This category declutters itself fastest once you open the lids, making it a satisfying place to start.
Unfinished Projects
Lay out every unfinished project and ask one question: will I finish this in the next six months? Not “could I,” not “should I,” but “will I,” realistically. Projects that pass get a project bag with their supplies and a note of what comes next, stored where you will see them. Projects that fail have options: frog the yarn back into the stash, give the half-finished quilt to someone who will finish it, or simply release it. The guilt you feel looking at it every day costs more than the supplies ever did.
Tools, Machines, and Gadgets
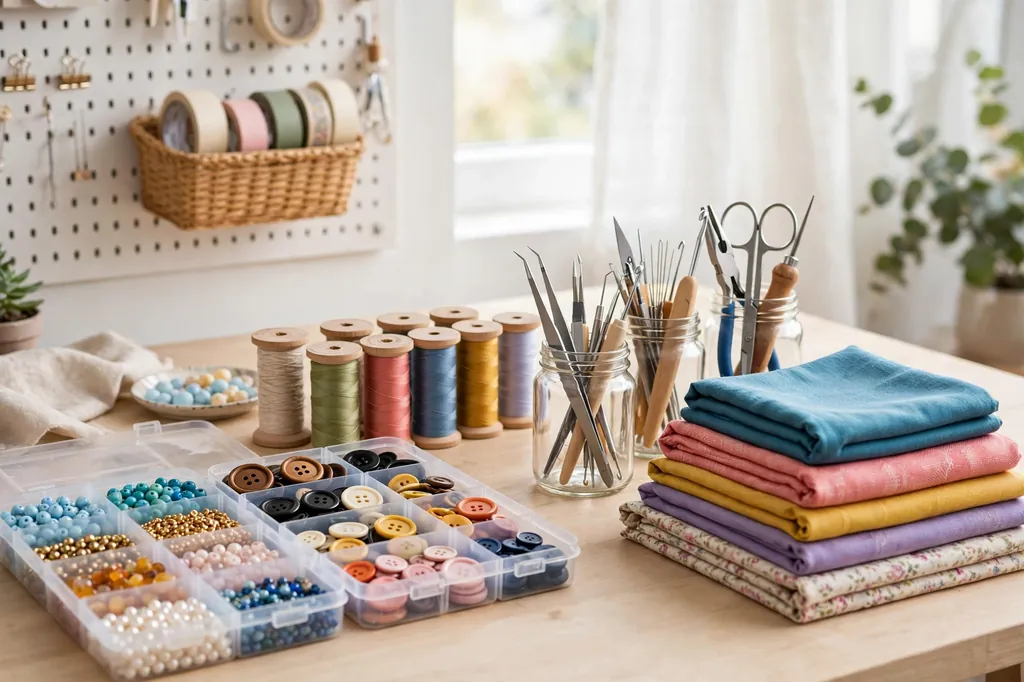
Pull out every tool and ask whether it earns its space: the embossing gun used once, the third paper trimmer, the machine that has not powered on since 2022. One sharp pair of fabric scissors you love is worth more than five mediocre pairs. Store kept machines with their cords, mats, and accessories in one labeled bin so setup takes minutes. Sell or pass along machines that no longer match your craft.
Gift Wrap, Ribbon, and Seasonal Crafting
Keep a tidy roll holder with your favorite gift wrap, not a closet of crumpled clearance rolls. Ribbon shorter than arm’s length with no purpose goes to the donation box. Seasonal craft supplies live best in one clearly labeled bin. If a holiday craft kit has sat unopened for two seasons, it has told you its answer.
What to Do With the Supplies You Are Letting Go
Craft supplies are some of the easiest items to rehome. Donate first. Schools, scout troops, and senior centers are constantly short on supplies; most are delighted by fabric, yarn, paper, and basic tools. Sell the good stuff. A barely used sewing machine sells quickly on local marketplaces. Bundle smaller supplies by craft into “starter kits.” A box labeled “beginner watercolor kit” moves far faster than ten separate listings. Pass it to a person, not a pile. Offer the fabric collection to a friend who sews, the bead stash to a teenager learning jewelry-making.
Recycle and trash the rest honestly. Dried paint, broken tools, and tangled messes nobody can salvage go out. Recycle paper and cardboard, and dispose of chemical products according to local rules. Anything that belongs elsewhere in the house gets relocated on the spot. If your craft zone overlaps with your work area, the steps in our home office declutter guide pair perfectly with this room.
How to Keep Your Craft Room Tidy After the Purge
- End every session with a five-minute reset. Tools back in their homes, scraps tossed, work table cleared before you leave the room.
- Follow one in, one out. New yarn enters only when old yarn leaves. This single rule stops the slow refill that undoes every good declutter.
- Keep a small “current projects” limit. Two active projects is plenty. No new project starts until one finishes or is officially released.
- Sort as you finish, not later. Cut fabric scraps go in the scrap basket right away instead of “for now” on the table. Immediate sorting takes seconds; deferred sorting takes hours.
- Do a seasonal pass. Twice a year, spend one hour walking the room with fresh eyes. Pull the dried pens, duplicate tools, and supplies for a craft you have quietly stopped loving.
It also helps to keep the room’s function clear. If the craft room has quietly become overflow storage for the whole house, clutter will return no matter how tidy your supplies are. Boxes that belong in the attic are not craft supplies. Move them out and defend the boundary kindly but firmly.
Your Craft Room Is Waiting to Be a Joy Again
When you finish, the room will feel different in a way that is hard to describe until you stand in it. The table is clear. You can see the floor. You know exactly what you own, where it lives, and what you want to make next. Most crafters find they actually craft more after decluttering, because the friction is gone. No more digging, no more guilt, no more buying supplies you already own but cannot find.
Start with one zone this week. Not the whole room, just the table or the shelving unit that bothers you most. Once you feel that first clear surface under your hands, the rest of the room gets much easier. Your creativity was never the problem. The clutter was just in its way.