
The biggest lie in home organization is that you need a whole free weekend to make progress. You don’t. You need fifteen minutes and a timer.
I discovered this on a Tuesday evening when guests announced they were coming over on Saturday. Instead of panicking, I set a timer for 15 minutes each evening and attacked one small space at a time. By Saturday, my home looked genuinely, noticeably better — and I’d spent barely an hour total.
The 15-minute declutter method is simple: pick one small, defined space. Set a timer for 15 minutes. Work until it rings, then stop — even mid-task. That’s it. Here are ten spaces that respond beautifully to this method, starting today.
How the Method Works (The Rules)
One space per session. Not “the kitchen” — one drawer, one shelf, one corner. Small and finishable beats big and abandoned.
Three bags/boxes: trash, donate, relocate (things that belong in another room). Sort fast; don’t deliberate. If you’re unsure about an item, it goes back — this method is about momentum, not perfection.
Stop when the timer rings. Even if you’re mid-drawer. Especially if you’re mid-drawer. Stopping on time teaches your brain that decluttering is safe and bounded, which makes starting next time effortless.
Finish with a reset. Put keepers back neatly, take the trash bag to the bin, and put the donate bag by the door. A session isn’t done until the space looks finished.
The 10 Spaces
1. The Junk Drawer (The Classic)
Every home has one. Empty it completely onto the counter — yes, all of it. Toss dried-up pens, dead batteries, mystery keys, expired coupons, and takeout menus for closed restaurants. Group what’s left: batteries together, tools together, tape and scissors together. Small boxes or even mug-sized containers keep categories separated. Fifteen minutes, and the most notorious drawer in your house is fixed.
2. The Bathroom Counter
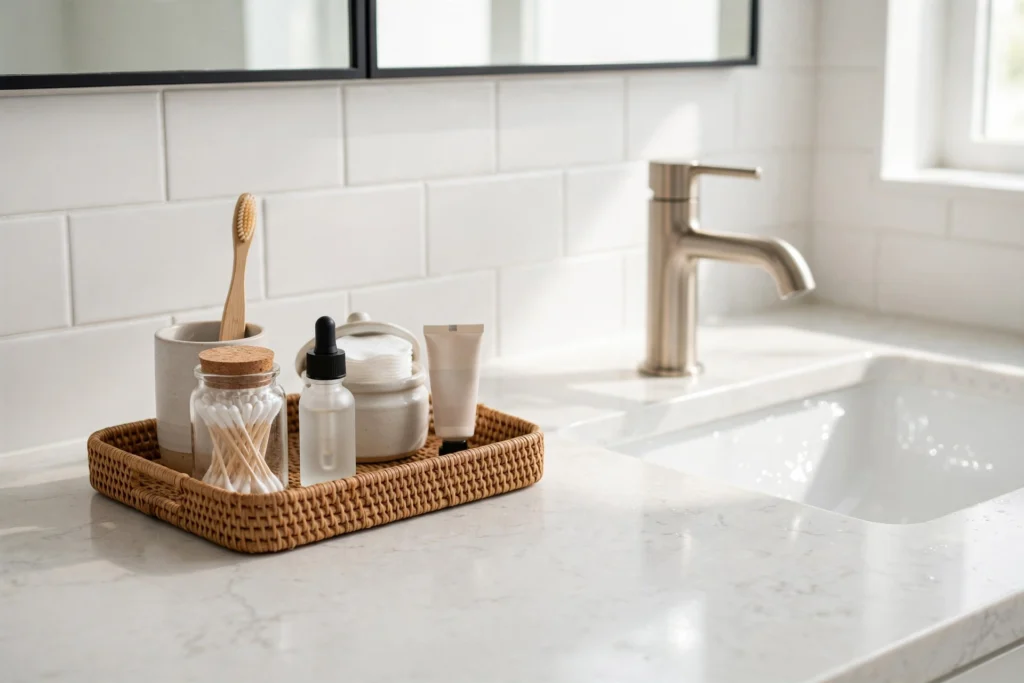
Clear everything off. Toss expired products, dried-out makeup, and the hotel toiletries you’ve been “saving” since 2022. Wipe the counter. Put back only daily essentials — ideally corralled on one small tray. Everything else goes in the cabinet or a drawer. This single change makes the whole bathroom feel calmer.
3. The Entryway Drop Zone
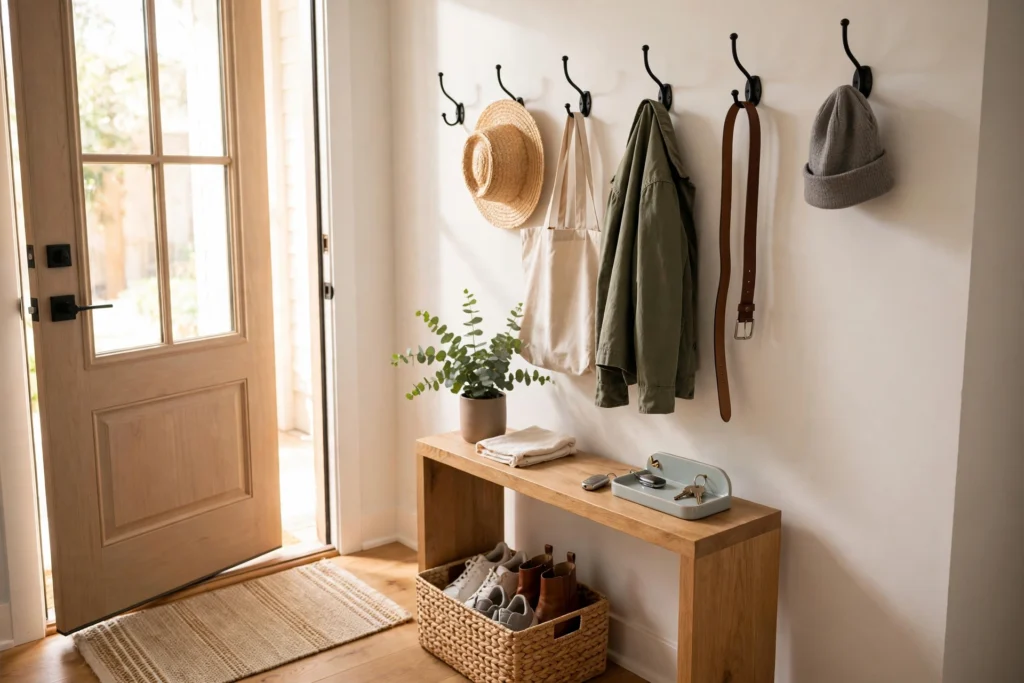
Grab a bag and do a fast sweep: old mail, dead shoes, jackets nobody wears, random items that migrated here. Give the survivors strict homes — one hook per person, one basket for shoes, one tray for keys. The entryway is the first thing you see coming home; fifteen minutes here pays off every single day.
4. The Nightstand
Pull everything out, including the drawer. Toss trash, relocate strays (that living-room remote, those three hair ties), wipe it down. Put back only: lamp, book, water, phone charger. Drawer gets one small organizer for true essentials. You’ll feel the difference tonight when you go to bed.
5. One Kitchen Drawer
Pick the worst one — usually the utensil drawer. Empty it, toss broken tools, duplicates (you do not need four spatulas), and single-purpose gadgets you never use. Group like with like using drawer dividers or small boxes. One drawer done properly often inspires the next one tomorrow.
6. The Medicine Cabinet or Under-Sink Area
Check every expiration date without mercy — expired medications (ask your pharmacy about take-back programs), ancient sunscreen, dried-up ointments. Group by category: daily meds, first aid, backups. A small bin for each keeps it from becoming a jumble again. Fast, satisfying, and genuinely important for safety.
7. The Car (Yes, Really)
Your car is a room too. Grab a trash bag and clear out receipts, empty bottles, old napkins, and the random items that accumulated. Return what belongs inside the house. Add a small trash bag and a box for “goes inside” items. Fifteen minutes gives you a car that doesn’t embarrass you at the gas station.
8. Your Bag or Backpack
Empty your everyday bag completely. Toss old receipts, expired loyalty cards, dried-up pens, crumpled tissues, and the three lip balms. Wipe it out. Put back only what you actually use daily. A light, organized bag genuinely changes how your day feels — and you’ll stop buying duplicates of things you already owned but couldn’t find.
9. The Fridge Door and Top Shelf
You don’t need to do the whole fridge — just the door shelves and the top shelf, where things go to expire quietly. Toss anything past its date, wipe the shelves, and group like with like (condiments together, jams together). You’ll immediately see what you actually have, which makes the next grocery trip smarter.
10. The “Hot Spot” — That One Surface
Every home has a hot spot: the dining table, the kitchen island, the hallway console — where clutter breeds. Set the timer and clear it completely. Sort into trash, relocate, and “needs a home.” Wipe it down. Then declare it a clutter-free zone: nothing lands there without a reason. Defending one clear surface teaches you that clear surfaces are possible everywhere.
After the 15 Minutes: The Part Most People Skip
When the timer rings, do these three things before you sit down:
- Trash goes to the bin (or outside) immediately.
- Donate bag goes by the front door — and gets dropped off this week, not someday.
- Relocate items go to their rooms — right now, while you’re up.
Skipping this step is how decluttering efforts die. The sorting is only half the job; removing the sorted piles is the other half.
Building the Habit: When to Do Your 15 Minutes
The method works best attached to an existing routine:
- Right after dinner, before you sit down for the evening
- During a phone call — decluttering while chatting is weirdly enjoyable
- First thing Saturday morning, before the day starts
- The commercial-break method — one space per evening
Start with three sessions a week. That’s 45 minutes weekly — less than one TV episode — and within a month you’ll have transformed thirty spaces. Most people get hooked after the first week because the results are so visible, so fast.
Frequently Asked Questions
Does 15 minutes really make a difference?
Yes — because the spaces are small and defined. A junk drawer, a nightstand, a bathroom counter: each is genuinely finishable in 15 minutes. The visible result is what builds momentum for the next session.
What if I can’t finish in 15 minutes?
Then the space was too big — split it and continue tomorrow. The rule is sacred: stop when the timer rings. Protecting the time boundary is what keeps the habit alive for months instead of days.
Should I buy organizers first?
No. Declutter first, then buy only what the remaining items need. Most 15-minute sessions need nothing but bags and a wipe-down. (Full room-by-room guidance: How to Declutter Your Home Room by Room: A Beginner’s Complete Guide.)
How often should I do 15-minute declutter sessions?
Three to five times a week is the sweet spot for most people. Daily is fine too if you enjoy it — but never let it become a chore you dread. The moment it feels like punishment, drop back to three times weekly.
You don’t need a free weekend. You need fifteen minutes, a timer, and one small space. Start with the junk drawer — everyone loves a junk drawer victory — and see how it feels. My guess: you’ll be setting that timer again tomorrow.
Ready for bigger projects? Our Weekly Cleaning Schedule for Busy People keeps the whole house maintained in 20–30 minutes a day.
[…] to go deeper? Read our guide on The 15-Minute Declutter Method: 10 Spaces You Can Tidy Today […]
[…] opened a box in a year, schedule a declutter session — don’t just buy a prettier box. (Our 15-Minute Declutter Method is perfect for these […]
[…] You can’t deep clean around clutter. Do a quick 15-minute declutter per room first (our 15-Minute Declutter Method is perfect for this), then […]