

You buy a beautiful bunch of parsley on Saturday, full of plans for tabbouleh and roast chicken, and by Tuesday it has turned into a sad, slimy bundle at the back of the fridge. Sound familiar? It happens in almost every kitchen. Fresh herbs are among the most perishable things we buy, yet most of us store them the same way we store everything else: tossed in a bag and forgotten. The good news is that a few simple fresh herb storage ideas can easily double or triple their life, saving you money, cutting food waste, and making weeknight cooking far more enjoyable.
Here is the secret nobody tells you at the grocery store: herbs are not all the same. A bunch of basil behaves nothing like a bunch of rosemary, and treating them identically is exactly why one turns black while the other dries out. Once you learn which herbs like water, which prefer a dry wrap, and which ones are worth freezing, you will stop throwing away half-used bunches. This guide covers every method that actually works, from the classic water jar to freezer cubes and air-drying.
Fresh Herb Storage Ideas Start With Sorting Soft From Woody
Before you reach for a jar or a paper towel, take thirty seconds to sort your herbs into two groups. Soft, tender herbs have thin, flexible stems and lots of leafy growth: parsley, cilantro, dill, mint, chives, tarragon, and basil. Woody herbs have stiff stems and tougher, smaller leaves: rosemary, thyme, sage, and oregano. This one distinction decides almost everything about storage, because soft herbs drink water through their stems like cut flowers, while woody herbs are built for drier conditions and suffer when they sit in standing water.
Start every storage session the same way. Pick out any leaves that are already yellow, slimy, or bruised, because one spoiling leaf speeds up the decline of its neighbors. If the herbs are visibly dirty, give them a gentle rinse in cool water; otherwise, leave them unwashed, since extra moisture on the leaves is the fastest route to mold. Then pat them dry with a clean kitchen towel or spin them in a salad spinner. This quick step takes less than a minute, and it is the difference between herbs that last three days and herbs that last three weeks.
The Water-Jar Method: A Bouquet in Your Fridge
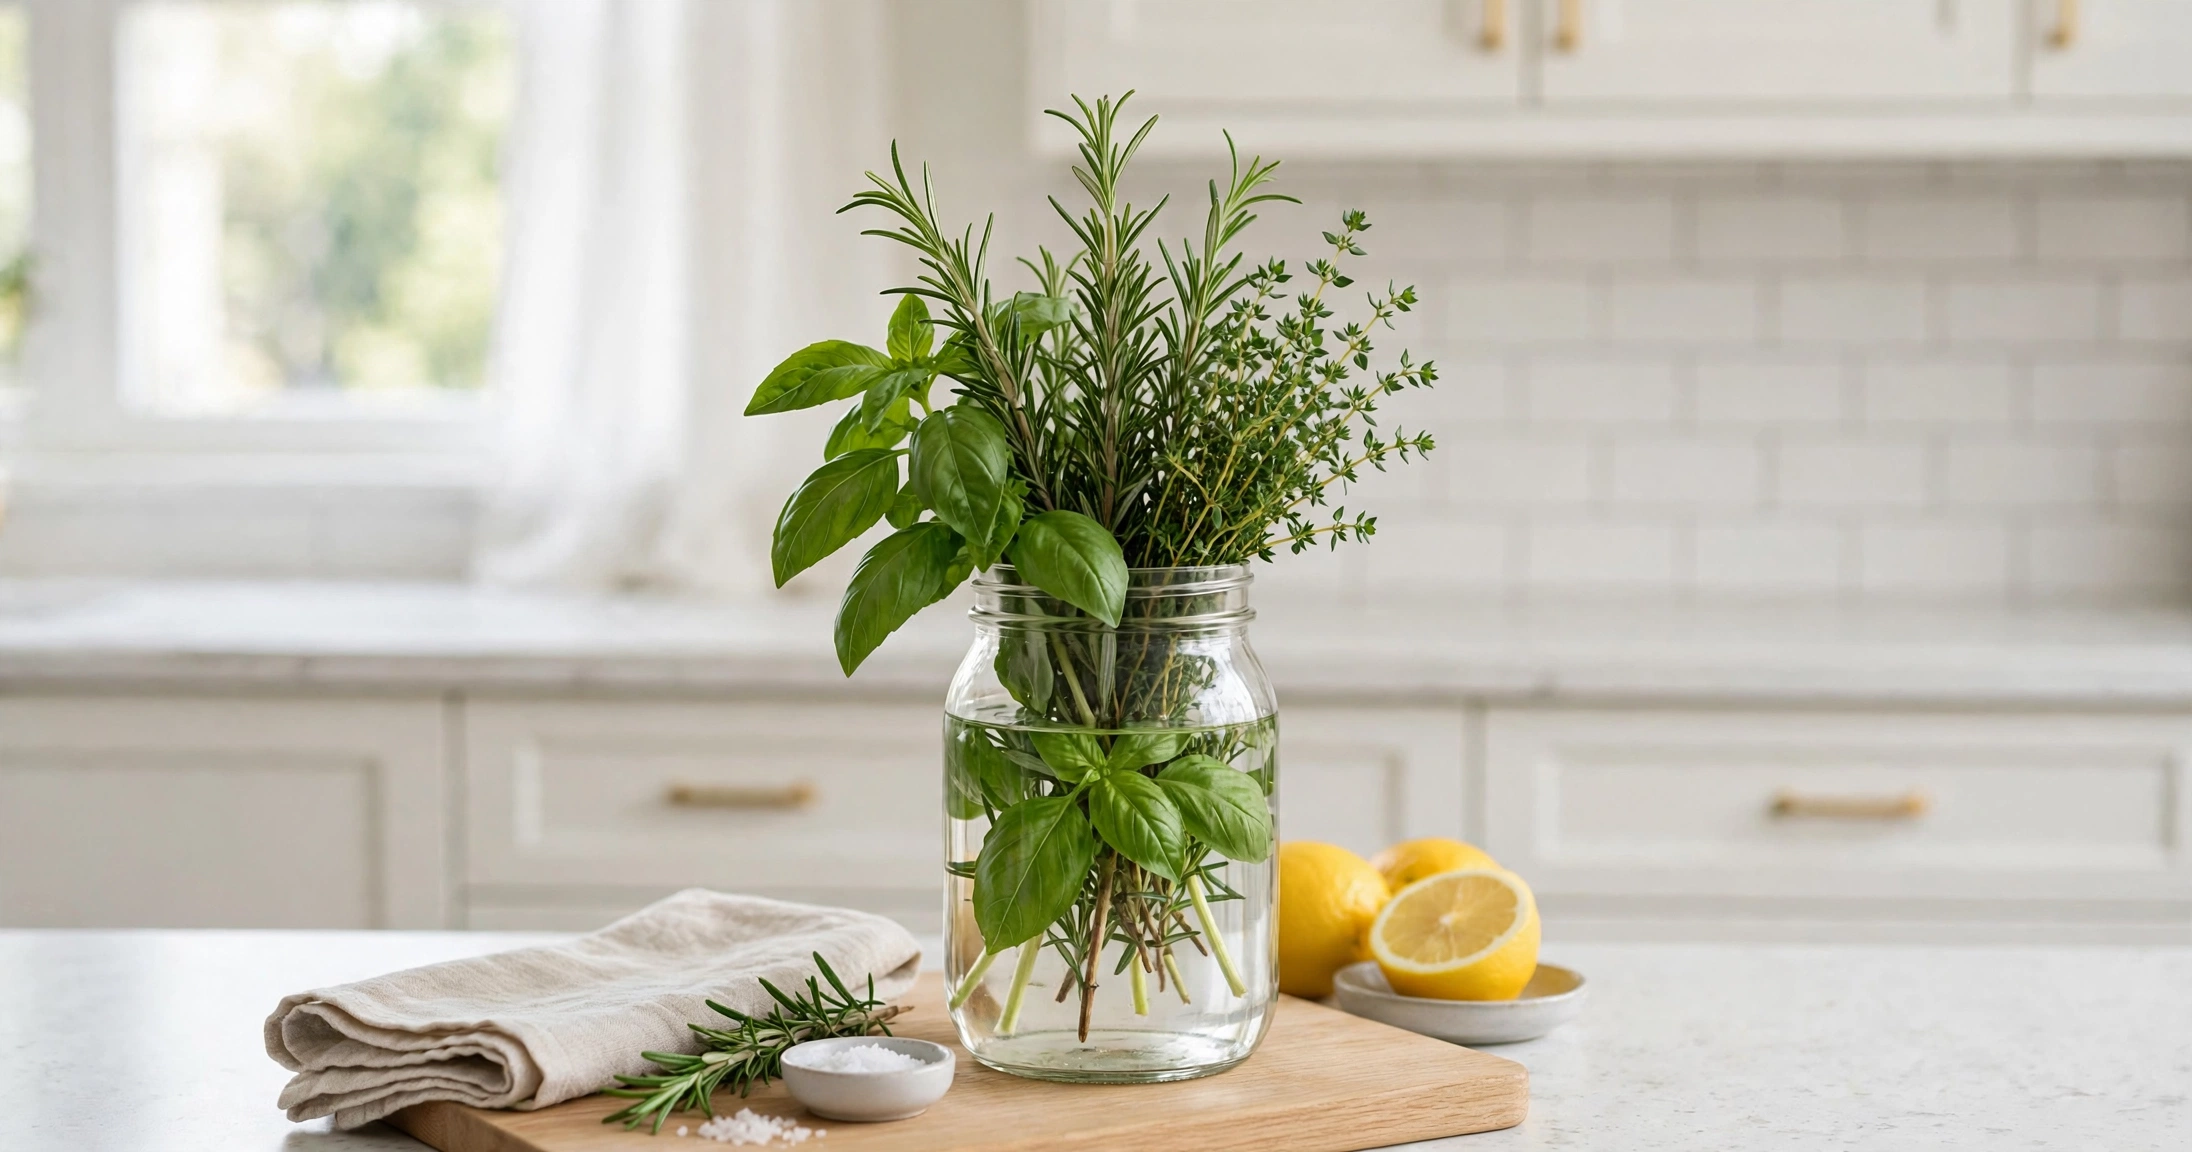
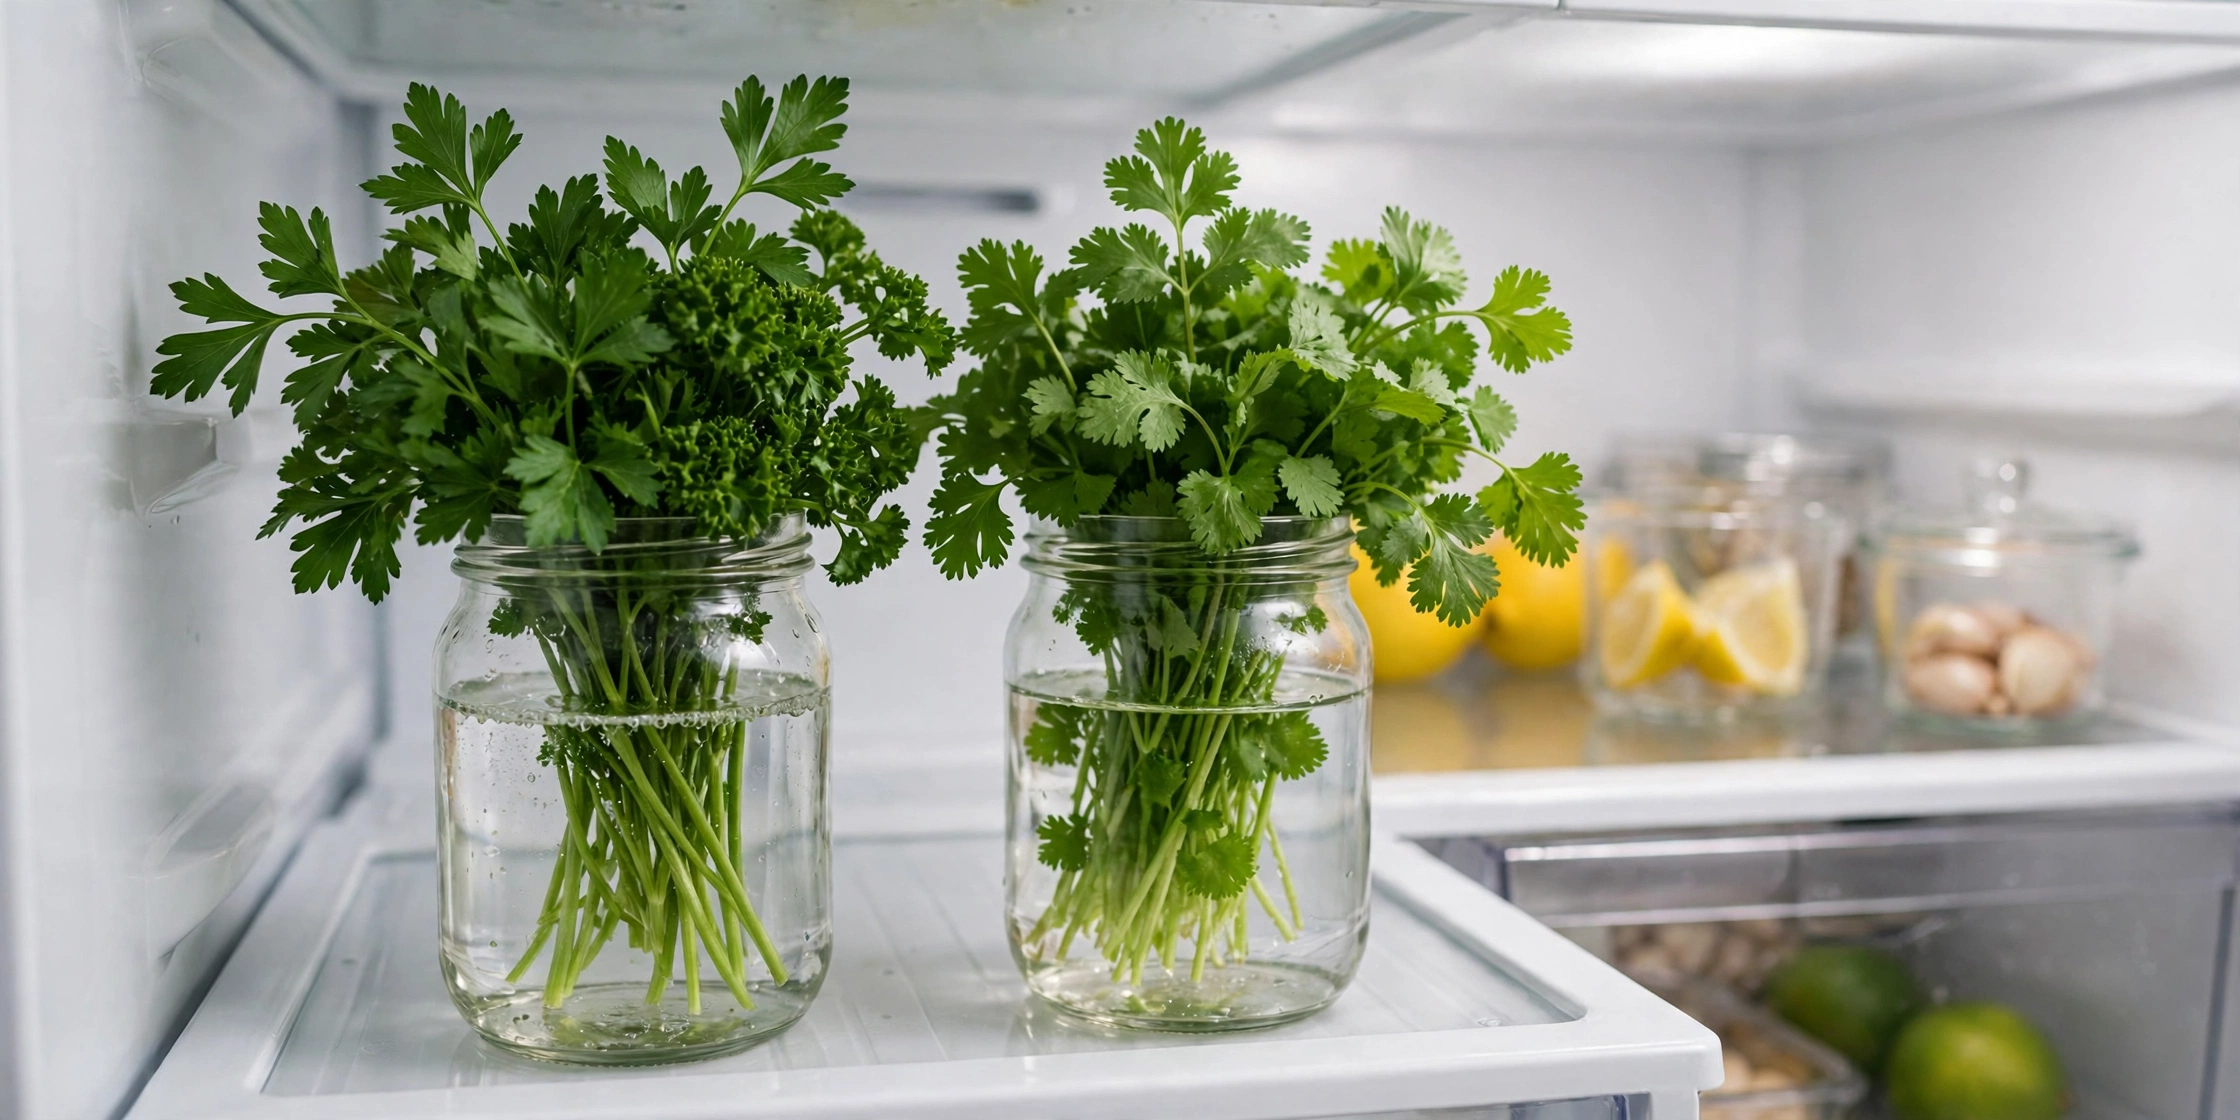
The single most effective trick for soft herbs is the water-jar method, and it works exactly the way it sounds. Trim about half an inch off the bottom of the stems with sharp scissors, just as you would for a bouquet of flowers, and stand the bunch upright in a jar with an inch or two of cool water. Make sure the water covers the stem ends but never touches the leaves, because submerged leaves rot quickly. Then slip a loose plastic bag or reusable silicone cover over the top like a little greenhouse, and pop the jar into the fridge.
That loose cover is the part most people skip, and it matters more than you might think. Fridge air is dry, and uncovered leaves lose moisture fast. The bag traps just enough humidity to keep the leaves crisp without sealing them in so tightly that condensation builds up. Change the water every two or three days. Stored this way, parsley, cilantro, and mint commonly last two to three weeks, and dill and tarragon usually make it a solid week or more.
There is one famous exception to this rule, and it trips up even experienced cooks: basil. Basil hates the cold. Fridge temperatures damage its tender leaves and turn them black within a day or two, so basil is the one herb that should never go in the refrigerator. Keep your basil bouquet on the kitchen counter instead, in a jar of water away from direct sunlight, changing the water every couple of days. Treated this way, basil often lasts a week or longer, and if it starts to root, you can even pot it up and grow a new plant. A tidy fridge makes all of this easier, because jars with a dedicated spot do not get knocked over or buried behind leftovers; these fridge organization ideas that keep your refrigerator tidy for good will help you carve out room for them.
The Damp Towel Method for Woody Herbs
Woody herbs like rosemary, thyme, sage, and oregano need a gentler touch. Their stems are sturdy and their leaves hold less water, so standing them in a jar is unnecessary and can make them soggy. Instead, wrap them loosely in a barely damp paper towel, not a soaking one, and slide the bundle into a resealable bag or an airtight container. Squeeze out most of the air without crushing the leaves, and store the bundle in the crisper drawer.
The word barely does a lot of work here. A towel that is dripping wet will breed mold; a towel that is completely dry lets the leaves shrivel. Aim for the dampness of a towel wrung out thoroughly after rinsing, and check it every few days, re-dampening it if it has dried out or swapping it if it smells musty. Stored this way, rosemary, thyme, and oregano routinely last two to four weeks, and even sage usually manages a good week or two. This same trick also works beautifully for chives, whose hollow stems go waterlogged and limp in a jar, so wrap them instead.
If you buy herbs in supermarket clamshell packs, use a shortcut version of this method: line the pack with a dry paper towel, lay the herbs in a single layer, add another towel on top, and close the lid. The towels absorb the condensation that would otherwise pool around the leaves, which is the main reason clamshell herbs turn slimy so fast. The same principle applies to the rest of your produce, and these pantry produce storage ideas that keep fruit and vegetables fresh longer will help you apply it across your whole kitchen.
Freezing Herbs: The Best Way to Save a Glut
Sometimes you end up with far more herbs than you can use in a week. Maybe your garden mint exploded, or the farmers market had a deal on parsley, or a recipe called for one tablespoon of dill and left you holding an enormous bunch. This is where freezing earns its keep. Frozen herbs will not look pretty enough to scatter over a finished salad, but they keep almost all of their flavor for cooking, and they last for months.
The easiest method is the ice cube tray. Chop the herbs, pack them into the compartments, and cover them with water or olive oil. Water cubes are perfect for soups, stews, and sauces; oil cubes are better for sautés, pasta, and roast vegetables, since the oil protects the leaves from freezer burn and releases their flavor the moment it hits a hot pan. Once the cubes are frozen solid, pop them into a labeled freezer bag, squeeze out the air, and note the herb and the date. Frozen herbs keep good flavor for about six months, and you can drop a cube straight into a dish.
- Soft herbs in oil: basil, parsley, cilantro, and mint freeze beautifully chopped in olive oil, and basil frozen this way is ideal for winter pesto.
- Woody herbs dry-frozen: rosemary and thyme freeze well as whole sprigs on a baking sheet; once solid, bag them and strip leaves as needed.
- Herb butter: blend softened butter with chopped herbs and lemon, roll it into a log in parchment paper, freeze it, and slice off rounds for steak, fish, or vegetables.
- Label everything: frozen herbs all look alike, so write the herb name and date on every bag.
One important safety note: never store fresh herbs packed in oil at room temperature. Garlic and herbs in oil can harbor harmful bacteria if left unrefrigerated, so oil-packed herbs belong in the fridge for no more than a few days or in the freezer for the long term. While you are labeling those freezer bags, these freezer organization ideas that end the mystery bag chaos will make sure your herb cubes are actually findable in January.
Drying Herbs for the Pantry Shelf
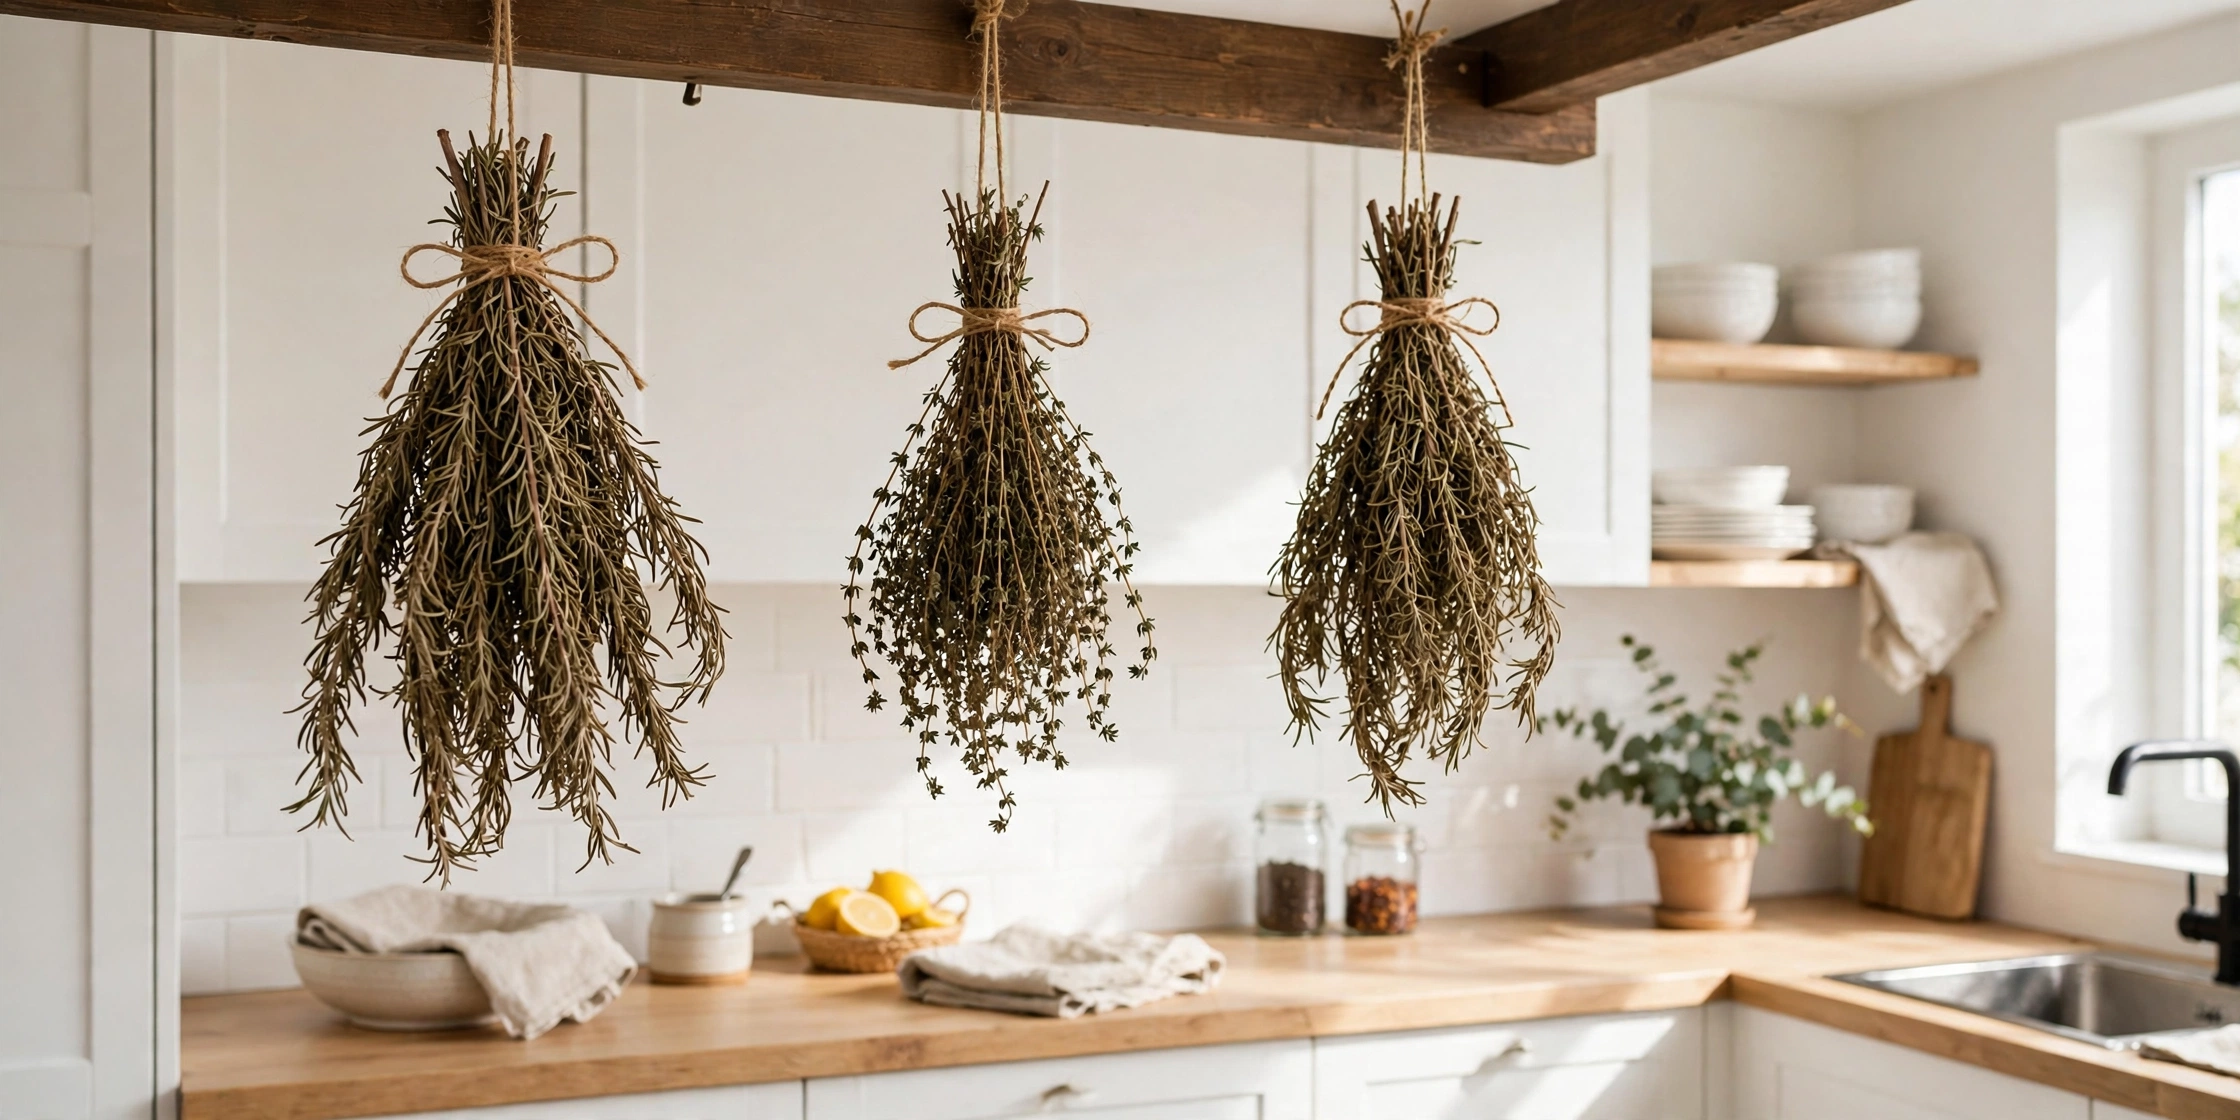
Drying is the oldest herb storage method there is, and it is still the best choice for woody herbs and for anyone short on freezer space. Dried herbs keep for up to a year in a cool, dark cupboard, and they are wonderful in slow-cooked dishes, rubs, and marinades. The flavor concentrates as the water leaves, so one teaspoon of dried herbs roughly replaces one tablespoon of fresh.
Air-drying is beautifully simple. Tie small bundles of herbs with string or a rubber band, hang them upside down in a dry, well-ventilated spot away from direct sunlight, and wait one to two weeks until the leaves crumble easily between your fingers. Small bundles dry faster and more evenly than big ones. Once the leaves are crisp, strip them from the stems, crumble them lightly, and store them in airtight jars away from heat and light. Do not grind them until you need them, because whole dried leaves hold their flavor longer than powder.
If you are in a hurry, the oven and microwave can speed things up. Spread leaves in a single layer on a lined baking sheet and dry them in the lowest oven setting, with the door slightly ajar, checking every fifteen minutes until they crumble. In the microwave, work in short thirty-second bursts, turning the leaves between rounds. Both work well for rosemary, thyme, oregano, and sage, but watch tender herbs like parsley and mint closely, because they scorch fast. Label your jars with the herb and the drying date, and keep them away from the spot directly above the stove, where steam and heat quietly steal their flavor.
Everyday Habits That Make Herbs Last
The best storage method will not help if your herbs are forgotten, so build a few small habits around them. Keep herb jars at eye level in the fridge, not buried in the crisper drawer, so you actually see them when you open the door. Check your bundles every two or three days, pull out any leaf that has turned, and refresh the water or towel before problems spread. When you cook, snip what you need from the jar rather than pulling the whole bunch out and letting it warm up on the counter.
It also helps to plan around your herbs instead of treating them as an afterthought. If you bought cilantro on Saturday, put tacos or a grain bowl on Tuesday’s menu. If parsley is fading, blitz it into chimichurri, pesto, or herb butter before it is too late. A little planning turns herbs from a source of guilt into one of the easiest wins in your kitchen, and tracking what you have on hand makes it even easier; a simple pantry inventory system that stops food waste works just as well for fresh herbs as it does for canned goods.
Finally, remember that reviving is sometimes possible. If soft herbs have wilted but have not gone slimy or moldy, trim their stems and stand them in a glass of cool water for fifteen to twenty minutes. Many bunches perk right back up, crisp and fragrant.
A Fresher Kitchen, One Bunch at a Time
Keeping herbs fresh is not about fancy gadgets or a perfect kitchen. It is about matching the herb to the method: a water jar in the fridge for soft herbs, a jar on the counter for basil, a damp towel for woody herbs, and the freezer or drying rack when you have more than you can use. Start with just one idea this week, maybe the water jar for your next bunch of parsley. Here is to fewer slimy bunches, less waste, and a kitchen that always smells faintly of something green and wonderful.