
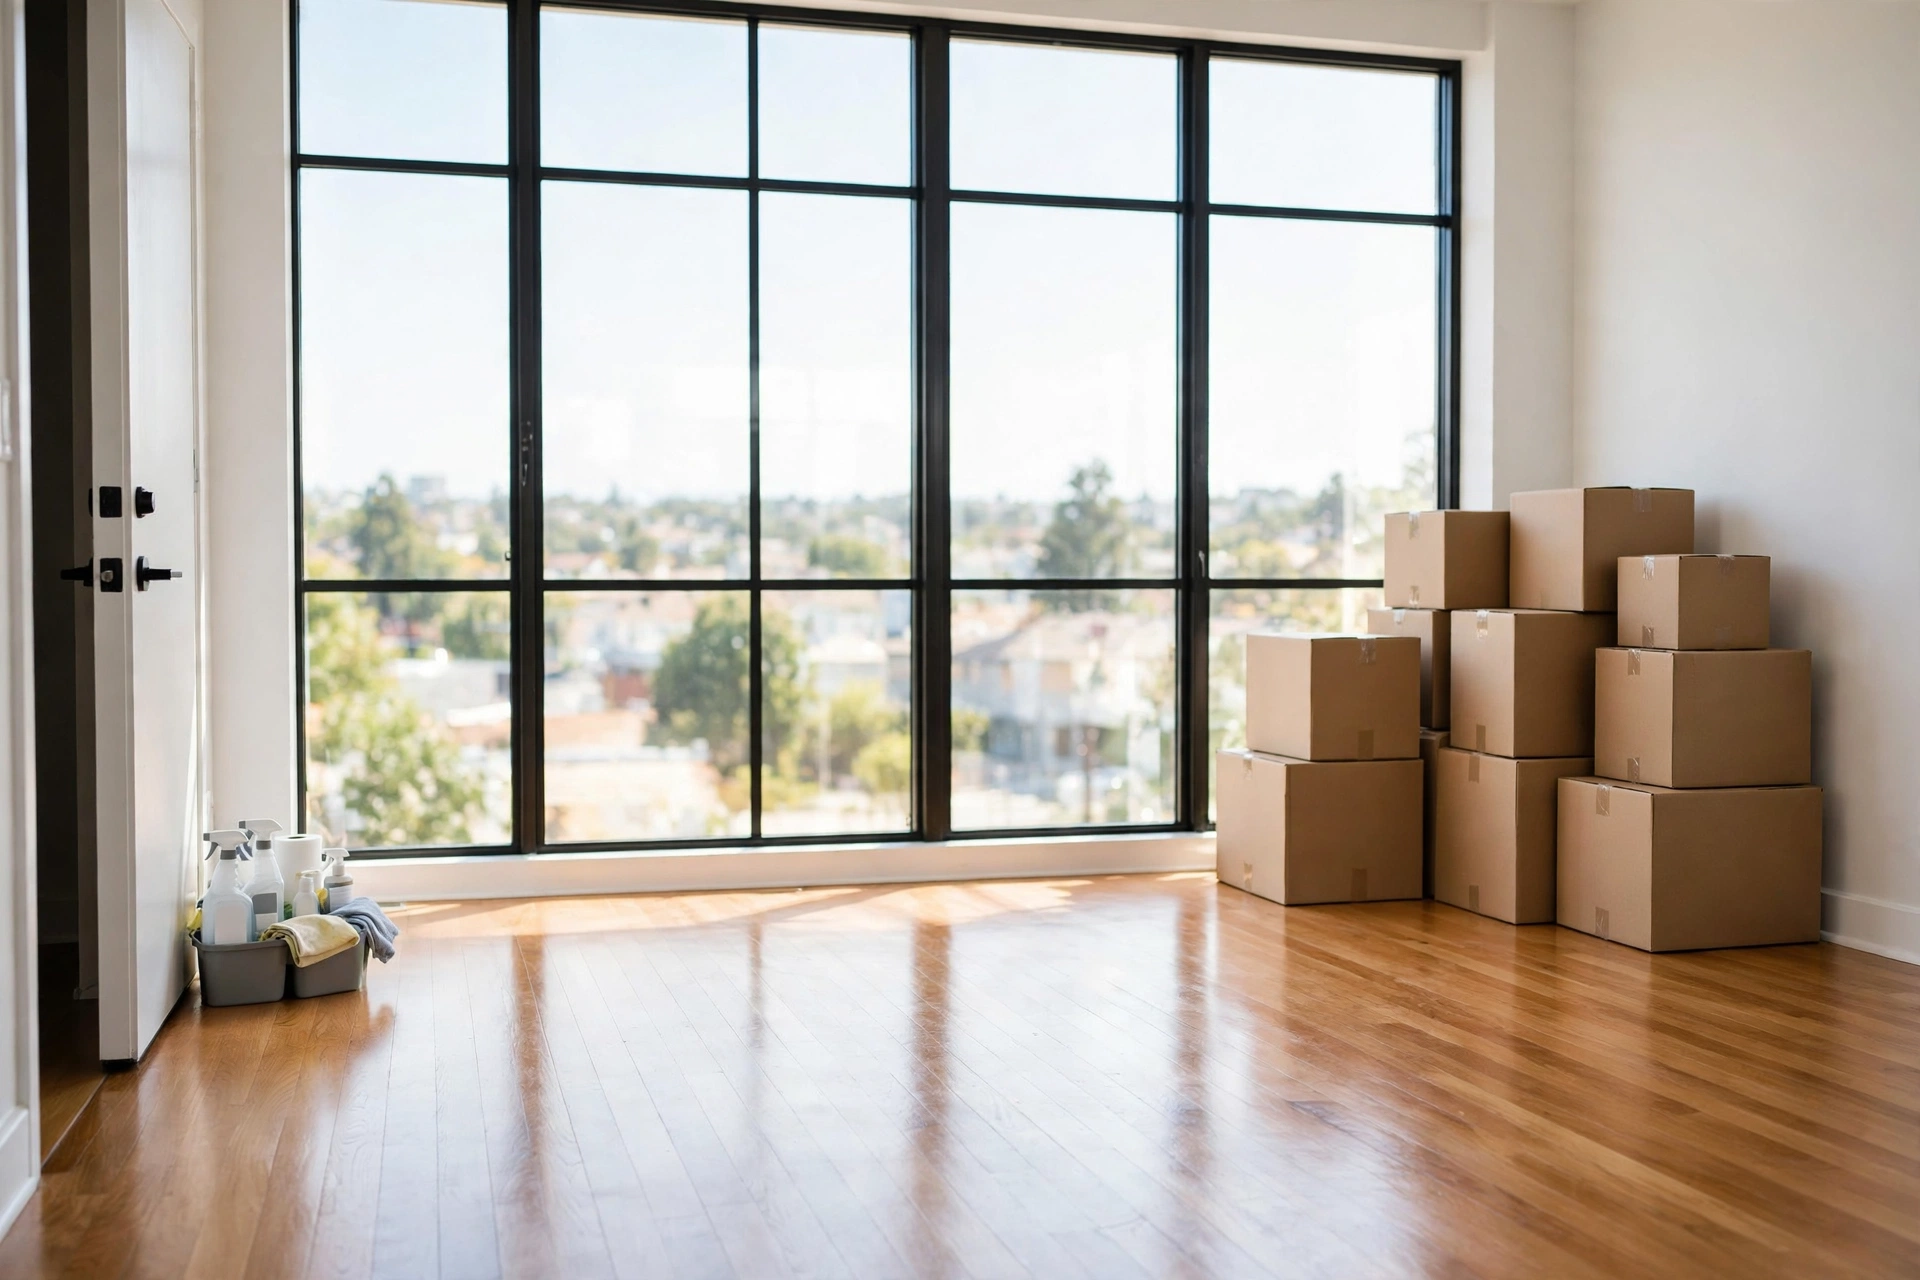

That envelope from your landlord explaining why half your deposit isn’t coming back is almost always written in the language of cleaning, not damage. Dusty blinds. A greasy oven. A shower that needs “professional descaling.” This move out cleaning checklist exists so none of those lines are ever written about you. After helping friends, neighbors, and one very panicked cousin move out of rentals over the years, I’ve seen the pattern clearly: the renters who get every cent back aren’t the ones with the fanciest apartments. They’re the ones who cleaned like an inspector was watching — because one was.
Most deposit deductions come down to cleaning, not damage — and the amounts withheld almost always exceed the effort cleaning would have taken. Landlords aren’t looking for perfection. They’re looking for a home clean enough to hand straight to the next tenant — no extra labor, no extra appointments, no excuses. This guide follows the same order an inspector walks a unit, room by room, and it flags the sneaky spots — the tops of door frames, the inside of the oven glass, the track under the fridge — where most deposit money quietly disappears. Work through it top to bottom in each room, and you’ll be standing in a place that looks ready for day one. Let’s get your money back.
How Your Landlord Actually Decides What You Owe
Before you pick up a sponge, think like the person holding your deposit — a landlord mentally sorts everything into two piles: normal wear and tear, which they can’t charge you for, and everything else, which they can. Wear and tear means the apartment aged gracefully — lightly faded paint, a little carpet wear in the hallway, tiny nail holes from hanging pictures. Baked-on grease, soap scum cemented into grout, hair stuck in every drain, dust thick on the blinds — that reads as neglect, and neglect gets invoiced.
Landlords also compare against the move-in condition report you signed when you arrived — those photos tell you exactly which surfaces were being watched from day one. One more thing: timing matters more than stamina. Some jobs genuinely need hours of chemical contact time — oven cleaner, shower descaler, grout whitener — and cannot be rushed at 11 p.m. the night before handover. Spray the oven and the shower on day one of cleaning week, do everything else around them, and come back for the second pass later.
The Supplies That Make Move-Out Cleaning Faster
You don’t need specialty products — landlords judge results, not your shopping list. The whole kit fits in one bucket:
- Oven cleaner (foaming, gloves mandatory) — one application solves most oven drama
- Degreaser — stovetops, range hoods, cabinet fronts above the stove
- Limescale remover or white vinegar — showerheads, taps, glass doors, toilet bowls
- Bathroom cleaner with bleach — grout, tiles, toilet bases, anywhere mildew lives
- All-purpose spray — counters, cabinets, doors, switches, everything in between
- Glass cleaner or vinegar-water — mirrors, windows, glass doors, streak-free
- Microfiber cloths (at least six) — one for bathrooms, one for the kitchen, the rest for everything
- A stiff brush and an old toothbrush — grout lines, sink rims, window tracks, tap bases
- Vacuum with attachments, mop, and a dustpan — the crevice tool is the real hero
- Rubber gloves, spackle or wall filler, and a small touch-up paint pot if your lease allows
One rule saves more deposits than any product: clean top to bottom in every room. Dust falls down, not up. Do the fan and shelves before the counters, the counters before the floors, and the floors absolutely last. If you mop first and dust the fan after, you’ll mop twice.

The Room-by-Room Move Out Cleaning Checklist
This is the core of the operation. Work through each room completely before moving to the next, always top to bottom. Check items off as you go — it stops you from “finishing” a room while the microwave is still a crime scene.
The kitchen (where most deposits are won or lost)
If an inspector is going to spend five minutes anywhere, it’s here. Cooking leaves layers of grease, crumbs, and spills — and landlords know exactly where to look for them.
- Empty the fridge and freezer completely, remove every shelf and drawer, wash them in warm soapy water, wipe the interior walls, and leave the doors open until everything is bone dry so no mildew starts overnight.
- Spray the oven (racks out first — soak them in the sink or bathtub), let the cleaner sit the full time on the label, then scrub. Wipe the door glass, stovetop, and control panel.
- Degrease the range hood and its filter — hold the filter to the light; if you can’t see through it, it needs another round.
- Clean the microwave: heat a bowl of water with lemon slices for three minutes, let the steam loosen everything, then wipe it clean in one pass.
- Wipe all cabinets inside and out, and vacuum crumbs from every drawer. The cabinet fronts above the stove wear an invisible film of grease that shows up in bright light.
- Scrub the sink, polish the faucet, clear and wipe the drain, and wipe the countertops and backsplash.
- Sweep and mop the floor, pulling out the bins to clean behind them.
Bathrooms (the inspection hotspot)
Bathrooms fail inspections on buildup: soap scum, limescale, mildew, and hair. Start the soaking products early in the day and do the rest of the room while they work — the same scaled-up logic as a quick 15-minute morning reset, just at full power.
- Spray the shower and tub with bathroom cleaner and let it sit while you clean the rest of the room — this dwell time does half the scrubbing for you.
- Scrub the toilet inside and out, including the base, the seat hinges, and behind it where dust and splashes collect. If the seat is stained or wobbly, a cheap replacement seat is one of the best deposit-protection buys there is.
- Clean the sink, polish the faucet, wipe the vanity inside and out, and pull out the drawers to shake hair from every corner.
- Clean the mirror with glass cleaner, and wipe the light fixtures and medicine cabinet.
- Scrub grout lines with the stiff brush — clean grout makes a whole bathroom look five years newer.
- Pull hair from every drain and run hot water until it flows freely.
- Vacuum the exhaust fan cover, wipe the baseboards, then sweep and mop the floor last.
Bedrooms and living areas
These rooms look easy, which is why people under-clean them. Dust settles on every horizontal surface, and inspectors notice it in daylight.
- Remove every nail, screw, and adhesive hook, fill the holes with spackle, let it dry, and smooth flat with a damp cloth.
- Dust ceiling fan blades — a damp pillowcase slid over each blade catches the dust instead of dropping it on your clean floor.
- Wipe light fixtures, switch plates, and outlet covers, which collect a visible film of touch over time.
- Clean all windows inside: glass, sills, and tracks. Run a damp cloth along each track to lift the grit.
- Dust or wipe every blind, slat by slat. Blinds are one of the most commonly cited items in deposit disputes — fifteen minutes of work that saves real money.
- Wipe all closet shelves and rods and vacuum the floors; check the top shelves for anything left behind.
- Spot-clean wall marks with a damp microfiber cloth, wipe all baseboards, and vacuum edges and corners with the crevice tool.
- Vacuum carpets slowly in overlapping passes. If you had pets, get a professional carpet clean — embedded hair and odor are the number one carpet deduction, and a receipt ends that argument instantly.
Entryways, closets, laundry, and the “in-between” spaces
Inspectors know these spaces are nobody’s favorite — which is exactly why they check them.
- Wipe the front door inside and out, plus the frame and handle. Sweep the hallway outside your door if it’s your responsibility.
- Empty and wipe every closet — shelves, rods, floors, and light fixtures.
- In the laundry area, wipe the washer and dryer exteriors, clean the lint trap, and wipe inside the drum. Pull the machines out if you can and vacuum behind them.
- If your rental includes a balcony, patio, or small yard, sweep it, remove trash and plant pots, and wipe the railings.
Floors, walls, and fixtures — the final sweep
Once every room is done, walk the apartment like the inspector, cloth in hand:
- Mop all hard floors last, working from the farthest corner toward the exit so you never walk on wet floors.
- Wipe every interior door — front, back, and the tops, where a line of dust always hides.
- Replace burnt-out bulbs and check every fixture works.
- Wipe vents and air registers; vacuum inside the cover if it lifts off.
- Remove every trace of trash and anything left in cupboards. A unit isn’t “clean” with a bag of old hangers in the hall closet.
The 10 Spots Everyone Forgets (Inspectors Never Do)
These are the little things that turn a “looks clean” apartment into a “passes inspection” apartment. Run down this list last, like a pilot’s final check:
- Tops of interior doors — run a damp cloth along every one
- Window tracks and sills — grit hides in the grooves
- Blinds, slat by slat — the classic deduction
- The oven door glass — inside and out
- The range hood filter — hold it to the light
- Behind and under the refrigerator — the crumb canyon
- Toilet base and behind the toilet — splash zone
- Exhaust fan covers — dust magnets
- Light switch and outlet plates — touch-film central
- Closet top shelves and light fixtures — the forgotten ceiling of storage
Photograph Everything Before You Hand Over the Keys
This step costs nothing and has saved more deposits than any cleaning product. On handover morning, walk the empty, finished apartment in daylight and photograph every room: wide shots from the doorway, plus close-ups of the oven interior, fridge shelves, bathroom fixtures, floors, and windows. Then email the whole set to yourself so the timestamps are undeniable.
Photos also change the negotiation: landlords settle most deposit disputes by agreement when tenants have evidence, since evidence makes a deduction hard to defend. You won’t need a lawyer. You’ll need a camera roll.
Should You Just Hire a Move-Out Cleaner?
For a studio or small one-bedroom, this checklist is one long Saturday with good music — you can do it. For a larger place, or any home where pets lived on the carpet, hiring a professional move-out cleaner is often cheaper than the deductions you’d risk. Professionals bring the heavy equipment and document their work — which doubles as your evidence — and their invoice is usually smaller than the “professional cleaning” fee a landlord would deduct.
If you hire out, book two to three days before handover, not the day of — that leaves a buffer for touch-ups and for walking the checklist yourself afterward. Do the final walkthrough with the “10 spots” list in your hand, because nobody will ever care about your deposit as much as you do. Once you’re settled, fold what you learned into a steady rhythm — a solid weekly house cleaning schedule keeps the next move-out clean from ever feeling this big. And when a deadline looms, the 60-minute speed-cleaning plan uses the same top-to-bottom logic in a fraction of the time. If you want to keep the whole routine effortless year-round, it starts with a daily cleaning routine that actually sticks.
Work this move out cleaning checklist room by room, start the soaking jobs early, photograph everything, and hand over the keys knowing the place is genuinely ready for whoever walks in next. Your deposit did the work of getting home to you — all you had to do was clean. Safe travels, and enjoy the new place.