
If your craft supplies have quietly taken over a spare-bedroom corner, a closet, or half the dining table, you are not alone — and you do not need a bigger room to fix it. The best craft room storage ideas for a small space are not about buying more furniture. They are about giving every supply a visible, reachable home so you can sit down, start creating within minutes, and put everything away just as fast. This guide covers storage systems that work in real, small rooms: pegboards, clear bins, rolling carts, and simple zones for yarn, fabric, paper, and tiny embellishments.
A small craft room rarely fails for lack of shelves. It fails because supplies end up in three or four places at once — the good scissors live in a drawer, the ribbon lives in a bag on the floor, and the cardstock lives behind the ironing board. Every project then starts with a fifteen-minute hunt. The system below is built for rooms as small as a closet or a six-by-eight-foot corner. If your room feels overwhelming before you begin, clear the obvious excess first — our guide on how to declutter a craft room covers that step — but everything here assumes you are keeping your supplies and simply need them stored better.
Craft Room Storage Ideas That Start With Zones, Not Shopping
Before you buy a single bin, divide your small space into zones. A zone is simply a job: one spot for cutting, one for storing, one for finishing. In a tiny room, a zone can be as small as a shelf and a half. The cutting zone holds your mat, rotary cutter or craft knife, metal ruler, and the paper or fabric you are working on right now. The storage zone holds everything else, grouped by type. The finishing zone is a clear patch of desk — or a tray you can lift off a shelf — where a project dries or gets wrapped.
Zones stop supplies from migrating. When the glue gun has a home in the finishing zone, it stops ending up in the kitchen drawer. When every paint bottle lives in one caddy, you stop buying a third bottle of the same sage green because you could not find the first two. Anything you use in nearly every session — scissors, adhesive, a pencil — belongs within arm’s reach of your chair. Anything you use once a month belongs higher up, further back, or in a lidded box. A quick three-pile sort helps: everyday tools get the prime real estate, project supplies get labeled bins on shelves, and rarely used items get the highest shelf or a box under the bed.
Go Up the Walls: Pegboards, Shelves, and Rails
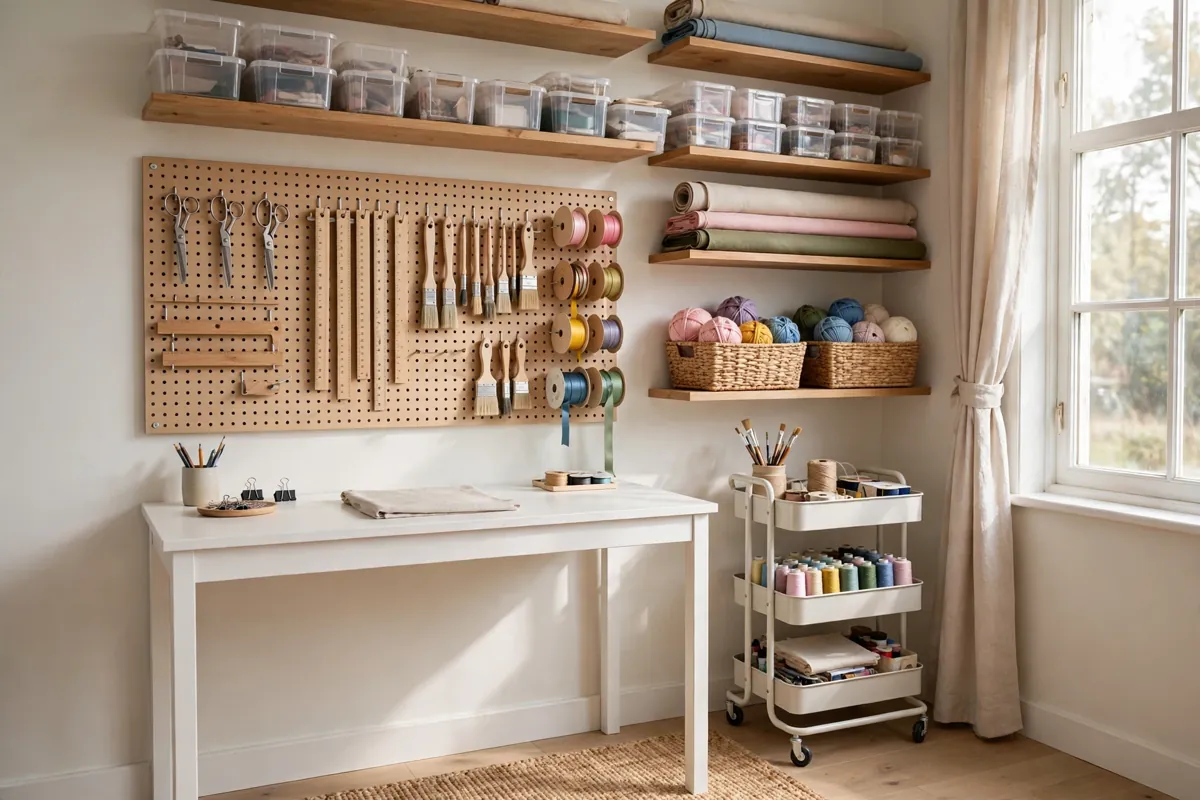
In a small craft room, the walls are your biggest unused asset. A 24-by-48-inch pegboard above the desk takes scissors, rulers, tape rolls, punches, paintbrushes, and small baskets off the work surface and puts them where you can see them. Use hooks in different sizes — small hooks for tools, basket attachments for ribbon and twine, a shallow ledge for jars of pens. Because pegboards are endlessly rearrangeable, you can move things around as your crafts change through the year without drilling new holes. Mount it properly, though: a loaded pegboard is heavy, so fix it into wall studs or use proper wall anchors, with spacers behind the board so hooks seat fully.
Floating shelves do the quieter work. Two shallow shelves, six to eight inches deep, above the desk hold the bins and jars you use most without pushing you away from the wall. Deeper shelves, ten to twelve inches, work better on a side wall for baskets of fabric and stacks of cardstock. Keep the everyday shelf at eye level and push seasonal supplies to the top. Even a narrow wall two feet wide can hold a vertical stack of shallow shelves for paint tubes and ribbon spools. And do not forget the back of the door: an over-the-door organizer with clear pockets holds glue sticks, markers, sticker sheets, and washi tape, while hooks take tote bags of fabric that would otherwise slide to the floor.
Clear Bins, Labels, and the One-Bin Rule
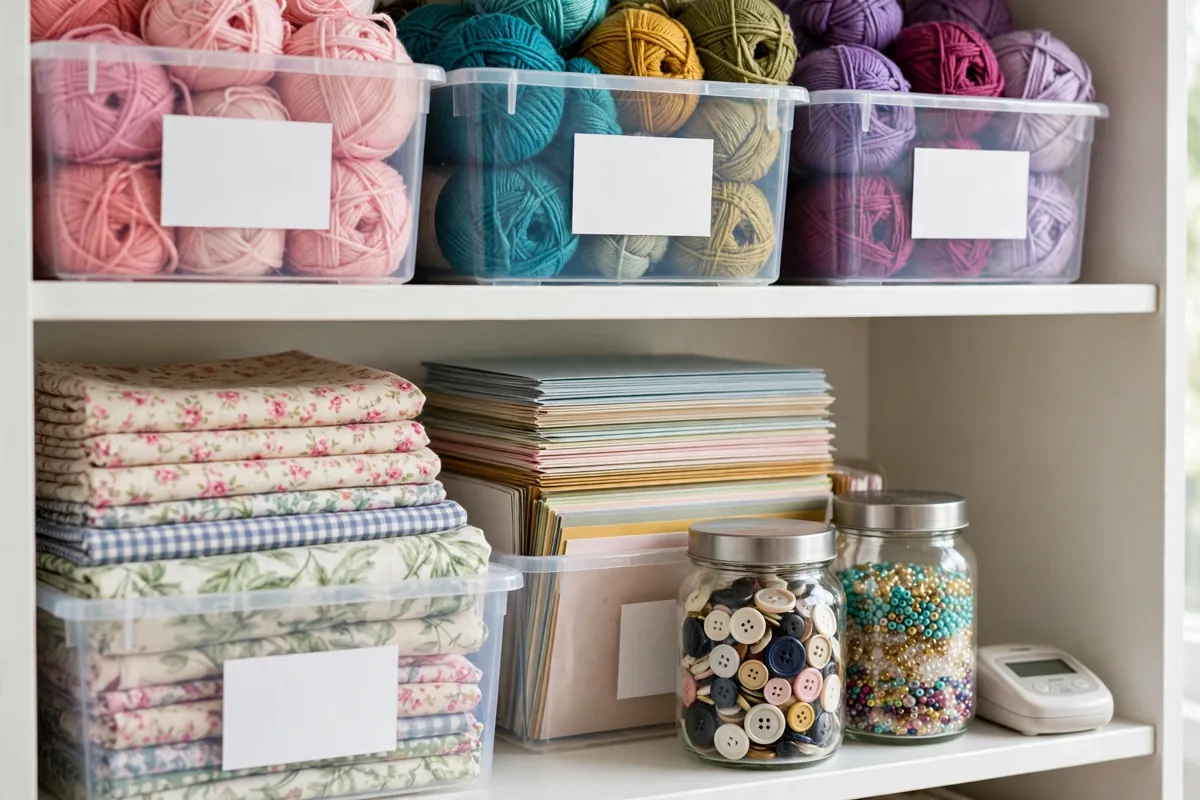
Clear bins are the backbone of craft room storage, but only when used correctly. The rule is simple: shallow bins for small things, deep bins for single categories only. A shallow clear bin suits flat supplies like cardstock and foam sheets — you can see the color you want and slide it out without disturbing the rest. A deep bin of mixed buttons, beads, and brads becomes an archaeological dig every time you need something from the bottom. For tiny items, small divided containers beat deep bins every time. Reserve deep bins for one category each: all the yarn in one, all the fabric scraps in another, all the washi tape in a third. Stackable bins with handles are worth the small extra cost, because you can lift a whole bin down, carry it to the desk, and put it back without unpacking it.
Labels turn bins from boxes into a system. You do not need a fancy label maker, though a simple one keeps everything consistent; masking tape and a marker work just as well. Label the front of every bin with what is inside and how it is sorted: “Cotton fabric — blues,” “Cardstock — neutrals,” “Ribbon — 1 inch and under.” The test of a good label is whether someone else in the house could find the twine without asking you. Then adopt the one-bin rule: for each supply type, you get one bin. When the bin is full, nothing new comes in until something is used up or moved on. Standing in a craft store holding a beautiful bundle of fat quarters, you only need to ask whether your fabric bin has room. If it does not, the fabric stays in the store, and your room stays usable.
Small-Supply Storage: Jars, Drawers, and Rolling Carts
Buttons, beads, sequins, brads, and pins multiply quietly and feel harmless until you open a drawer and find a tangled drift of them. Give them a system of their own. Glass jars — mason jars are ideal — are perfect for small supplies because they are visible, sturdy, and cheap. Group similar items in the same jar, line the jars on a shelf or a pegboard ledge, and you can see at a glance whether you are out of gold brads or drowning in them. For items that must be separated by color or size, small divided boxes with clear lids work well; the clear lid matters, because an opaque box is just a small mystery.
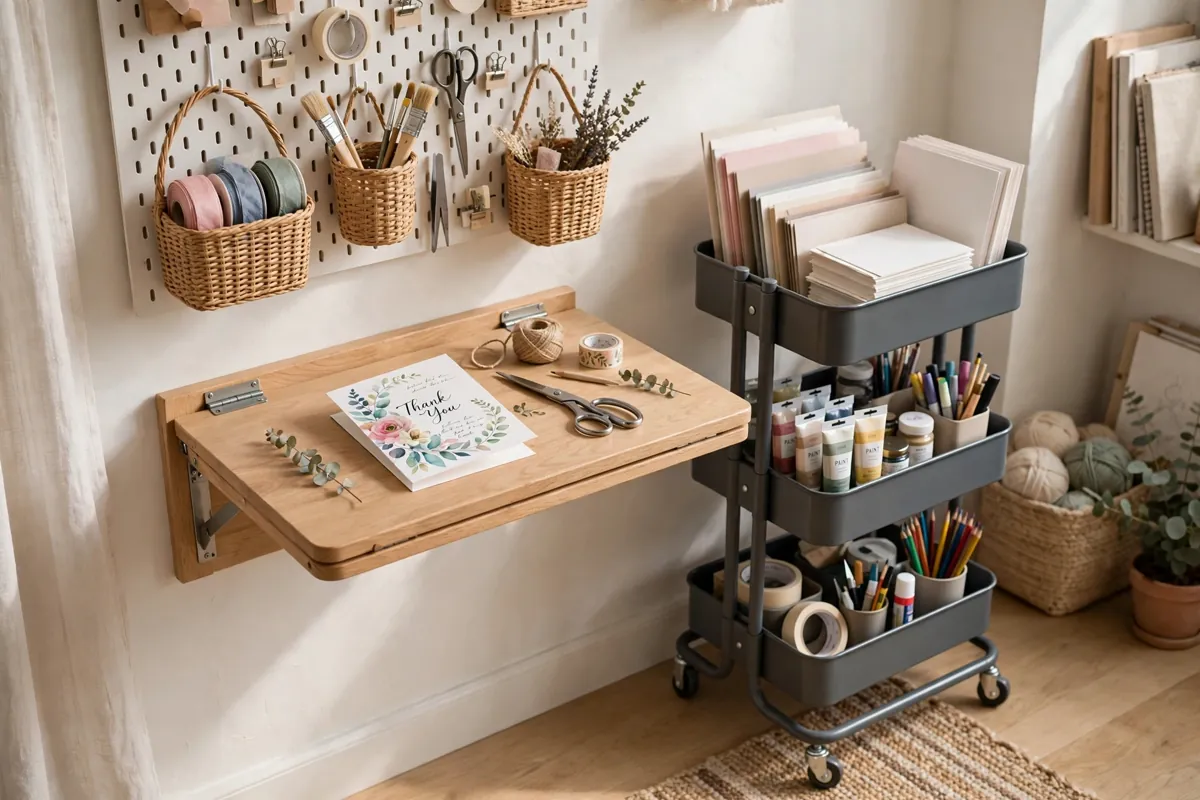
One shallow drawer, fitted with dividers, is worth more than a whole chest of undivided drawers. Dedicate it to the tiny things: needles, pins, clasps, jump rings, and adhesive dots. A magnetic strip on the wall or the side of the desk holds scissors, tweezers, and needles safely and visibly. A three-tier rolling cart earns its place only if you treat it as a project cart, not a storage cart: the top tier holds the supplies for whatever you are making right now, the middle tier holds everyday tools, and the bottom tier holds the project itself, so you can roll the whole thing into a closet when dinner needs the table. When a project is finished, the cart is emptied and reset. A cart that never gets emptied is just a shelf on wheels.
Paper, Fabric, and Yarn: Taming the Bulky Three
Paper, fabric, and yarn eat the most space in a craft room, and each needs a different approach. Paper is happiest standing upright. Store cardstock and patterned paper vertically in a file holder or magazine holder, sorted by color family. Flat stacks are the enemy: the sheet you want is always at the bottom. Keep the colors you use most at the front and specialty papers — glitter, vellum, foil — in a single labeled folder behind them. Offcuts deserve their own small box, and the one-bin rule applies: when the offcut box is full, use them or let them go.
Fabric works best folded and filed, not stacked in piles. Fold fat quarters to the same size and stand them upright in a basket or cube shelf, like books, so you can see every print without lifting a pile. Larger cuts can be rolled and stood in a tall basket. Sort by color or by project rather than by fabric type, because you usually reach for fabric by color — “something blue for the baby quilt” — not by fiber content. Yarn needs air and visibility: open baskets and cubbies beat lidded boxes, and winding loose skeins into cakes stops them rolling around the room. A tension rod inside a closet holds ribbon and washi tape beautifully — thread the rolls onto the rod and they feed smoothly without tangling. Keep yarn away from damp corners and direct sunlight.
Keep It Working: A Ten-Minute Reset That Actually Sticks
The best storage system will fail without a closing routine, but the routine only needs ten minutes. Treat it as part of the craft session, not a chore afterwards. Set a timer and do four things: return tools to their hooks and jars, file leftover paper and fabric back into their bins, put the current project on the cart or in its box, and clear the desk completely. A clear desk is an invitation to sit down tomorrow. A desk covered in yesterday’s project is a reason to walk past the room.
A few small habits make the reset almost automatic. Keep a small basket on the desk as a “put away” tray, emptied at the end of each session, and keep a rubbish bin in the room — the absence of one is why thread ends and paper trimmings pile up on the desk. Once a month, spend twenty minutes on one shelf or one bin only, checking labels and moving anything unused for three months to the top shelf or out of the room. If your craft space shares a room with a home office or guest bed, the same ideas apply, just smaller: a fold-down desk and the same pegboard-and-cart setup work above it, as our ideas for small home office storage that actually works show. And if your home has dead space you have never known what to do with, see how under-stair storage can turn dead space into gold — the same thinking finds a home for craft supplies in places you thought were useless.
A small craft room does not need to look like a magazine spread to work beautifully. It needs zones that match how you actually craft, walls that carry the weight, bins you can see into, labels you can trust, and a ten-minute reset that keeps it all honest. Start with one wall — a pegboard and a shelf — and one zone, the desk. When the seasons change and your supplies do too, the same system flexes with you; for out-of-season materials, our small-space seasonal decor storage ideas show how to rotate things out without losing track of them. Your next project should start with making, not hunting — and with these craft room storage ideas, it finally can.