
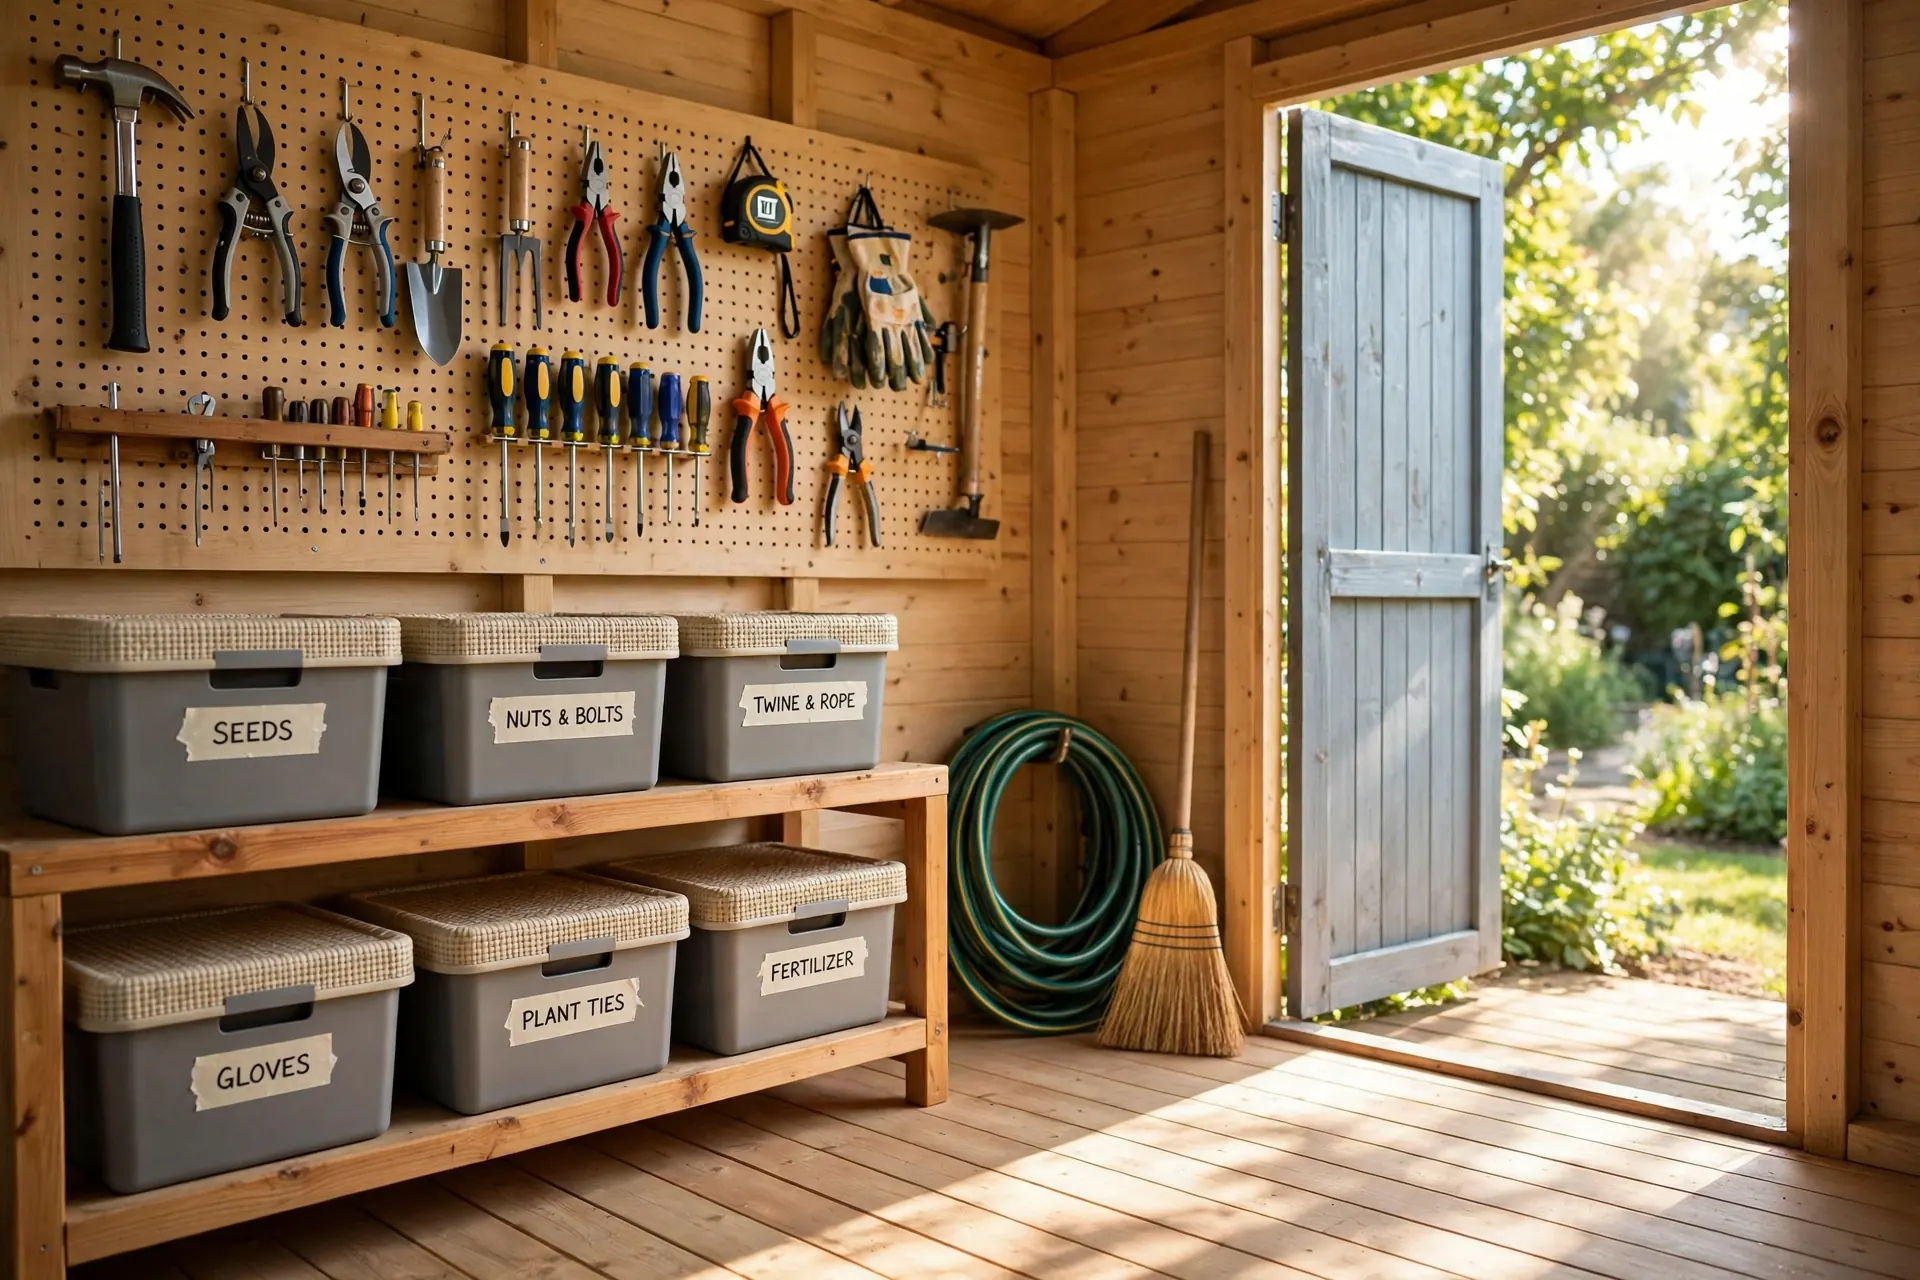

Every garden has one: the shed that started out as a tidy little store for the mower and a few tools, and quietly turned into a place where things go to be forgotten. You open the door, something leans out at you, and you shut it again, promising yourself you’ll deal with it next weekend. If that sounds familiar, learning how to declutter a shed is one of the most satisfying jobs you can do around the house. In a single afternoon you can go from a dark, jammed box you avoid to a bright, working space where you can actually find the secateurs. Here’s the whole job, step by step.
Before You Start: Pick the Right Day and Gather Your Kit
A shed clear-out is a weather-dependent job, because everything inside is going to spend a few hours outside. Choose a dry day with no rain in the forecast, and start in the morning so you have the whole day ahead of you. A wet afternoon turns your sorting piles into a soggy mess.
Before you open the door, gather what you’ll need. A large tarp or old sheet protects your lawn and gives you a clean sorting surface. You’ll want sturdy bin bags, a few cardboard boxes, a marker pen and tape for labelling, work gloves, a dust mask if the shed is dusty, and a broom and dustpan for later. If you have a wheelbarrow, bring it close — it saves countless trips when you’re hauling bags of rubbish to the bin. Decide your finish line in advance, too: a shed you can walk into and reach any shelf without moving three other things.
Step 1: Empty the Shed Completely
This is the step everyone wants to skip, and it is the step that matters most. You cannot properly declutter a shed by shuffling things around inside it. Everything has to come out — every box, every tool, every half-empty bag of compost, every mystery tin. Pull it all out onto the tarp and the lawn, and keep going until the shed is genuinely empty. It looks worse before it looks better — but for the first time, you can see exactly what you own.
Working in this order has a practical payoff as well. An empty shed can be swept, checked for leaks and damp, and repaired while you sort. You’ll spot the hole in the roof felt, the rotten floorboard by the door, and the wasp nest in the corner — all things you’d never have found with the shelves still loaded. The same empty-it-first principle works indoors too, as our garage decluttering guide shows.
As you empty the shed, do a rough first pass. Put obvious rubbish — split bags, rusted-through buckets, perished hosepipe — straight into bin bags. Put anything you already know is broken beyond repair in a separate pile. Everything else goes on the tarp in loose groups: tools together, garden chemicals together, pots and planters together. Don’t make final decisions yet — just stop the pile becoming one heap.

Step 2: Sort Everything with the 12-Month Rule
Now comes the decision-making, and the 12-month rule is the simplest honest test there is: if you haven’t used it in the past twelve months, and you can’t name a specific job you’ll use it for in the next twelve, it goes. Sheds are full of “just in case” items, and the rule cuts through the sentimentality.
Set up four clear zones on the tarp and be strict about them:
- Keep: things you use regularly, things in good working order, and genuine spares you can name a use for.
- Donate or sell: working tools and equipment someone else would value — a spare spade, a child’s outgrown bike, a lawn edger in good nick.
- Recycle: scrap metal, old paint tins, dead batteries, and anything your local recycling centre accepts.
- Toss: broken, rusted beyond saving, mouldy, or unsafe items. Be honest here; a cracked plastic watering can is not a project, it’s rubbish.
Duplicates are the biggest shed offender: most households need one good spade, not three, and one hose, not a tangled collection of offcuts. Keep the best one and let the rest go. Half-used bags of compost open for two winters are usually damp and useless — tip them on the compost heap.
Sentimental items deserve a kinder approach. The old wooden toolbox your grandfather made can stay — but give it a proper home on a shelf rather than letting it sink under a pile. If the “sentimental” pile is growing suspiciously large, try the photograph trick: take a photo, keep the memory, and let the object go. And if your shed has become overflow storage for the house, our guide to decluttering a storage unit covers the same sorting logic.
One more question helps with borderline cases: would you buy this again today? If not, you know what to do. Bag the donations immediately and put them by the front door — donations that sit in the shed for another month quietly migrate back onto the shelves.
Step 3: Clean the Empty Shed and Deal with the Tricky Stuff
With the shed empty and your sorting done, take an hour to look after the building itself. Sweep the floor thoroughly, then brush down the walls and shelves to clear cobwebs, dust and dead leaves. Check for damp patches, mould, and signs of mice — droppings, gnawed bags, shredded material in corners. If you find mould, wipe it down with a mould remover or a diluted bleach solution while wearing gloves and a mask, and leave the door open to dry.
Now check the structure: roof felt for cracks and lifting edges, door hinges and the lock. Small repairs are cheap now and expensive later — a tube of sealant on a leaking joint, or a pallet base under a rotting floor, protects everything you are about to organise.
Then deal with the tricky items you set aside. Surface rust on a good spade can be scrubbed off with a wire brush and a wipe of oil, and the tool is as good as new. But a cracked handle, a bent shaft, or a seized mechanism usually means the tool is done. Scrap metal goes in the recycling pile.
Chemicals and paint need care. Never pour old paint, weedkiller, pesticides or solvents down a drain or onto the ground. Most councils run household hazardous waste collections or a drop-off point at the recycling centre. Decant nothing into unlabelled containers, and if a tin has no label at all, treat it as hazardous and ask at the centre. Keep the chemicals you are keeping — weedkiller, wood treatment, white spirit — together on one high shelf, away from children and pets, with their original labels facing out. Anything years out of date should go to hazardous waste too.
How to Declutter a Shed for Good: Zones and Vertical Storage
Shed clutter comes back because the shed has no system. The fix is zones — one defined home for every category — and using the walls, because floor space is precious and vertical space is usually wasted.
Start by sketching the zones in your head before you put anything back. A simple layout that works in most sheds is:
- The tool wall: one wall for hand tools — spades, forks, rakes, shears — hung on hooks or a pegboard so you can see them all at a glance.
- The work shelf: a shelf at waist height for potting, repairs, and the things you reach for constantly, like twine, gloves and seed packets.
- The bulky zone: the floor area by the door for the mower, wheelbarrow and large items you need to roll in and out without a struggle.
- The chemical shelf: one high, clearly marked shelf for paints and garden chemicals, out of children’s reach.
- The seasonal shelf: the highest shelf for out-of-season items — the Christmas lights, the paddling pool, the snow shovel in July.
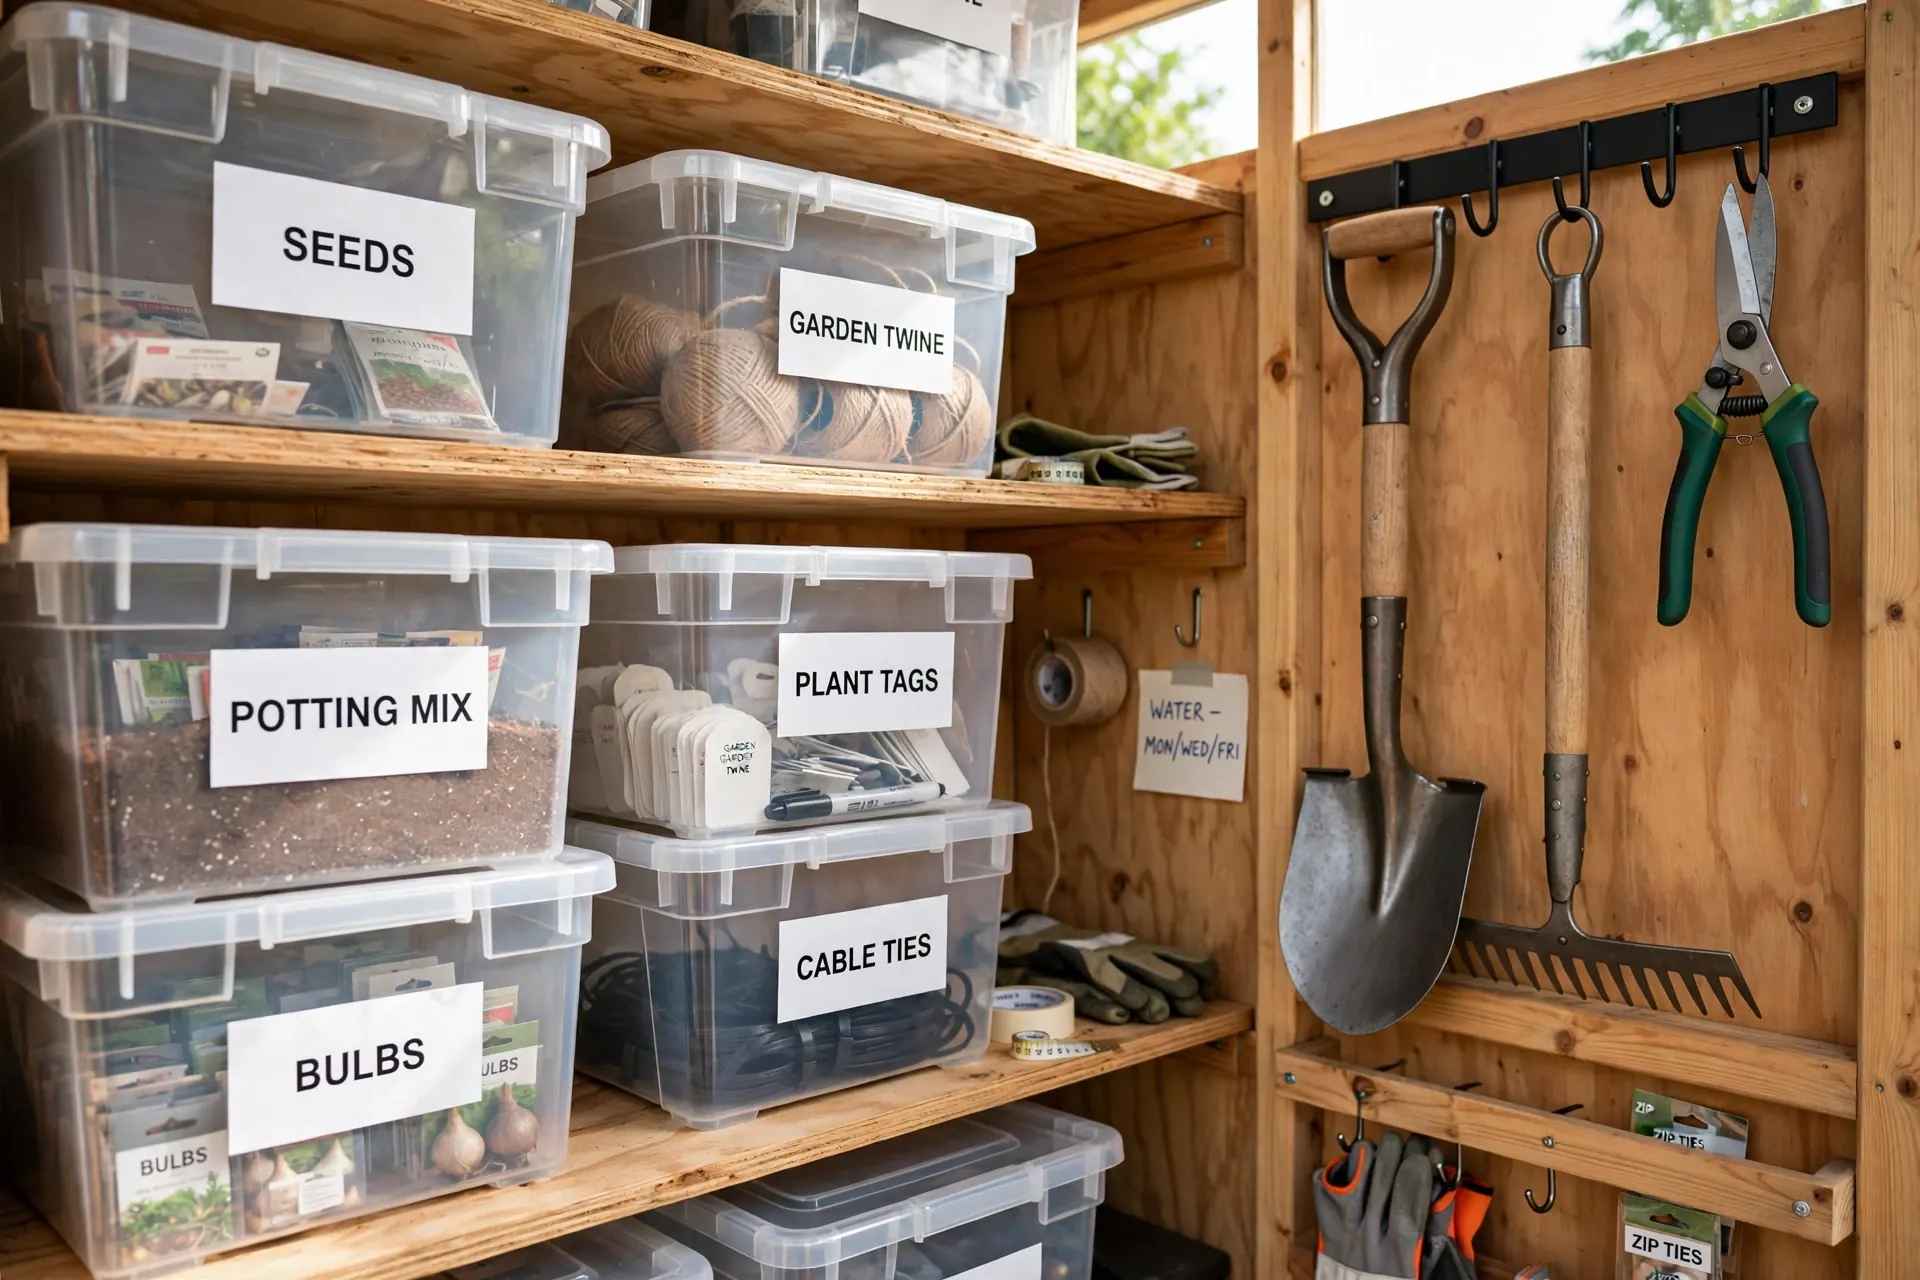
Vertical storage is what makes this work. A pegboard with hooks costs very little and transforms a wall: every tool has a labelled hook, so a missing tool is obvious and a tidy-up takes thirty seconds. Magnetic strips hold small metal tools, screw hooks take coiled hoses and extension leads, and a length of guttering screwed to the wall makes a brilliant rack for long-handled tools. The same vertical thinking pays off in a garage too — our small garage storage ideas transfer neatly to a shed.
For everything that isn’t a tool, use clear, labelled bins rather than cardboard boxes. Cardboard sags, gets damp, and hides its contents; a clear bin with a lid keeps things dry and lets you see what’s inside without opening it. Label bins on the front, not the top, and group small things sensibly: fixings, plant ties, spare bulbs.
Leave breathing room on purpose: aim to keep about a fifth of your shelf space empty, so the next thing you buy doesn’t end up on the floor. And keep the floor clear except for the bulky items in their zone — a clear floor is what makes a shed feel spacious.
The Seasonal Reset That Keeps It Tidy
A shed stays tidy the way a garden stays weeded: with small, regular attention rather than one heroic annual effort. Build a seasonal reset into your year, and this big clear-out will be your last for a long time. Four short sessions a year — spring, summer, autumn, winter — of about thirty minutes each is all it takes.
In spring, pull out the mower, check it over, and swap the winter gear — snow shovels, grit, and frost covers — up to the seasonal shelf, bringing down the seed trays, pots and summer tools. In autumn, clean and oil tools before you store them for winter, drain the hosepipe so it doesn’t split in a frost, and bring the summer furniture cushions or the paddling pool back into their zone. In winter, check the roof, the door seal and the chemical shelf.
The one-in-one-out rule is the quiet hero here. Every time something new enters the shed — a new pair of secateurs, a new bag of compost — something old leaves it, whether that’s the worn-out pair being replaced or a bag going straight to the bin. It is the easiest way to stop the slow creep that filled the shed in the first place. The same rule works in the rest of the house, too — our step-by-step guide to decluttering a home gym shows how it applies to a room used every day.
Keep a small “donate” box permanently in the shed, too. When you find a tool you no longer need, or a spare you bought by mistake, it goes straight in the box instead of back on the shelf. When the box is full, it goes to the charity shop. No decisions, no second thoughts, no clutter creeping back.
Learning how to declutter a shed is really about giving yourself a space that works for you instead of against you. Empty it fully, sort honestly with the 12-month rule, clean and repair the building, deal with the chemicals and broken tools safely, then put everything back into clear zones with the walls doing the heavy lifting. Do that once, properly, follow it with a thirty-minute seasonal reset, and your shed will stay the tidy, bright workshop it was always meant to be.